🎉 BOGO Summer Sale: Buy Any Eligible Course, Choose Another FREE!
Your free course will be added to your account within 24 hours. Contact us after purchase to choose your complimentary course.
Member's schedule
Log In
Right-click and open in a new tab to enlarge and print.
Finish shading to express tone and color.
Reminders:
Start light and slowly darken areas. Take your time. Be patient. Work on one area at a time. Squint. You're in control. Take photos.
Finish your pencil drawing. Keep in mind this isn't a pencil sketch - you want your initial outline to be complete and accurate. Include information about light and dark colors (yellow versus purple versus green, etc) AND where you'll keep the pure white paper. The more you draw with your pencil, the easier it will be draw with pen and ink. The only thing you do not need to draw with pencil is the shading. Outline the shadows, but don't draw them in.
When your pencil drawing is superb, you'll be ready for pen and ink.
Finish your chart if you haven't already.
Grab a new sheet of 9x12" paper and tape the entire perimeter to a sturdy support board using delicate tape. This will allow you to handle your drawing for the duration of the course without smudging or getting fingerprints on it, and it will result in a clean and polished look for your final drawing.
Your research should include all aspects of a study:
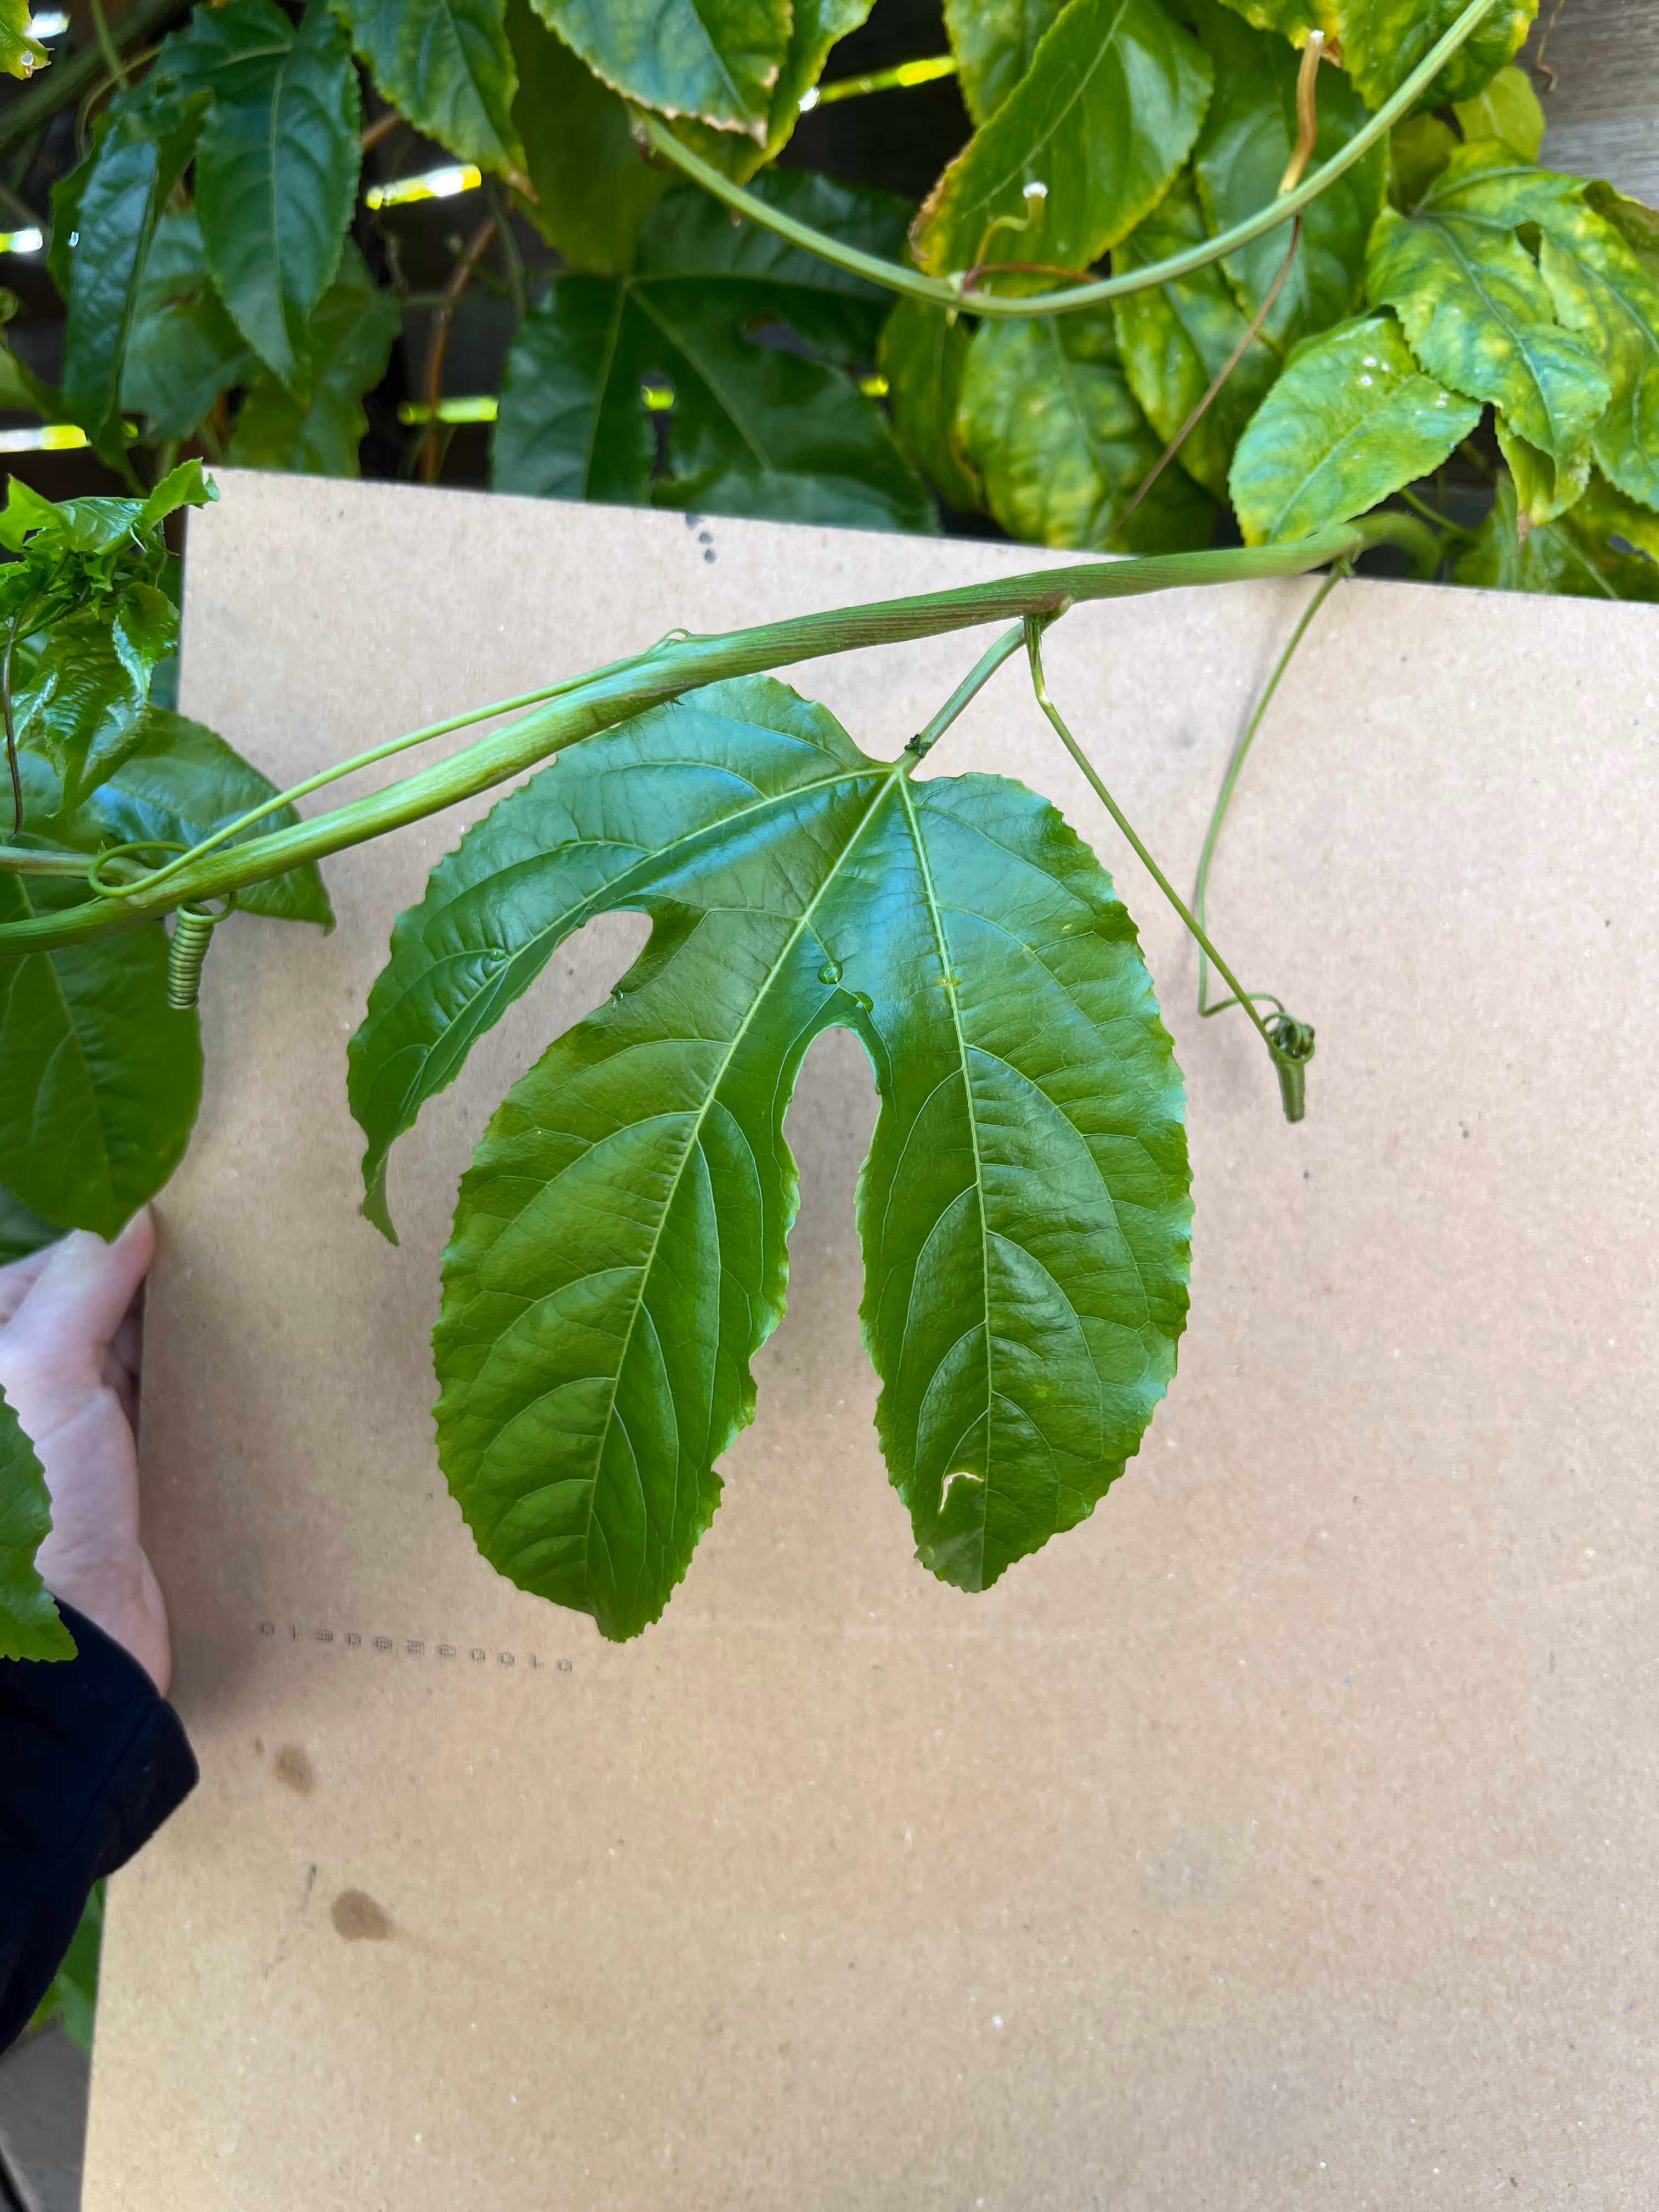
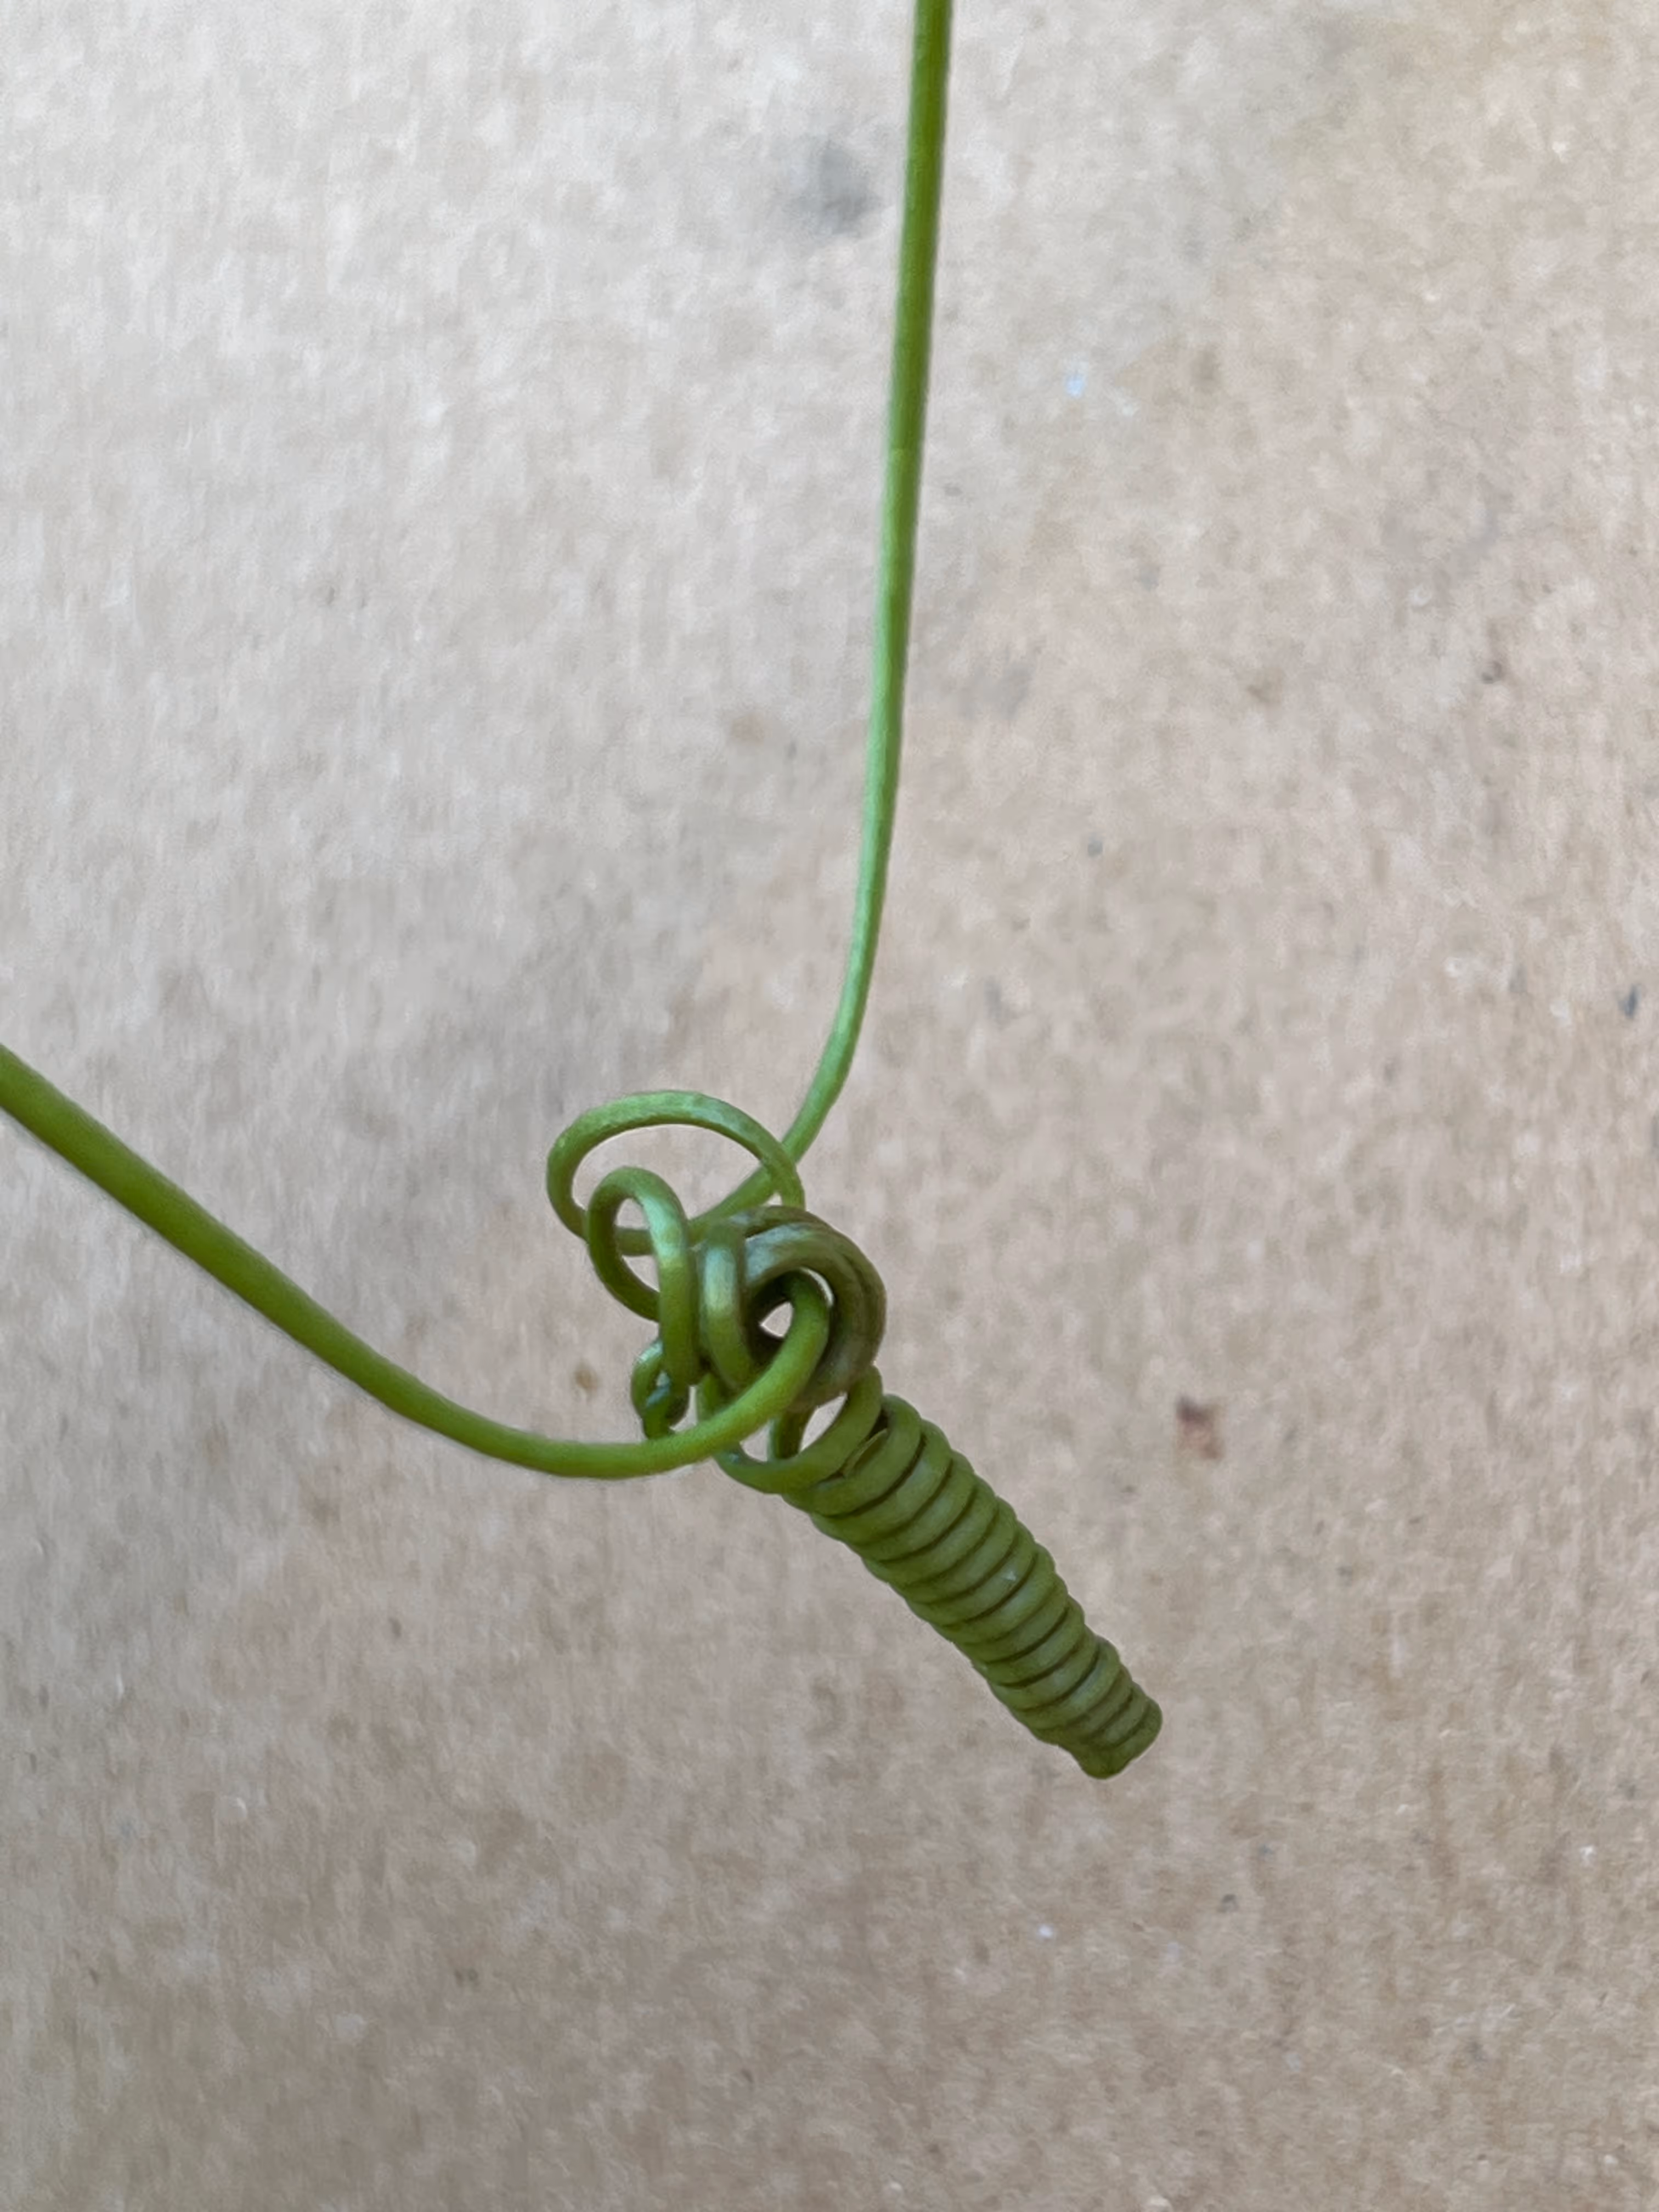
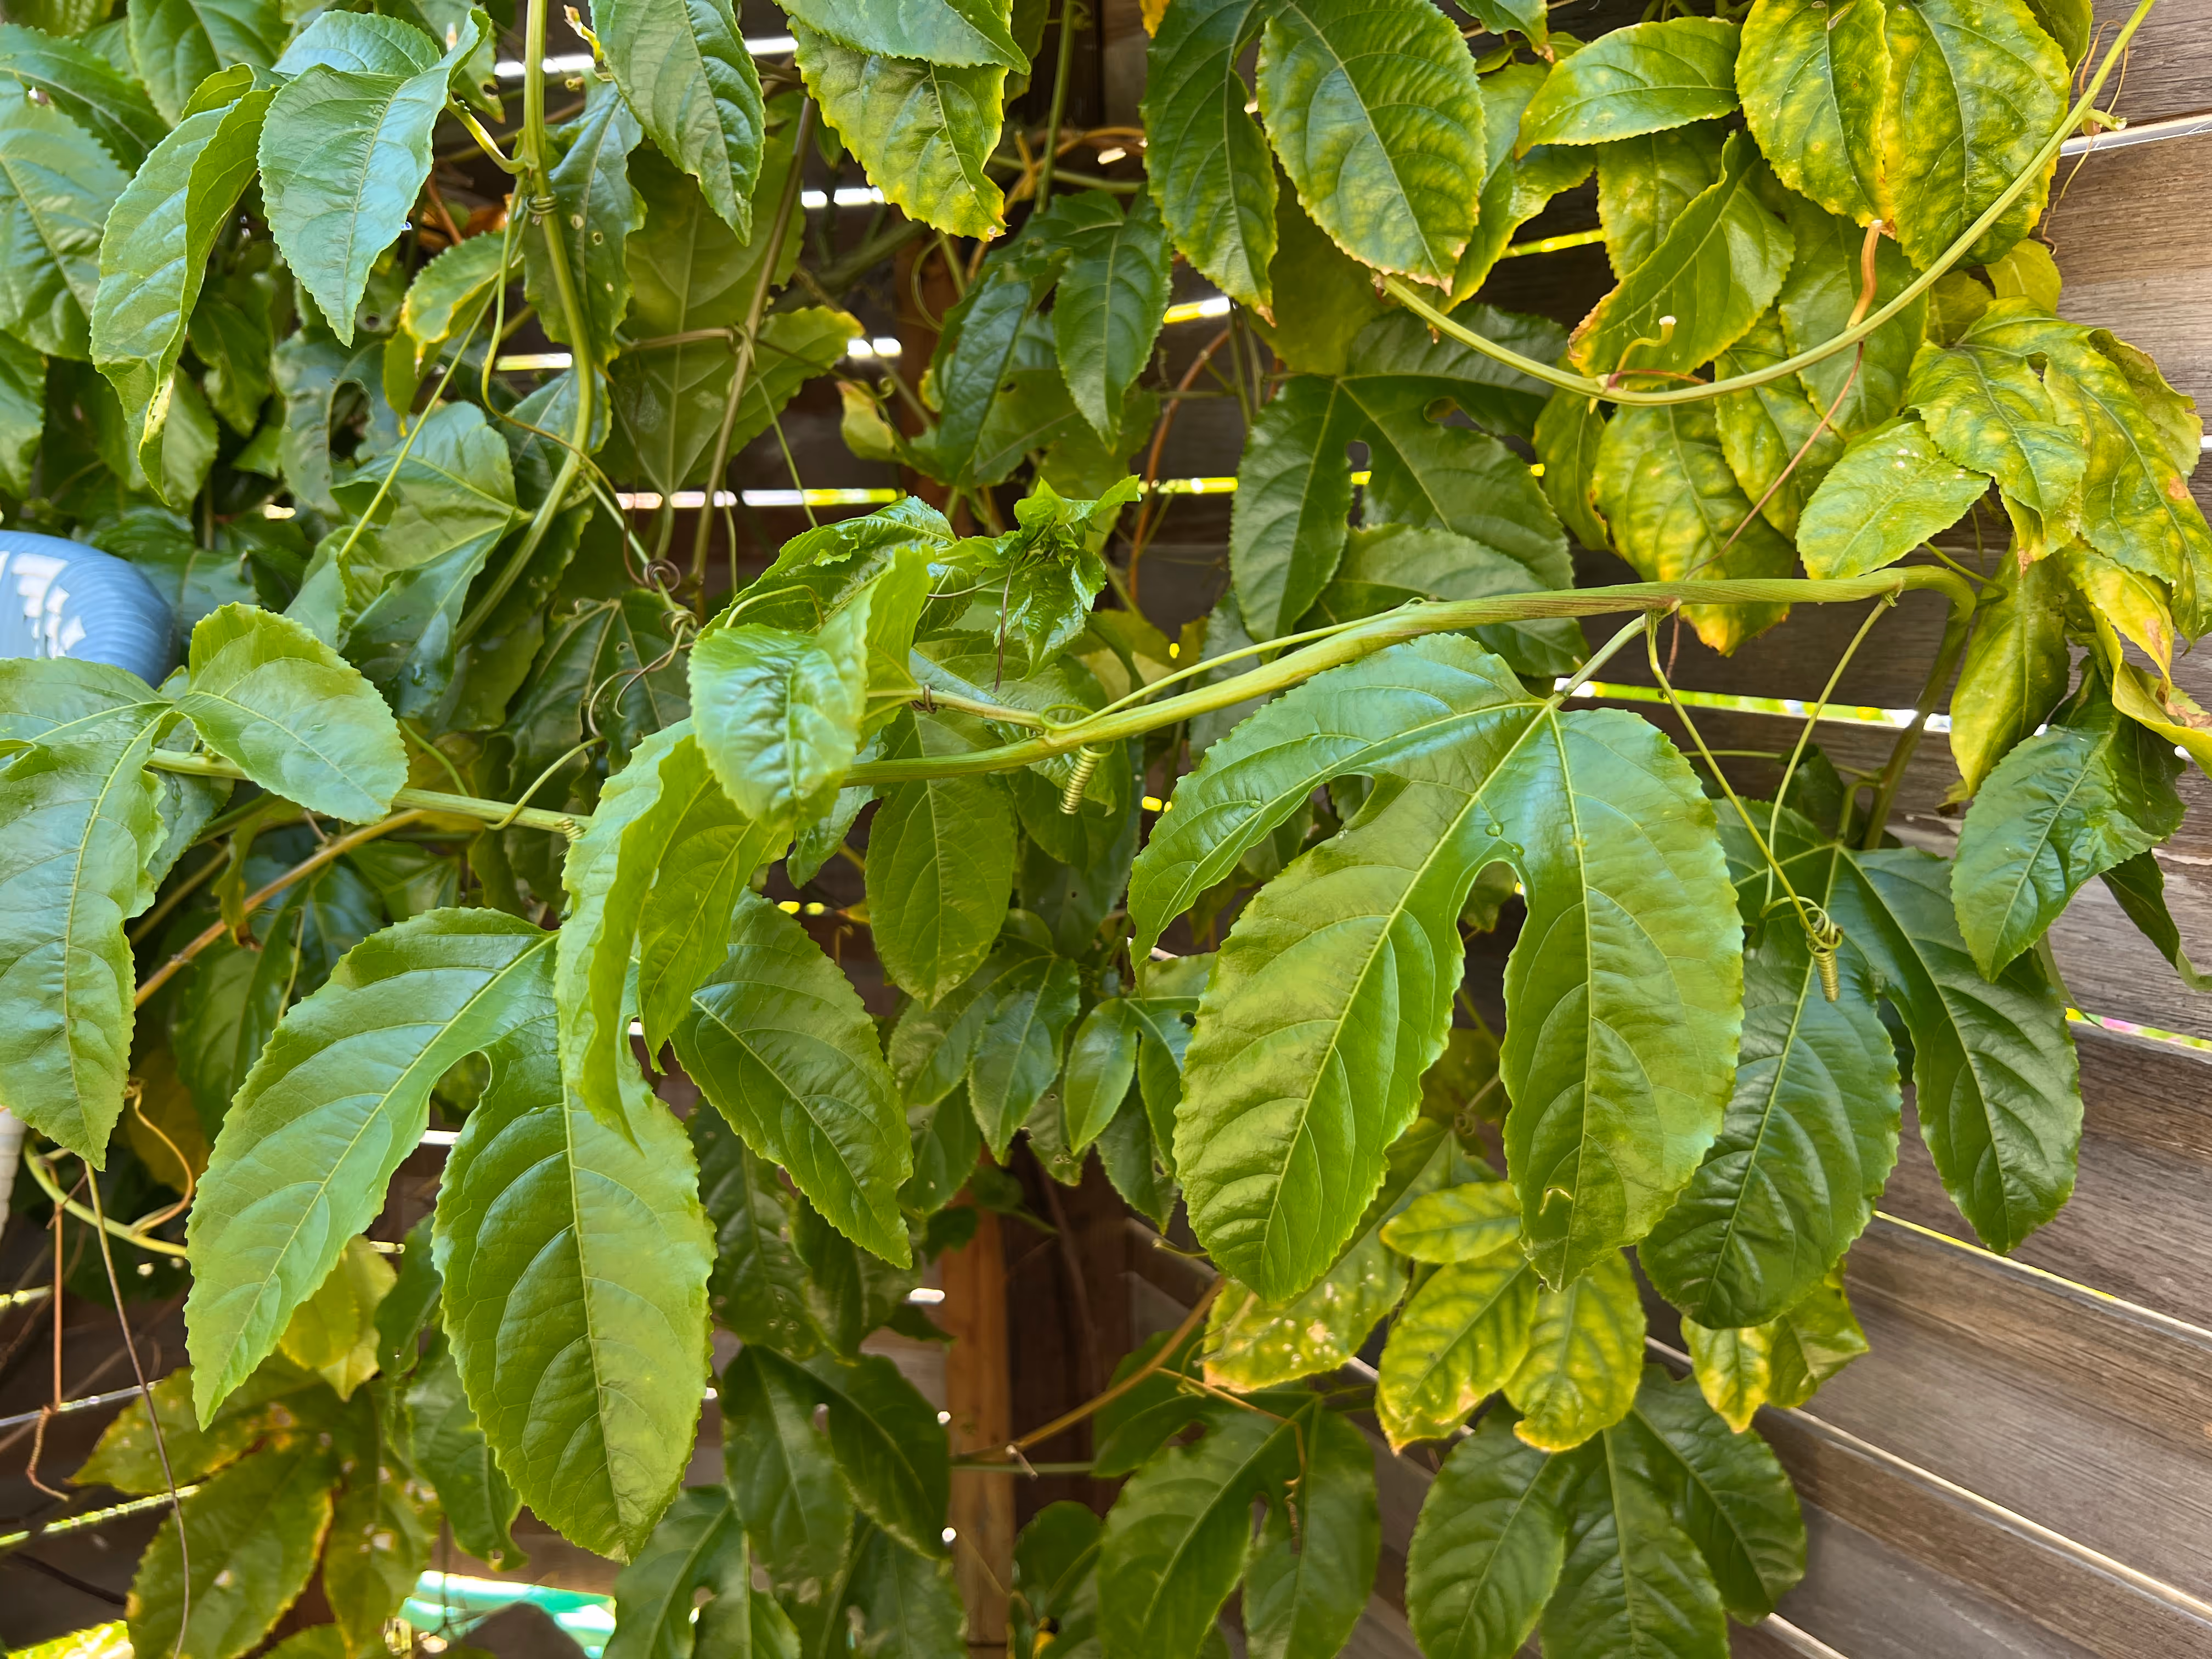
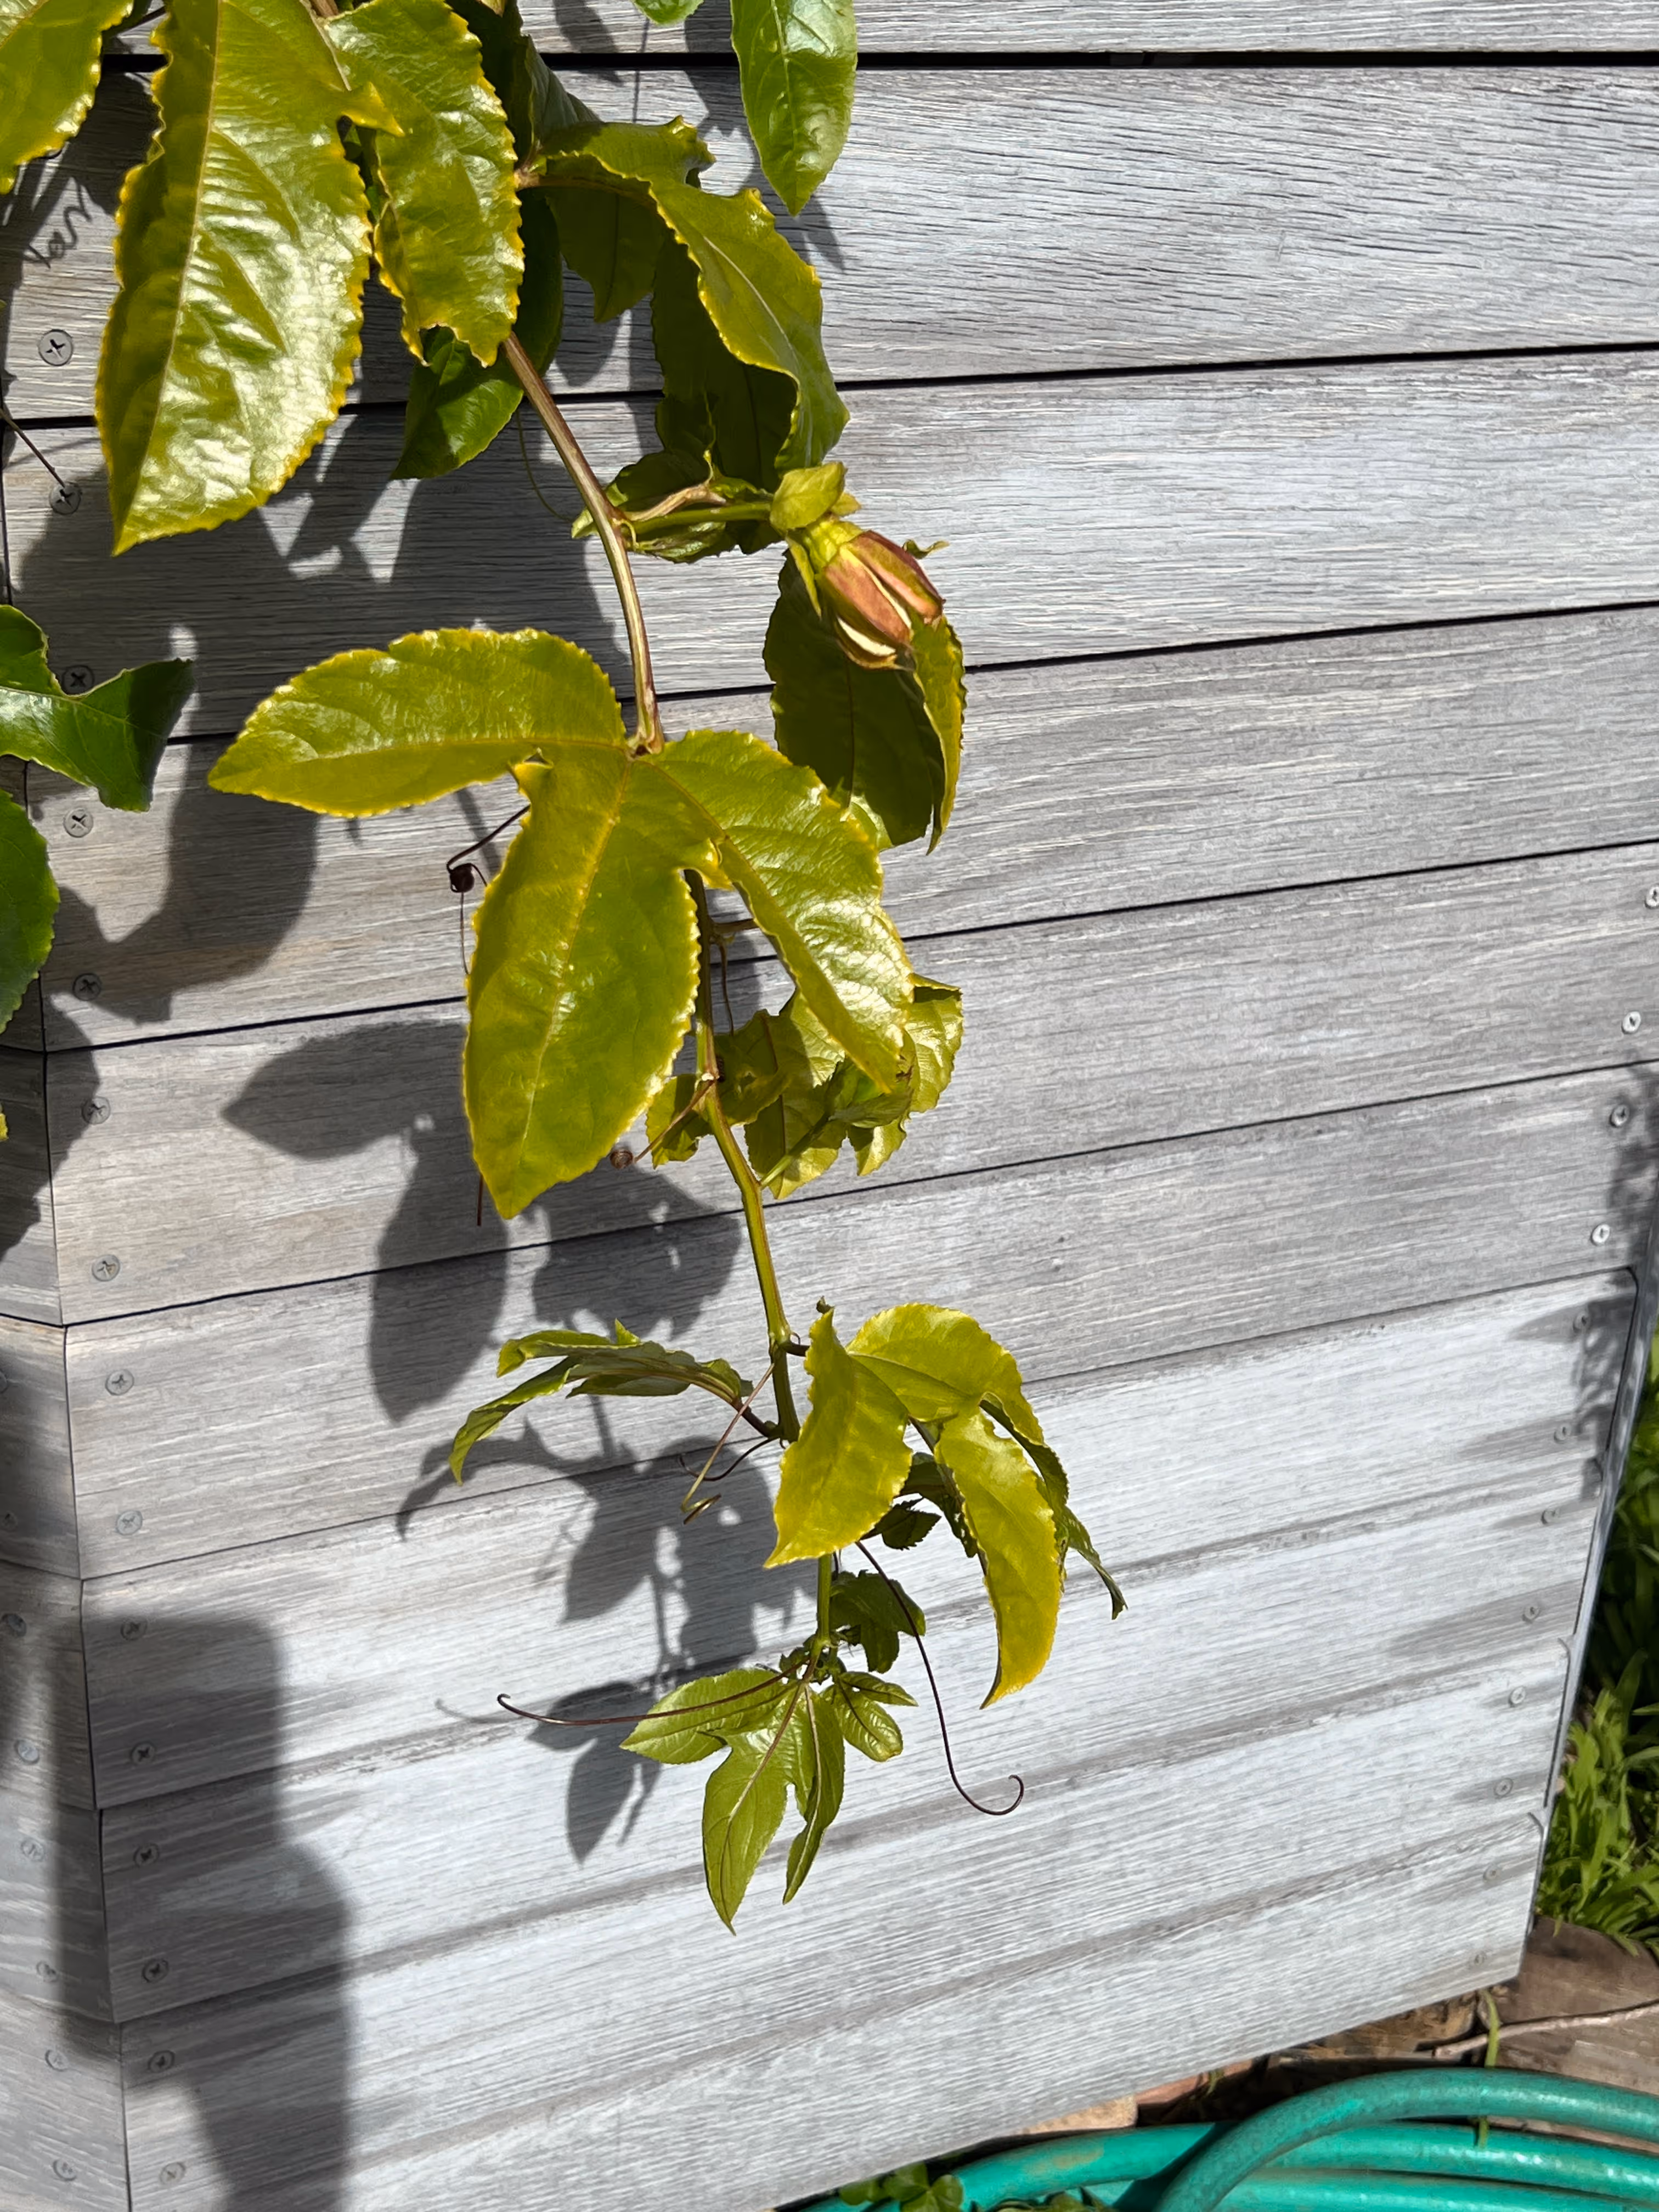
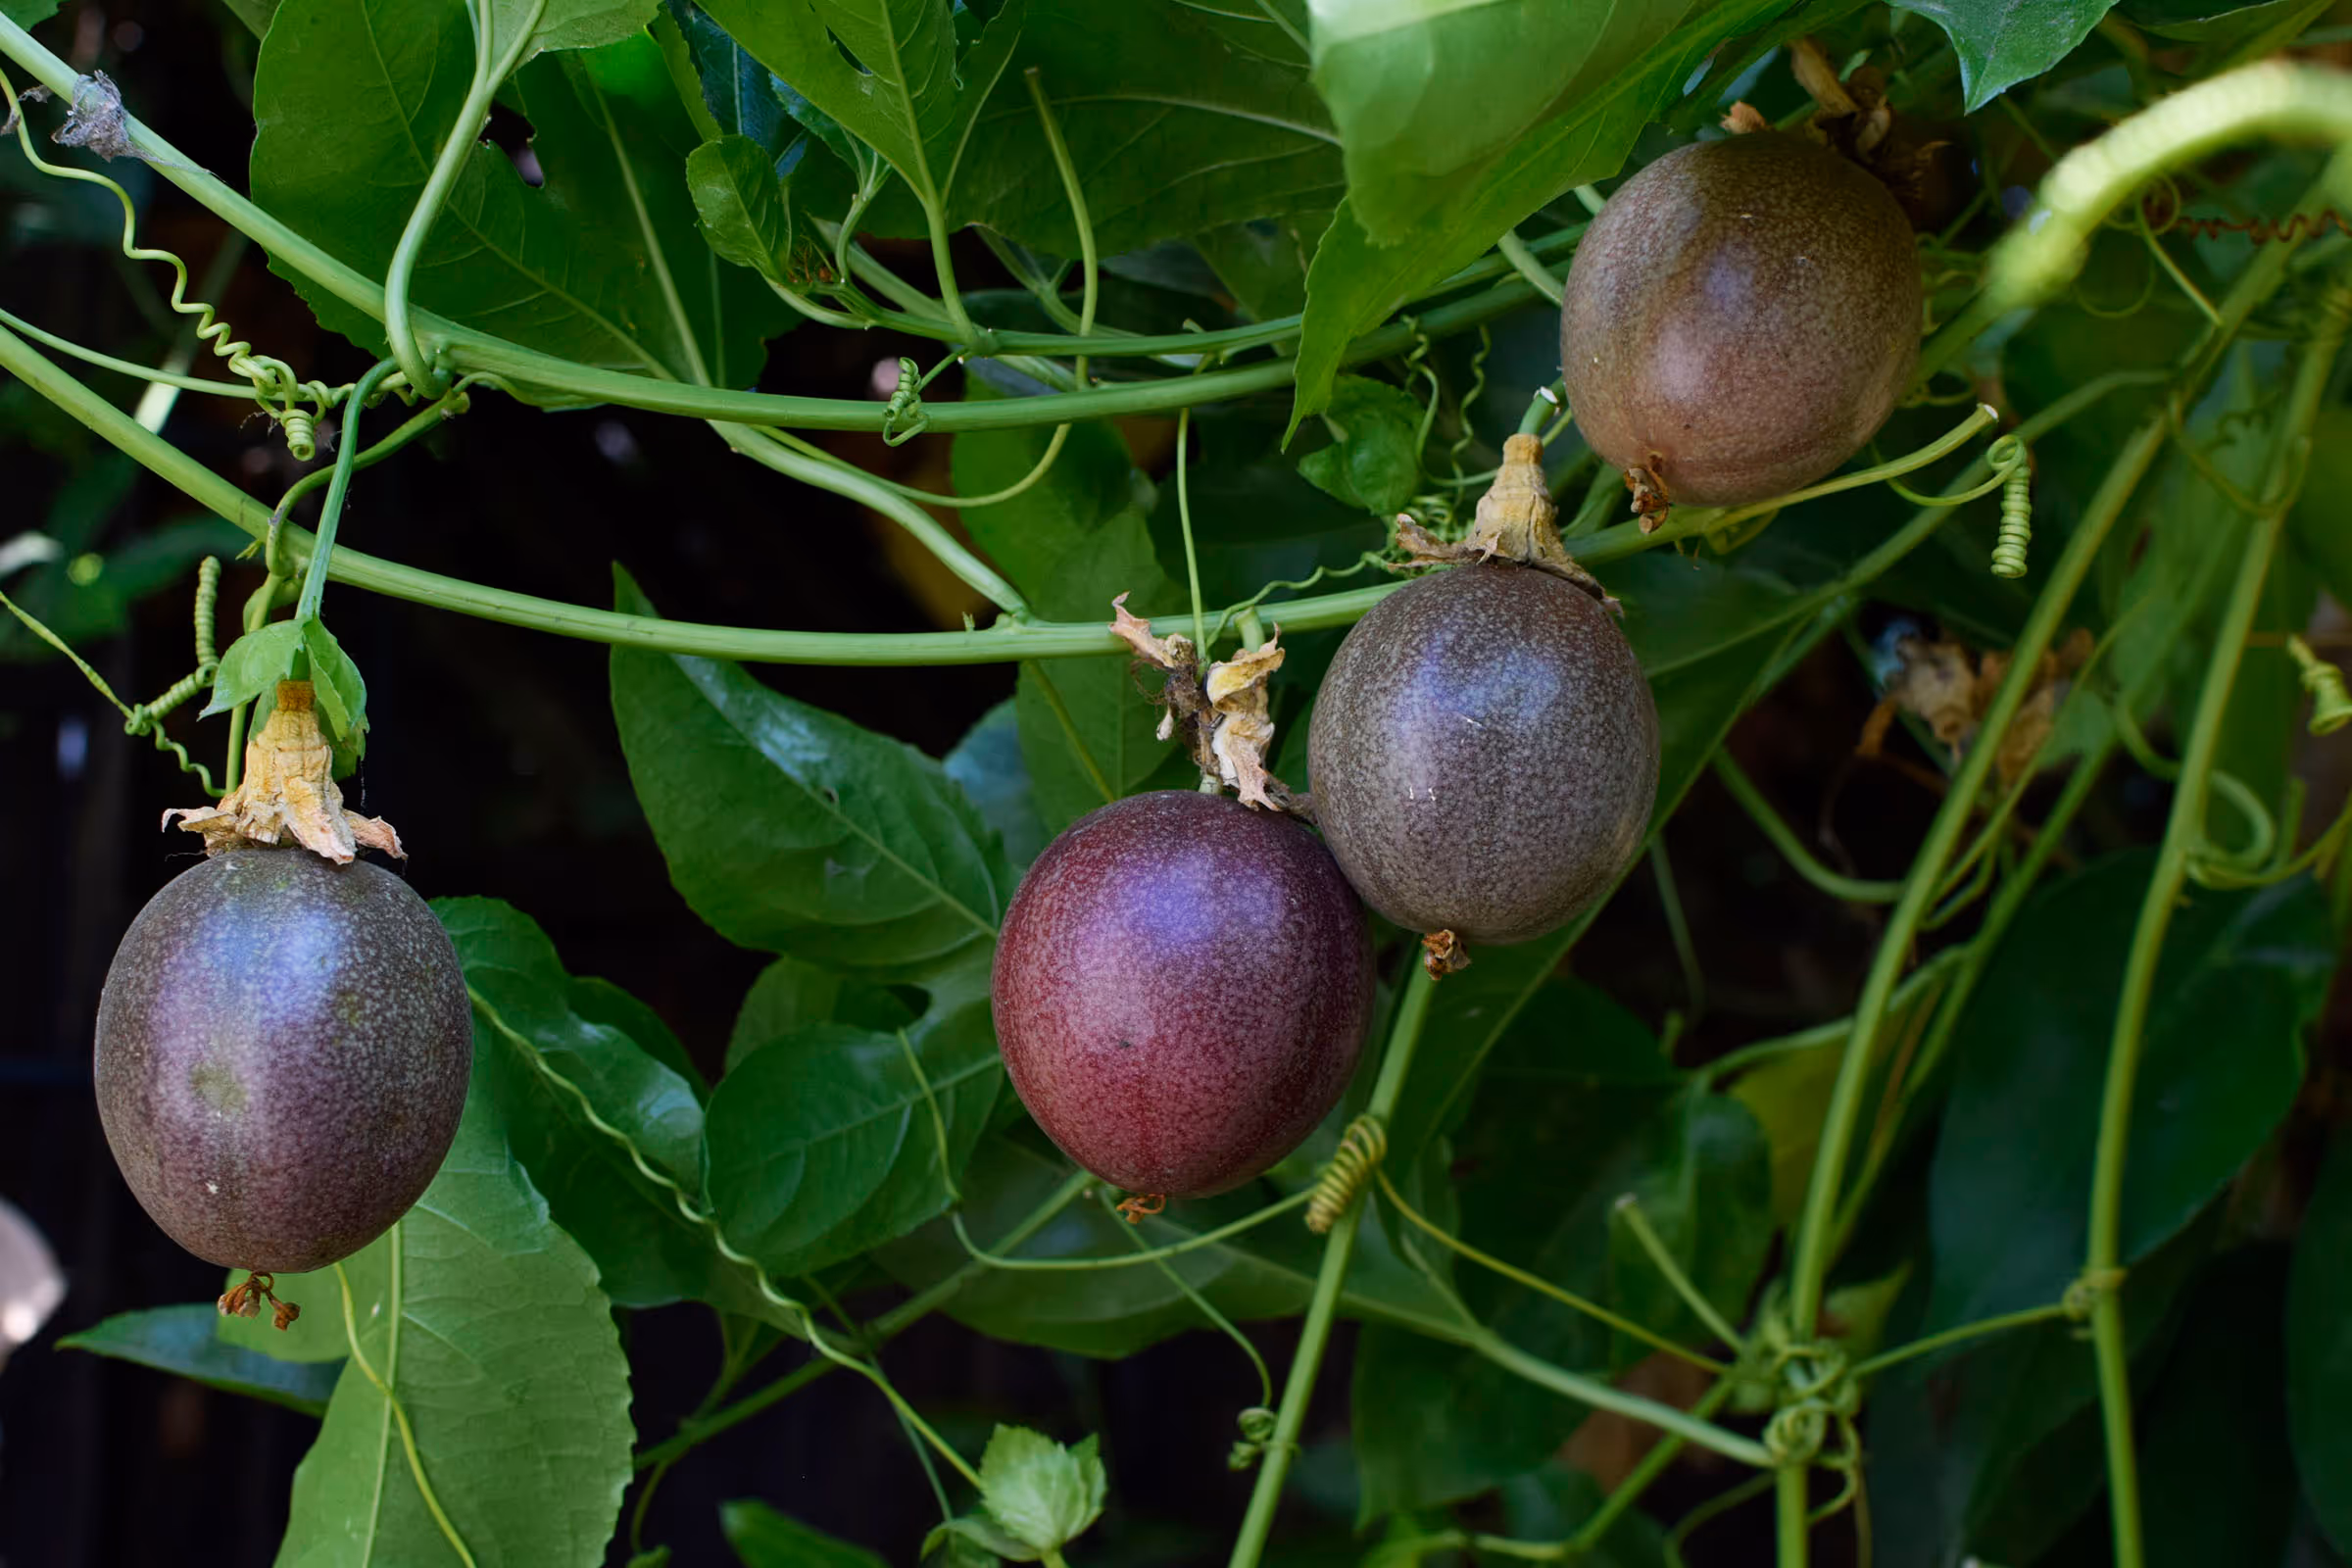
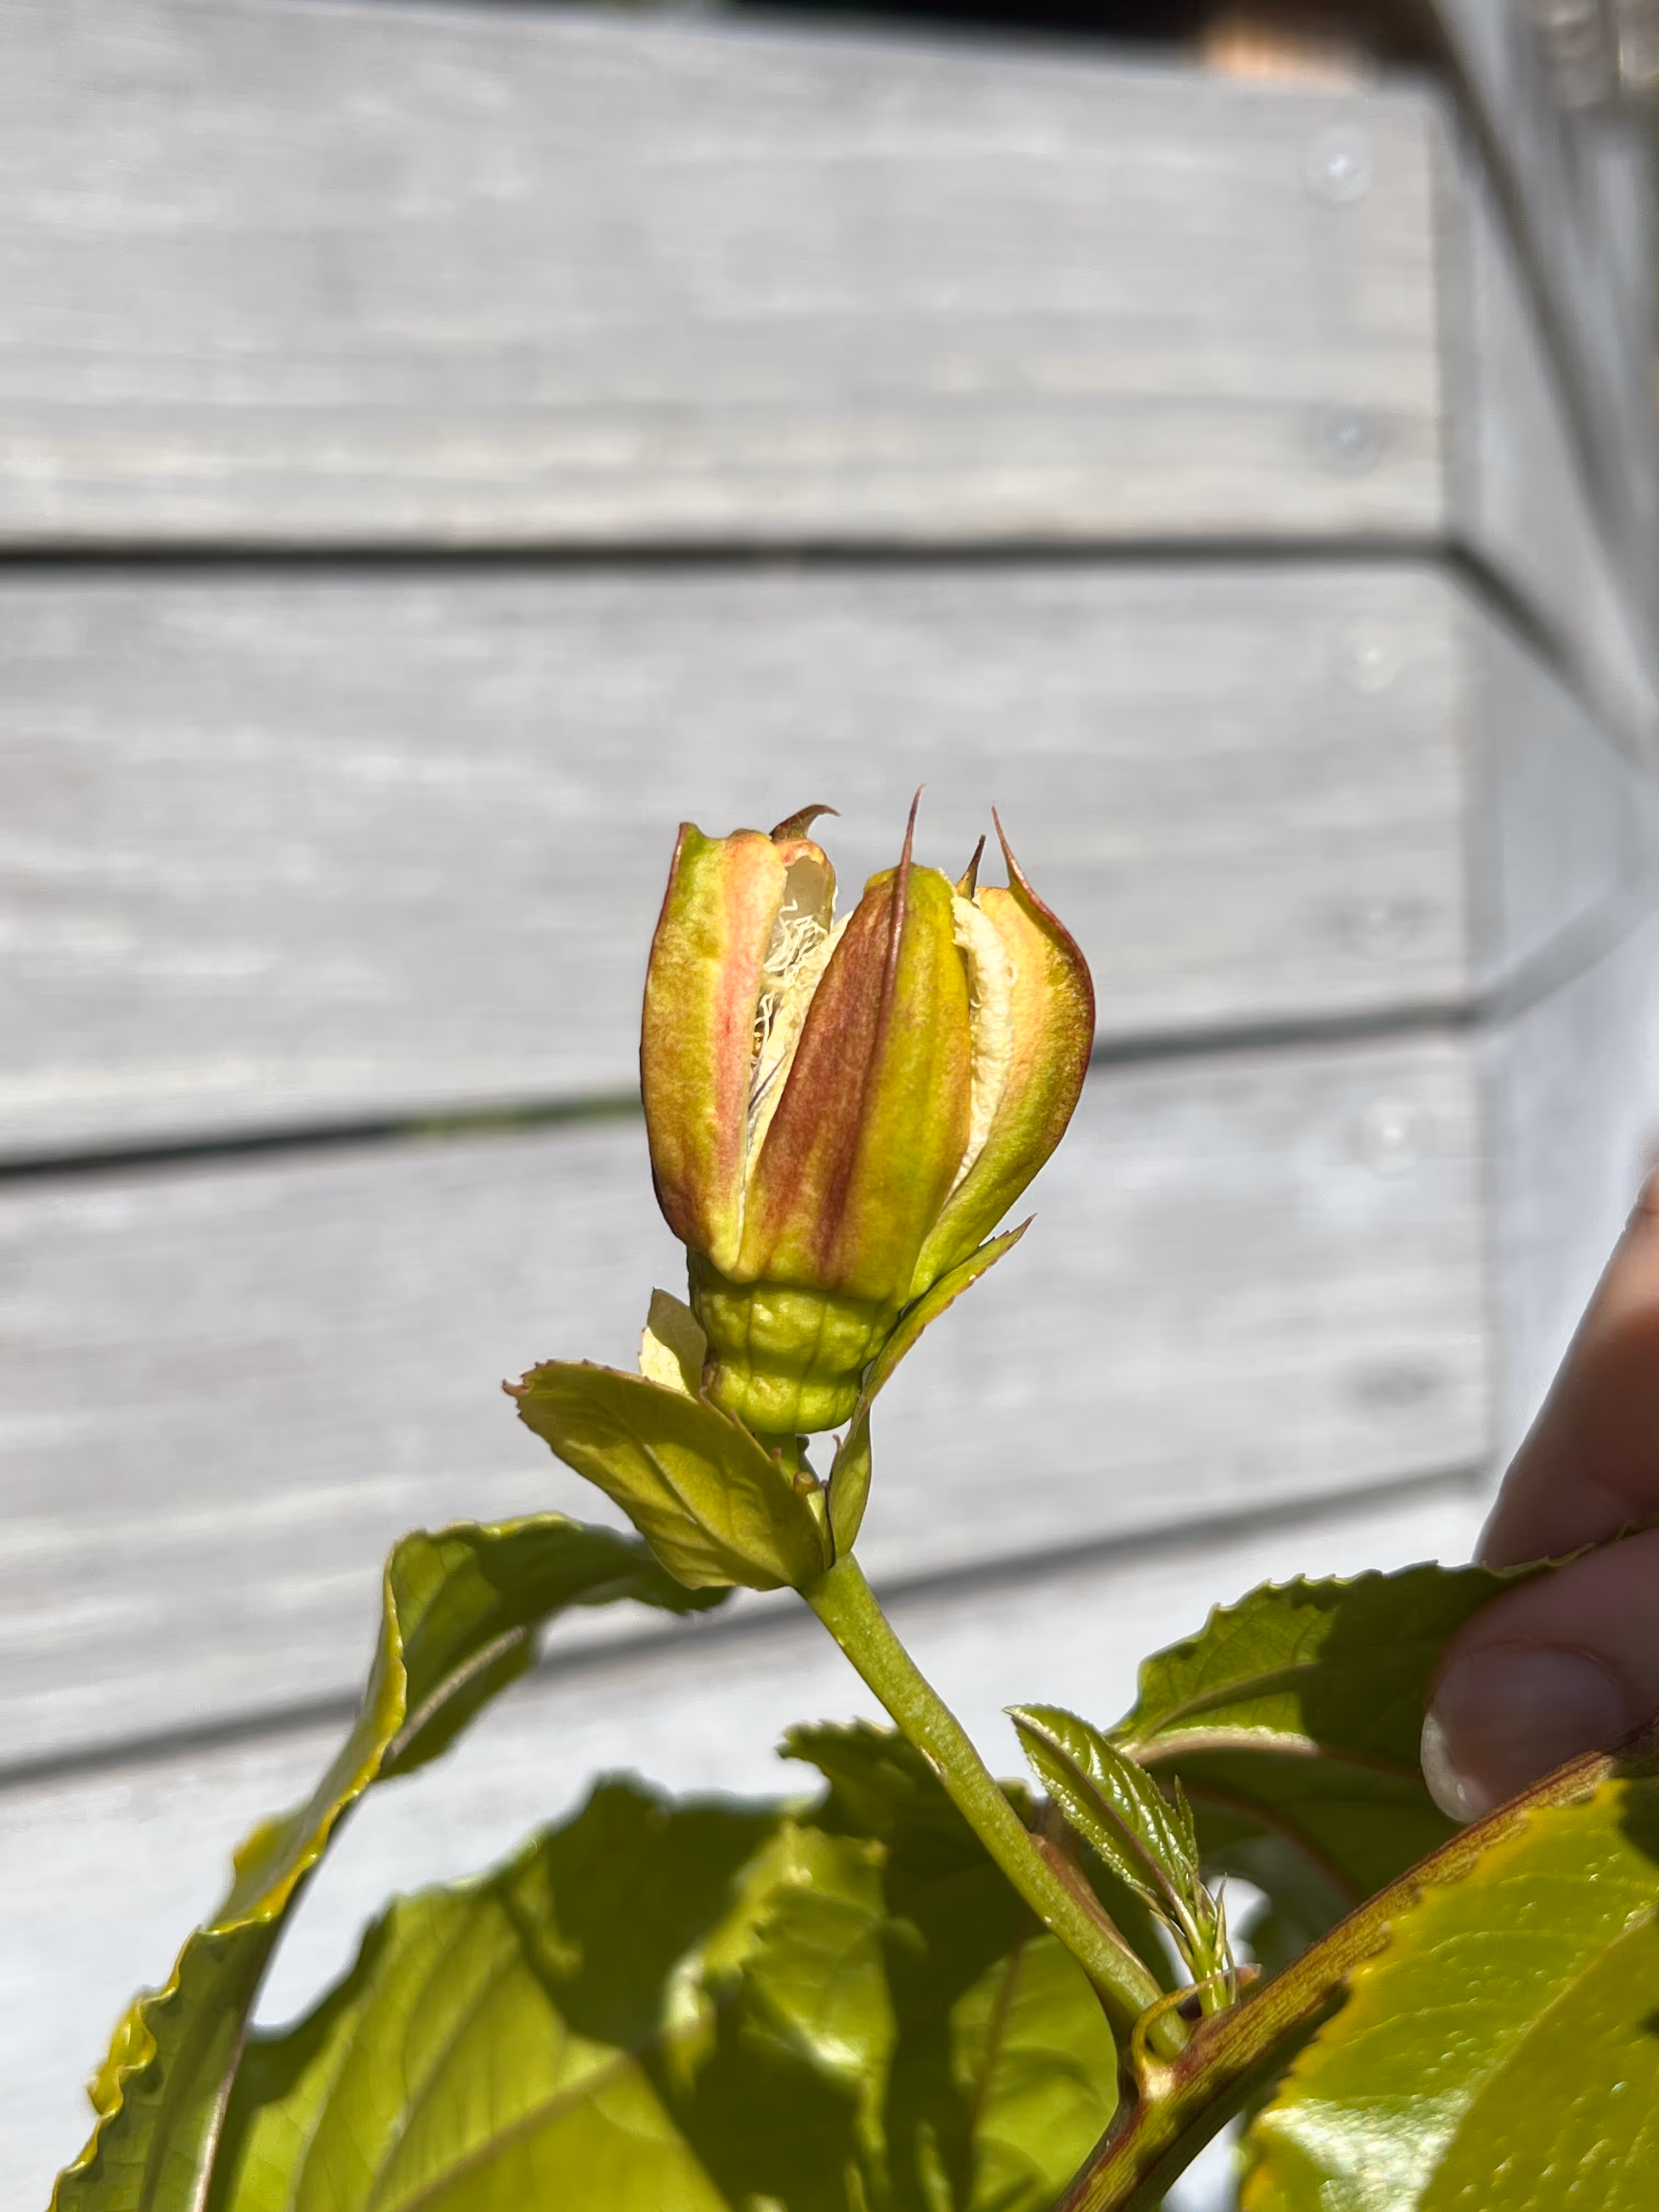
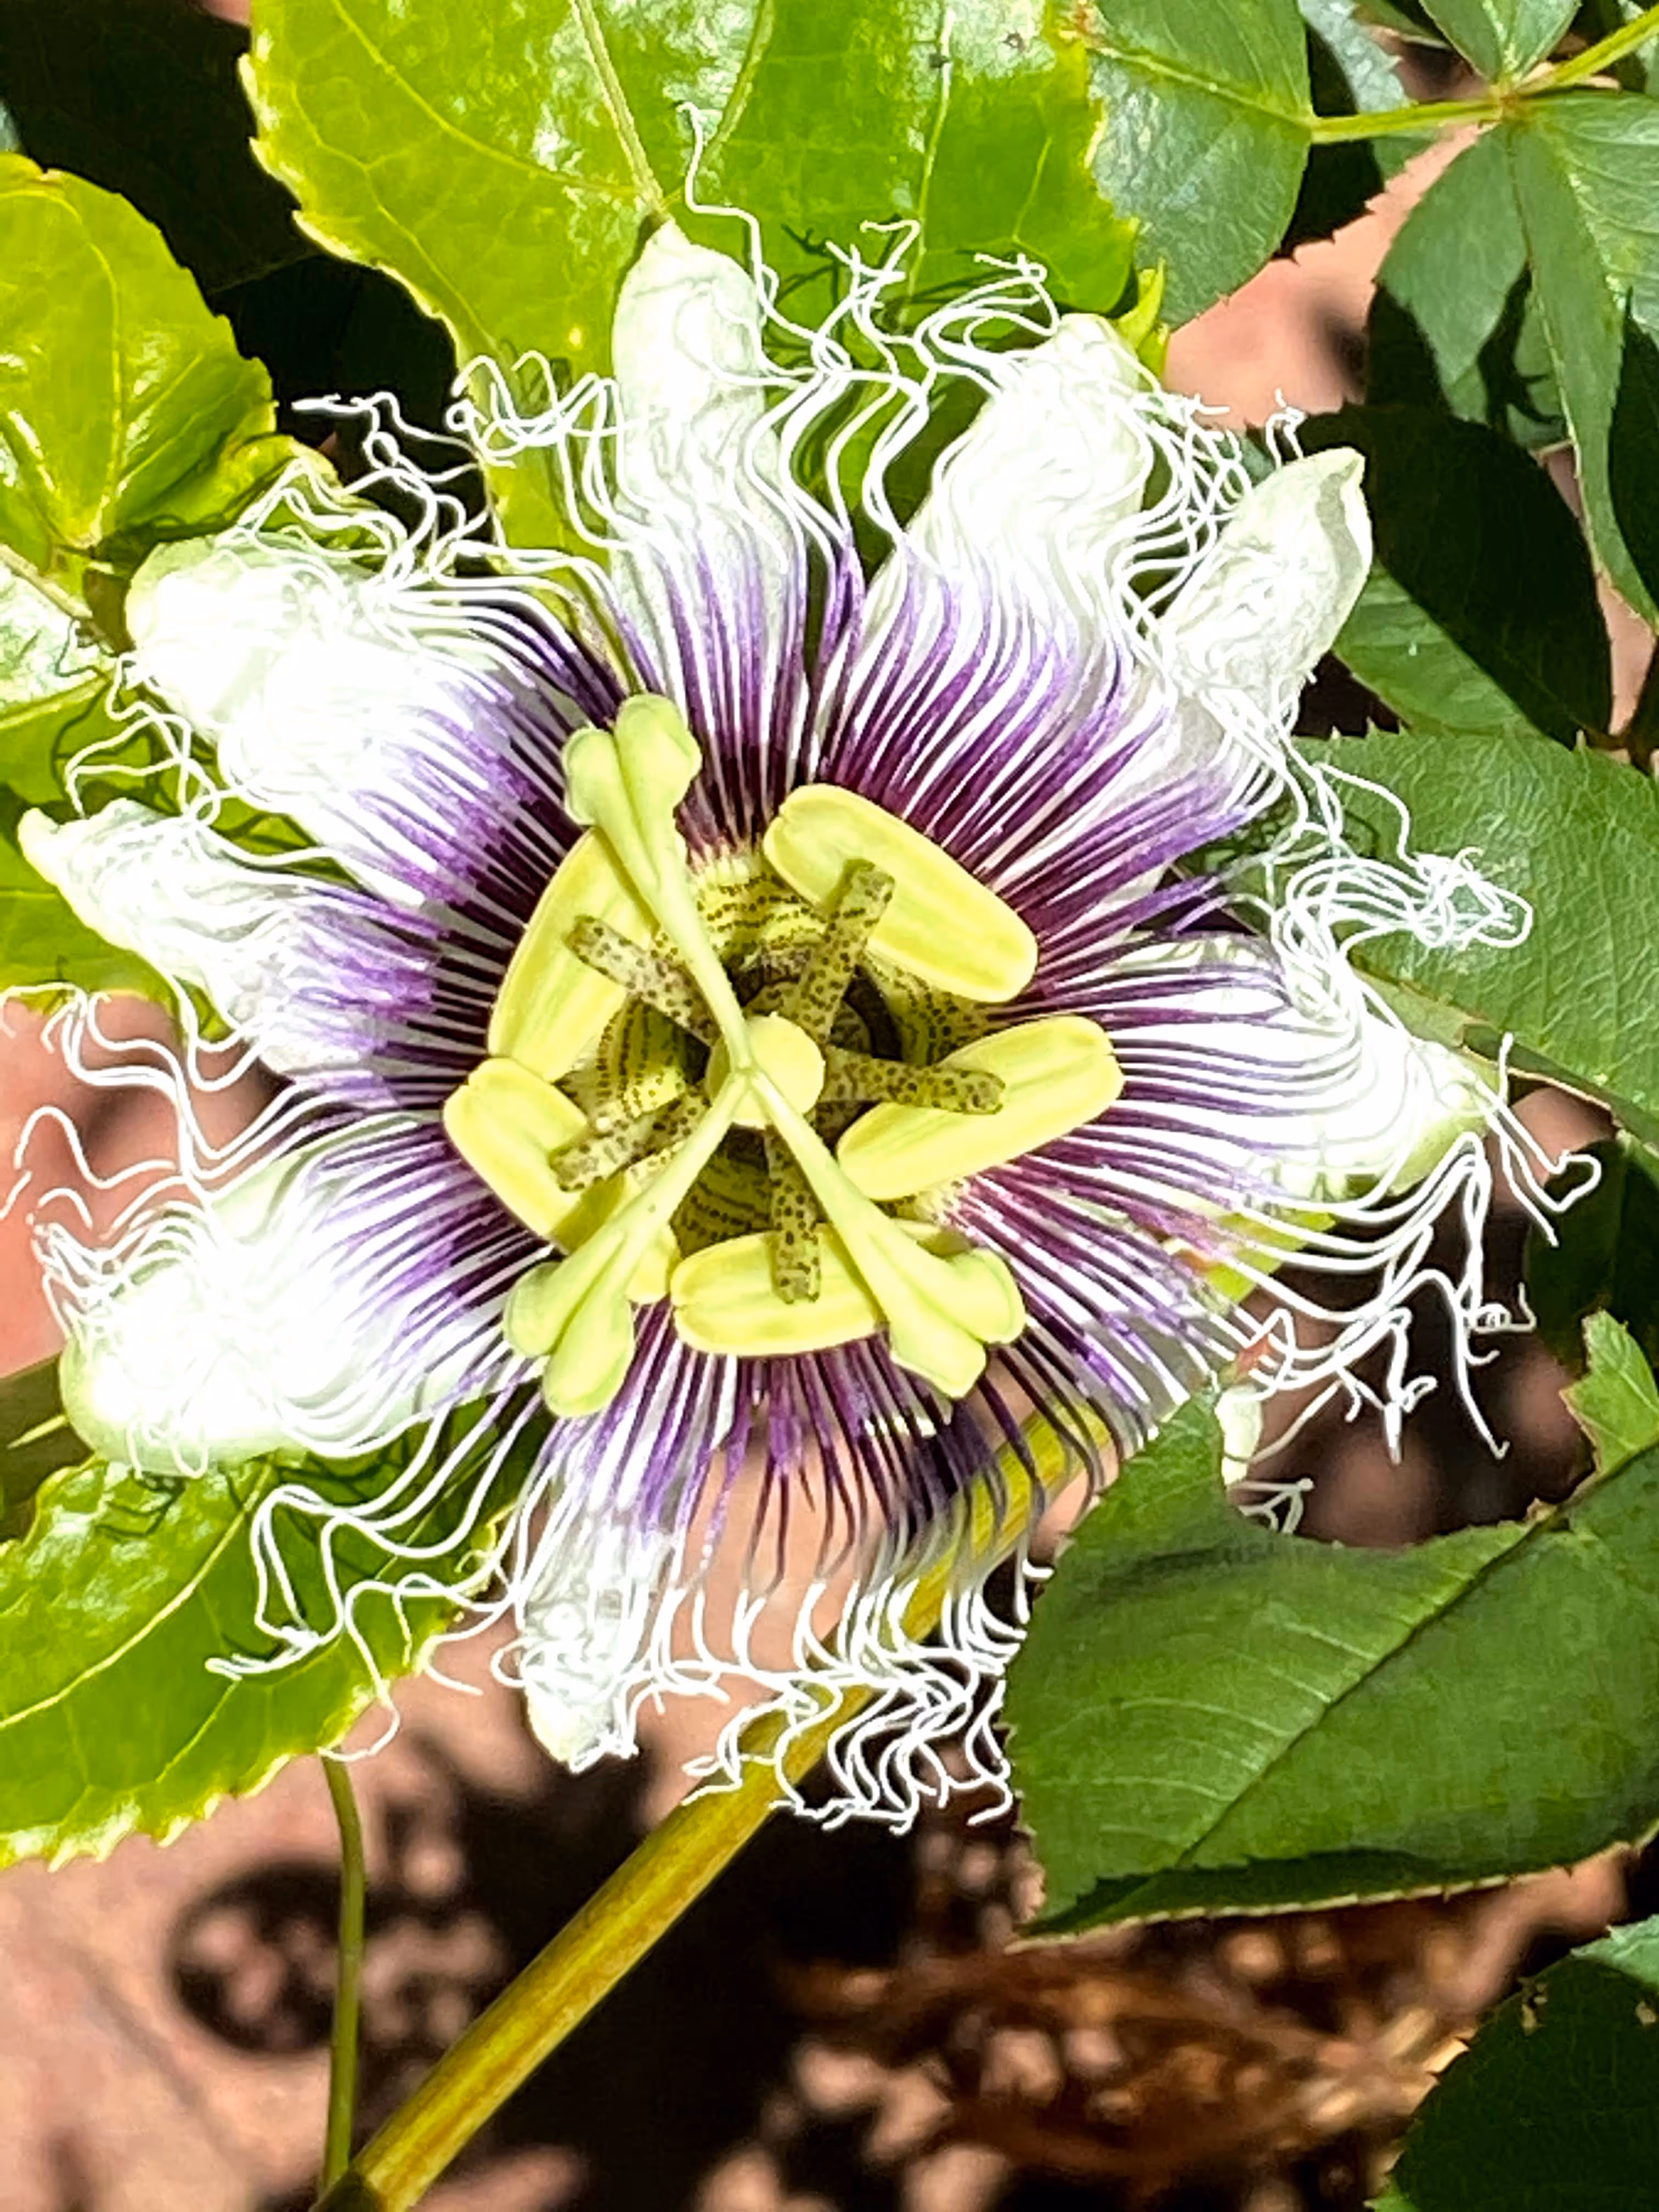
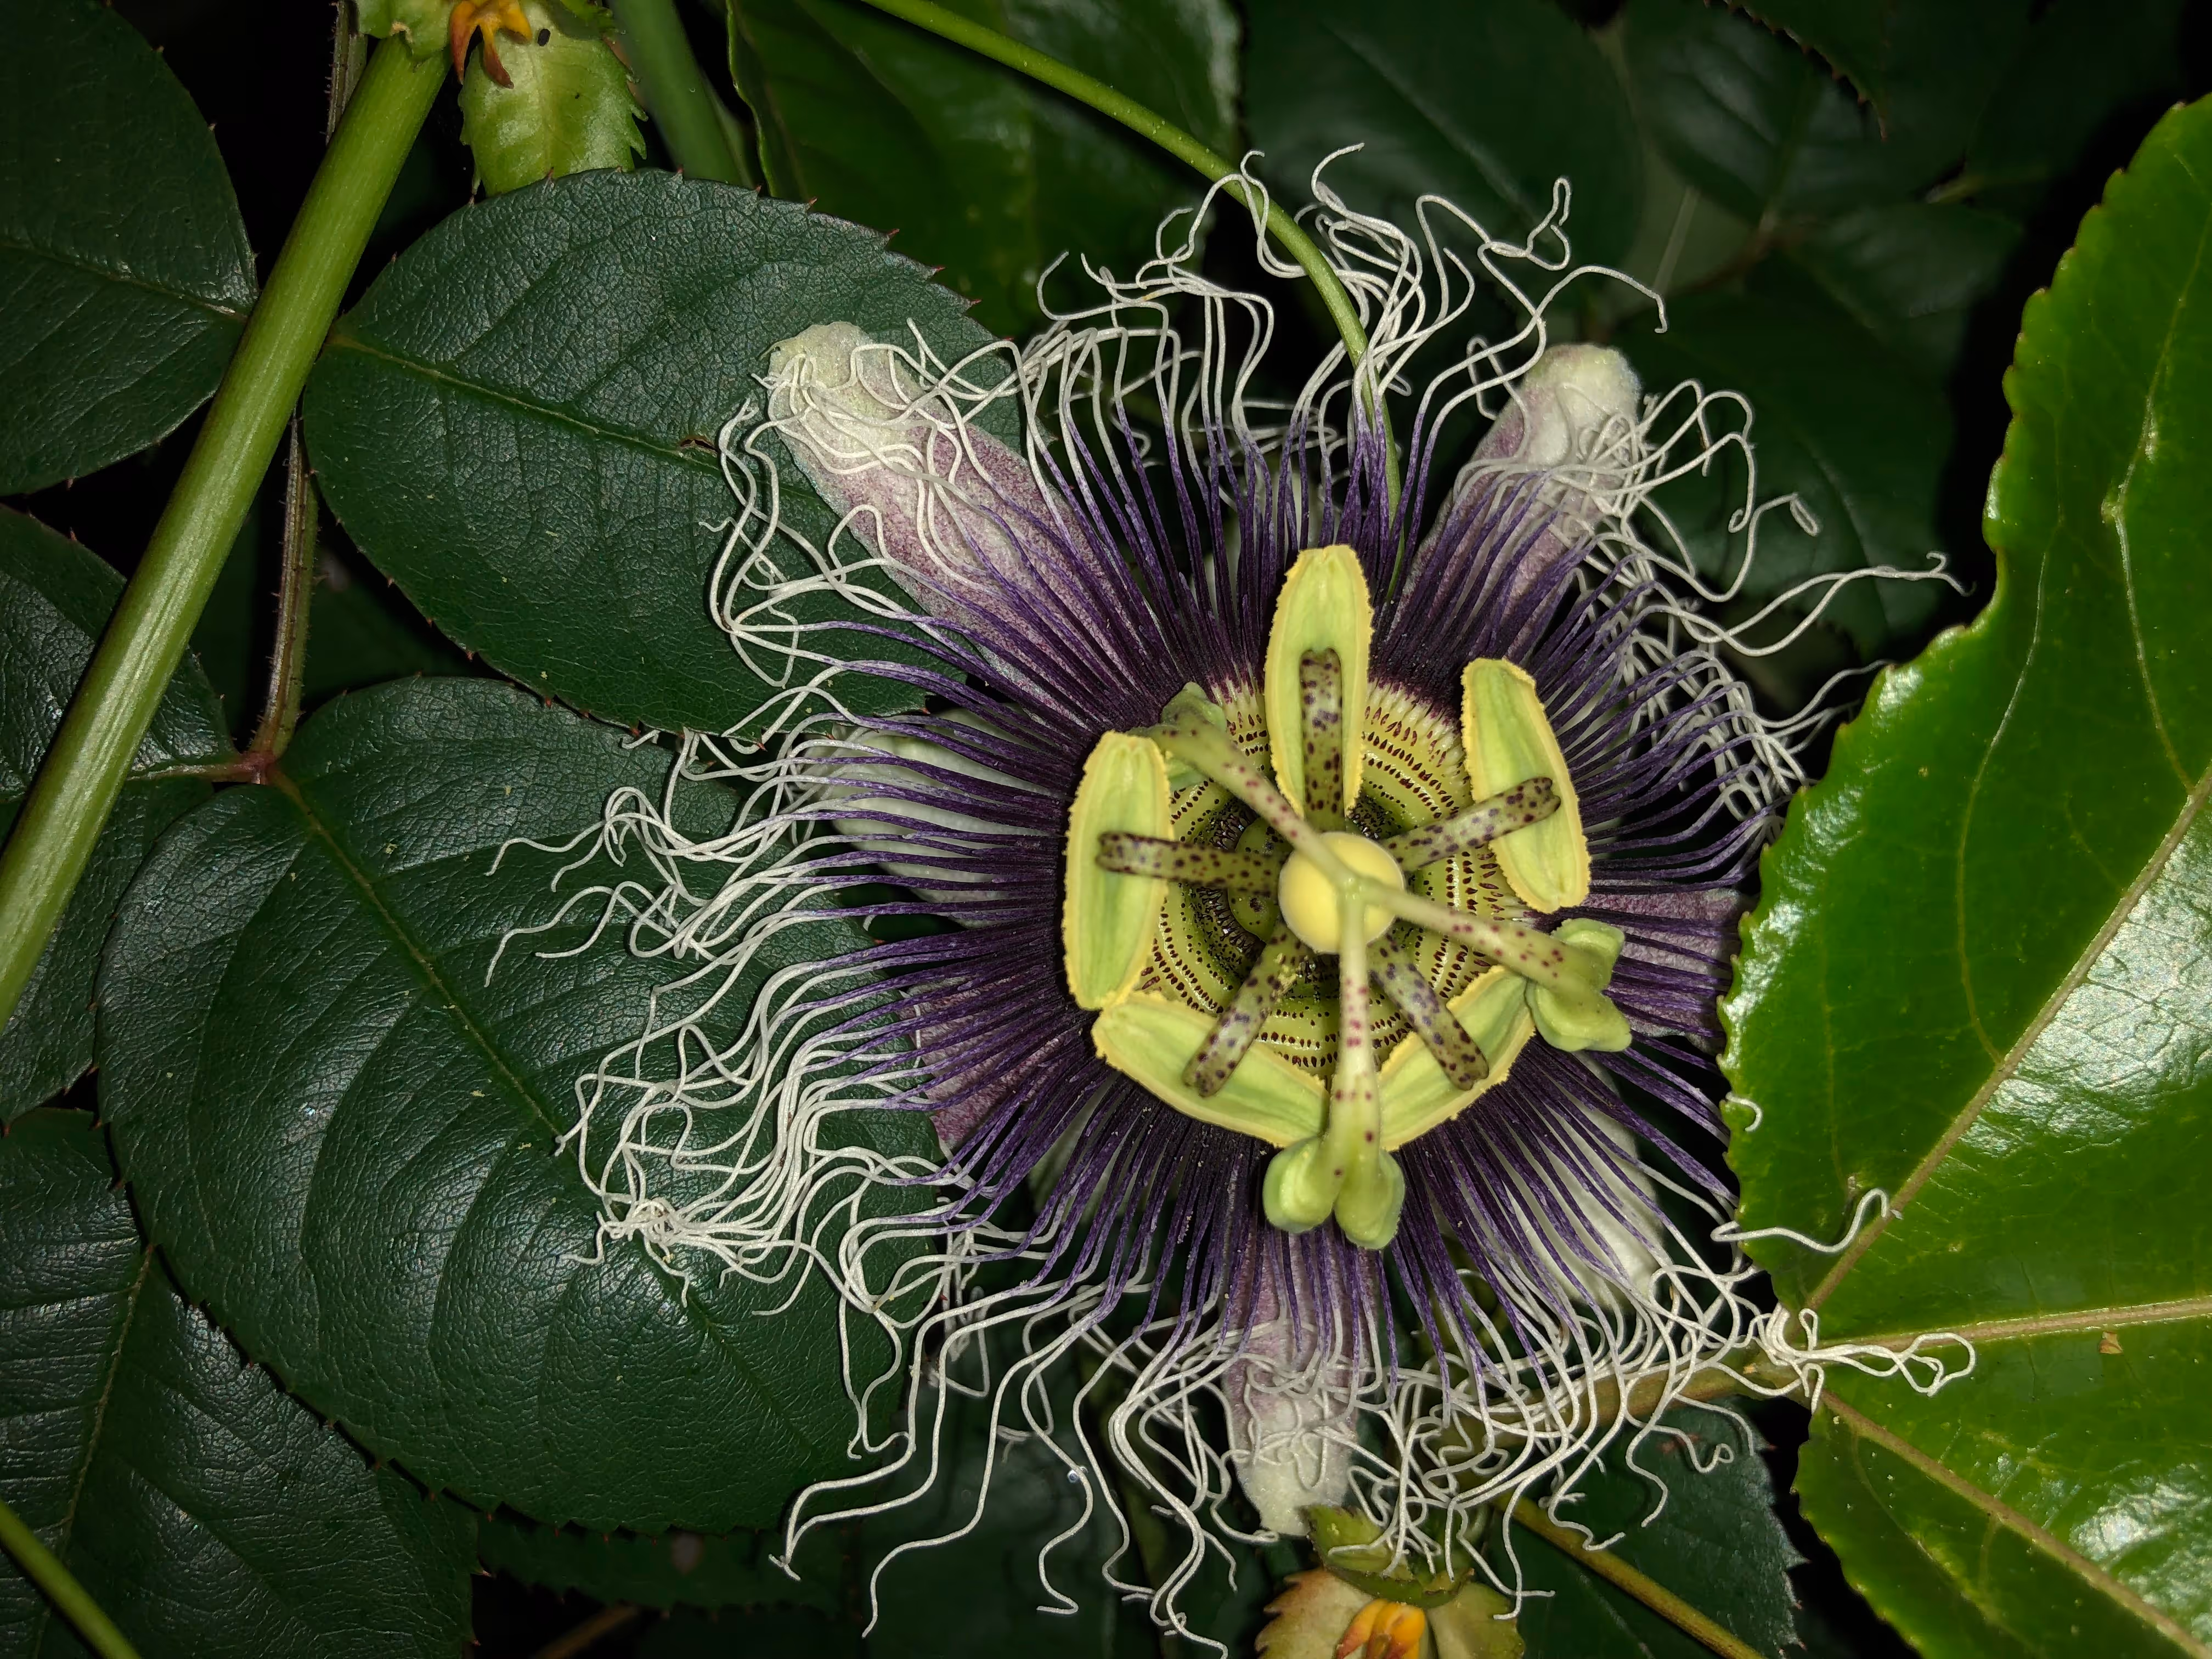
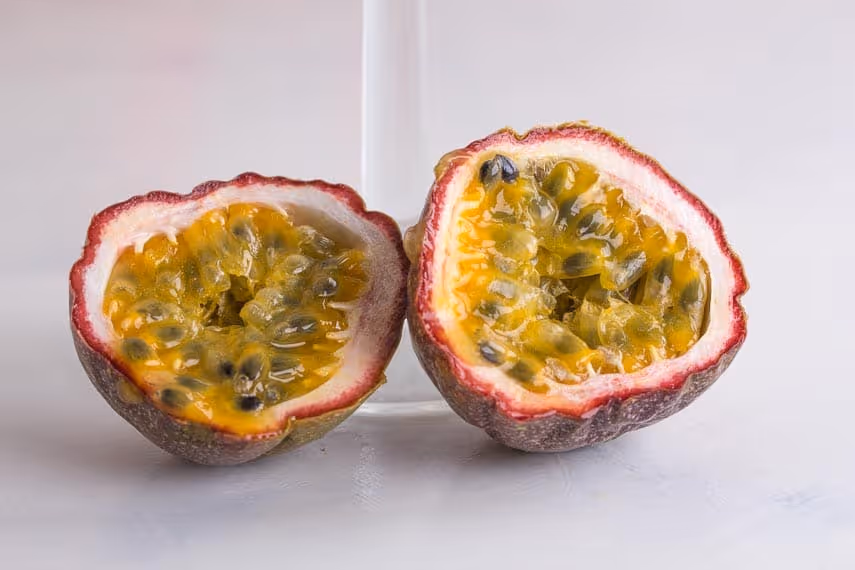
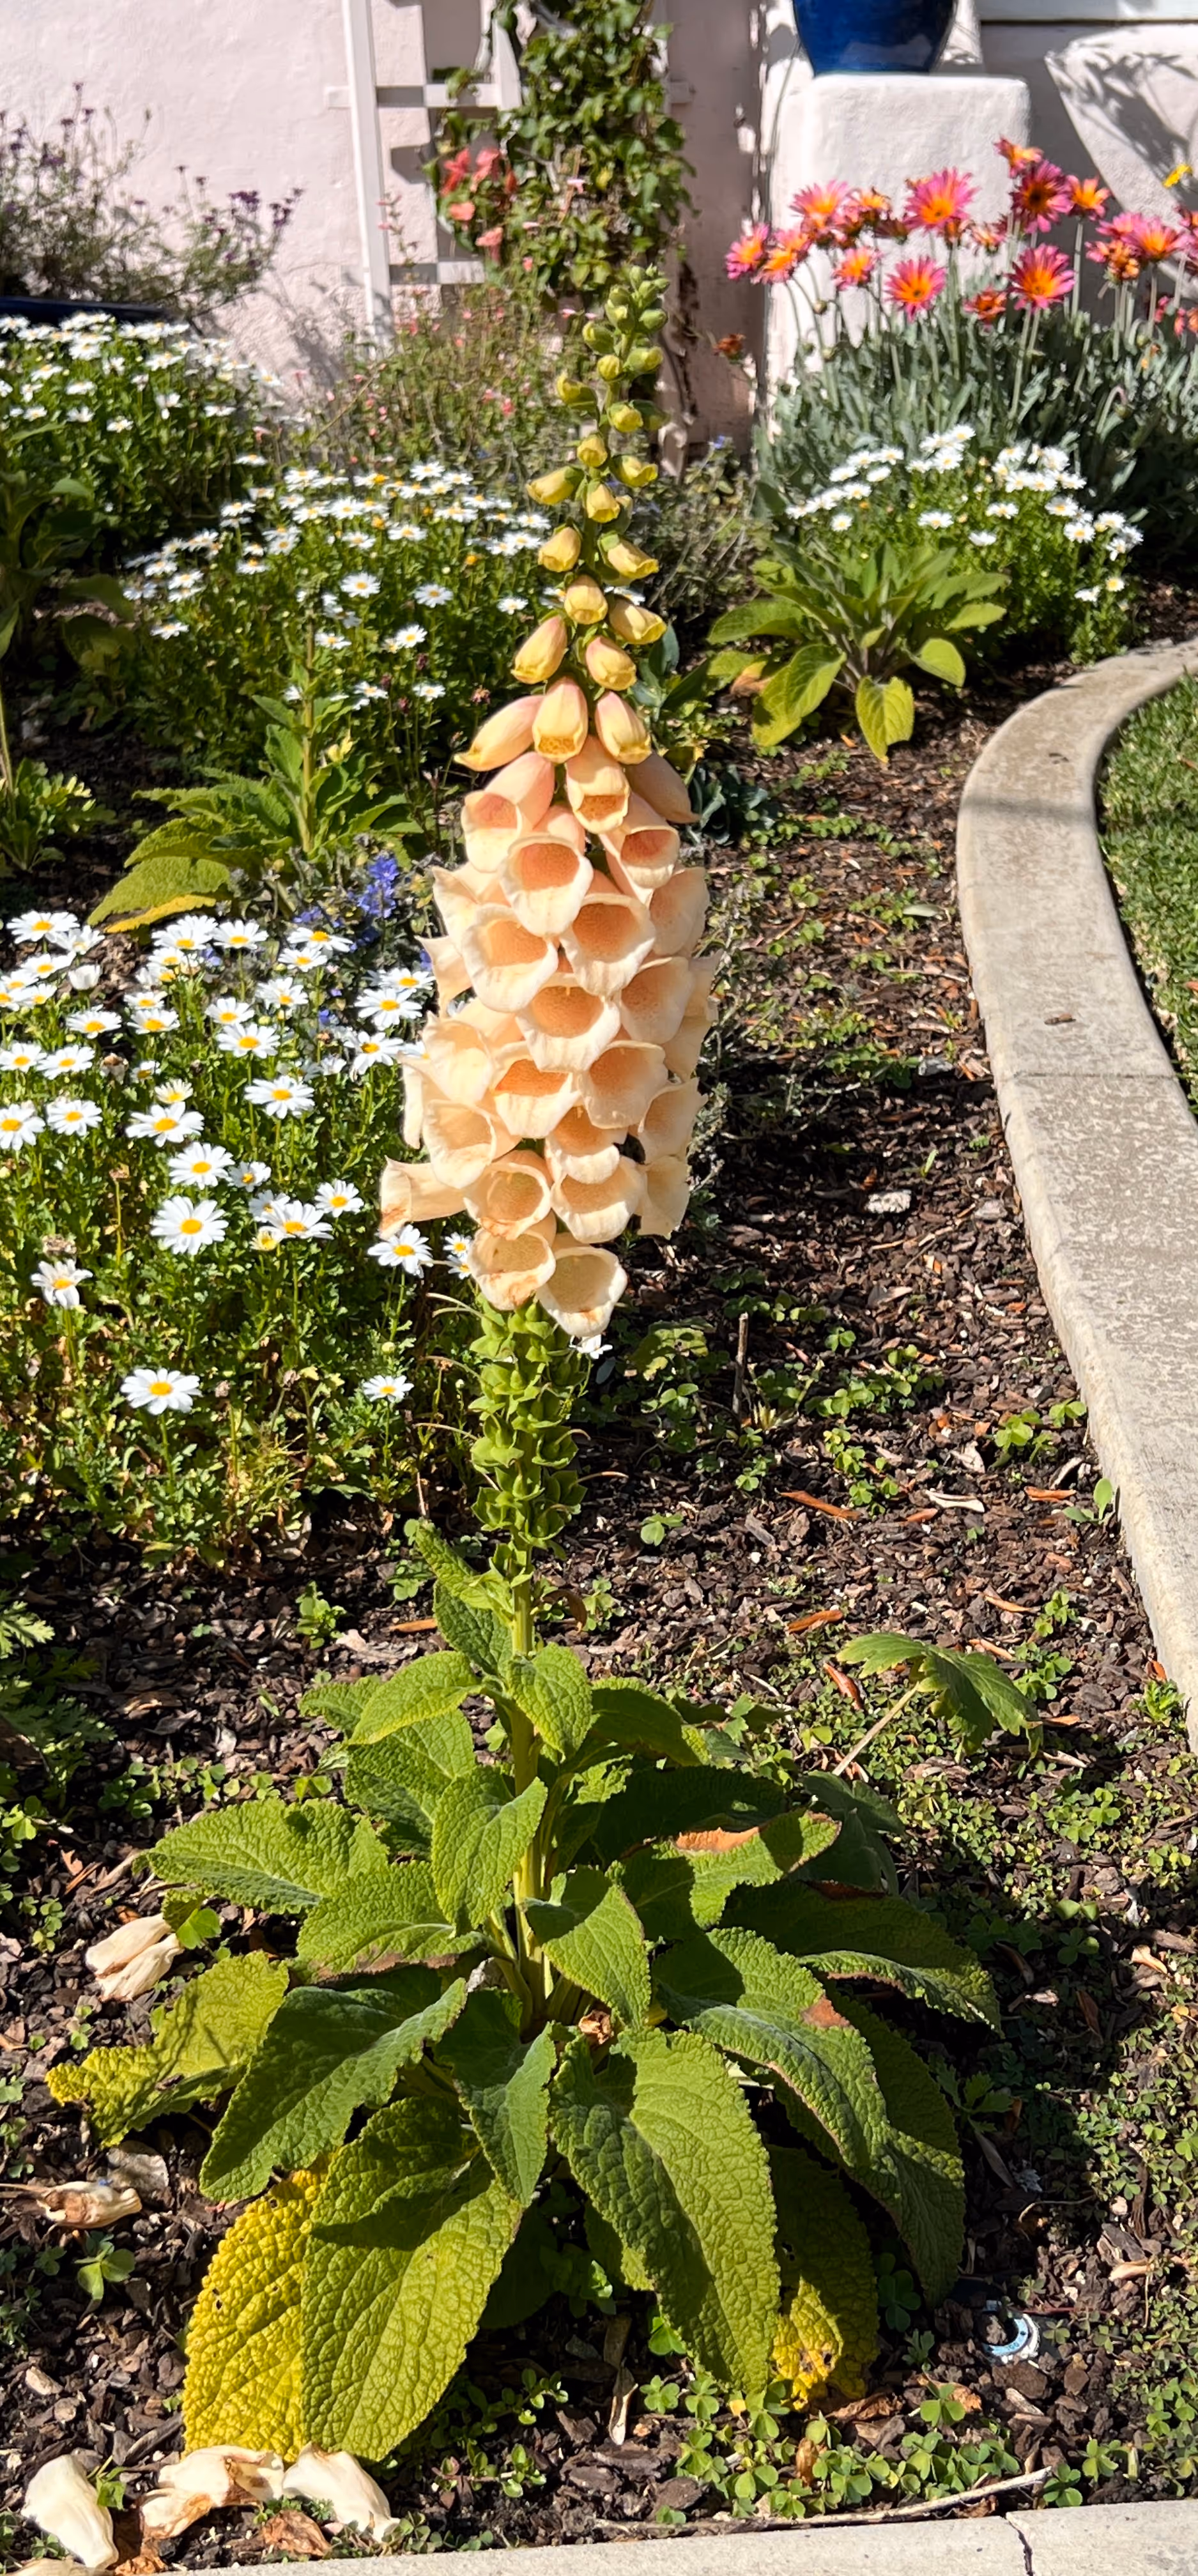
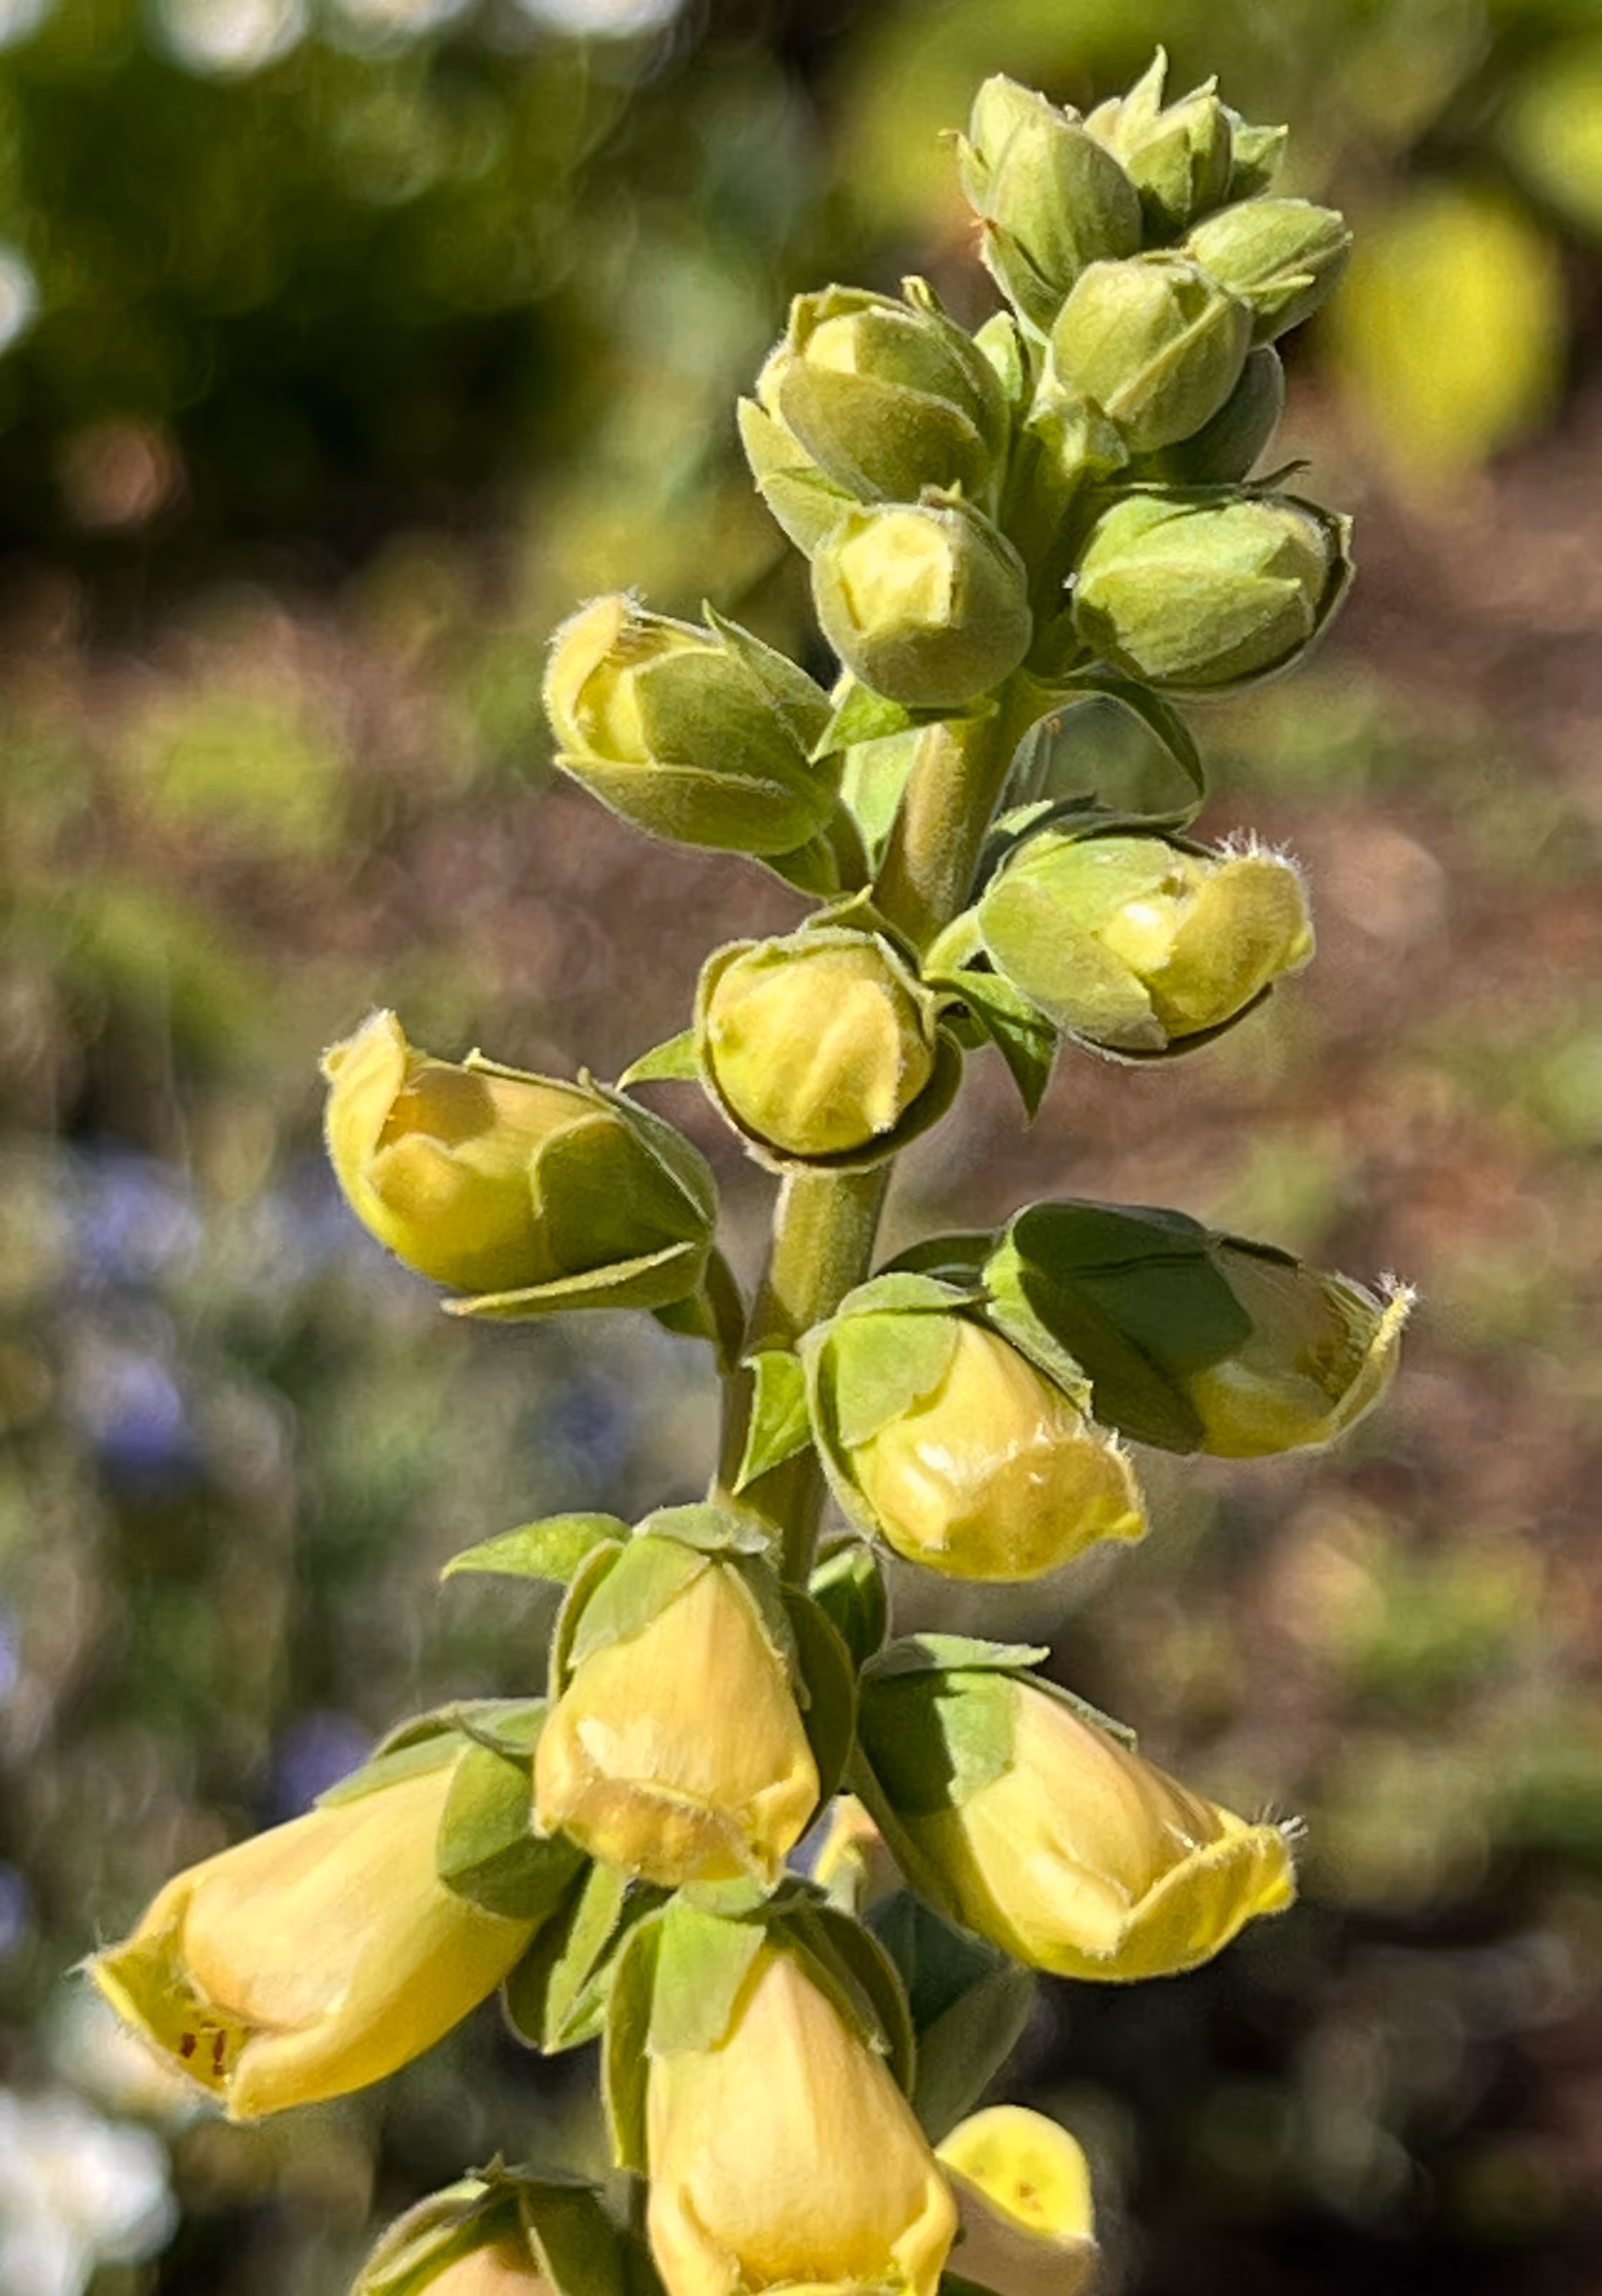
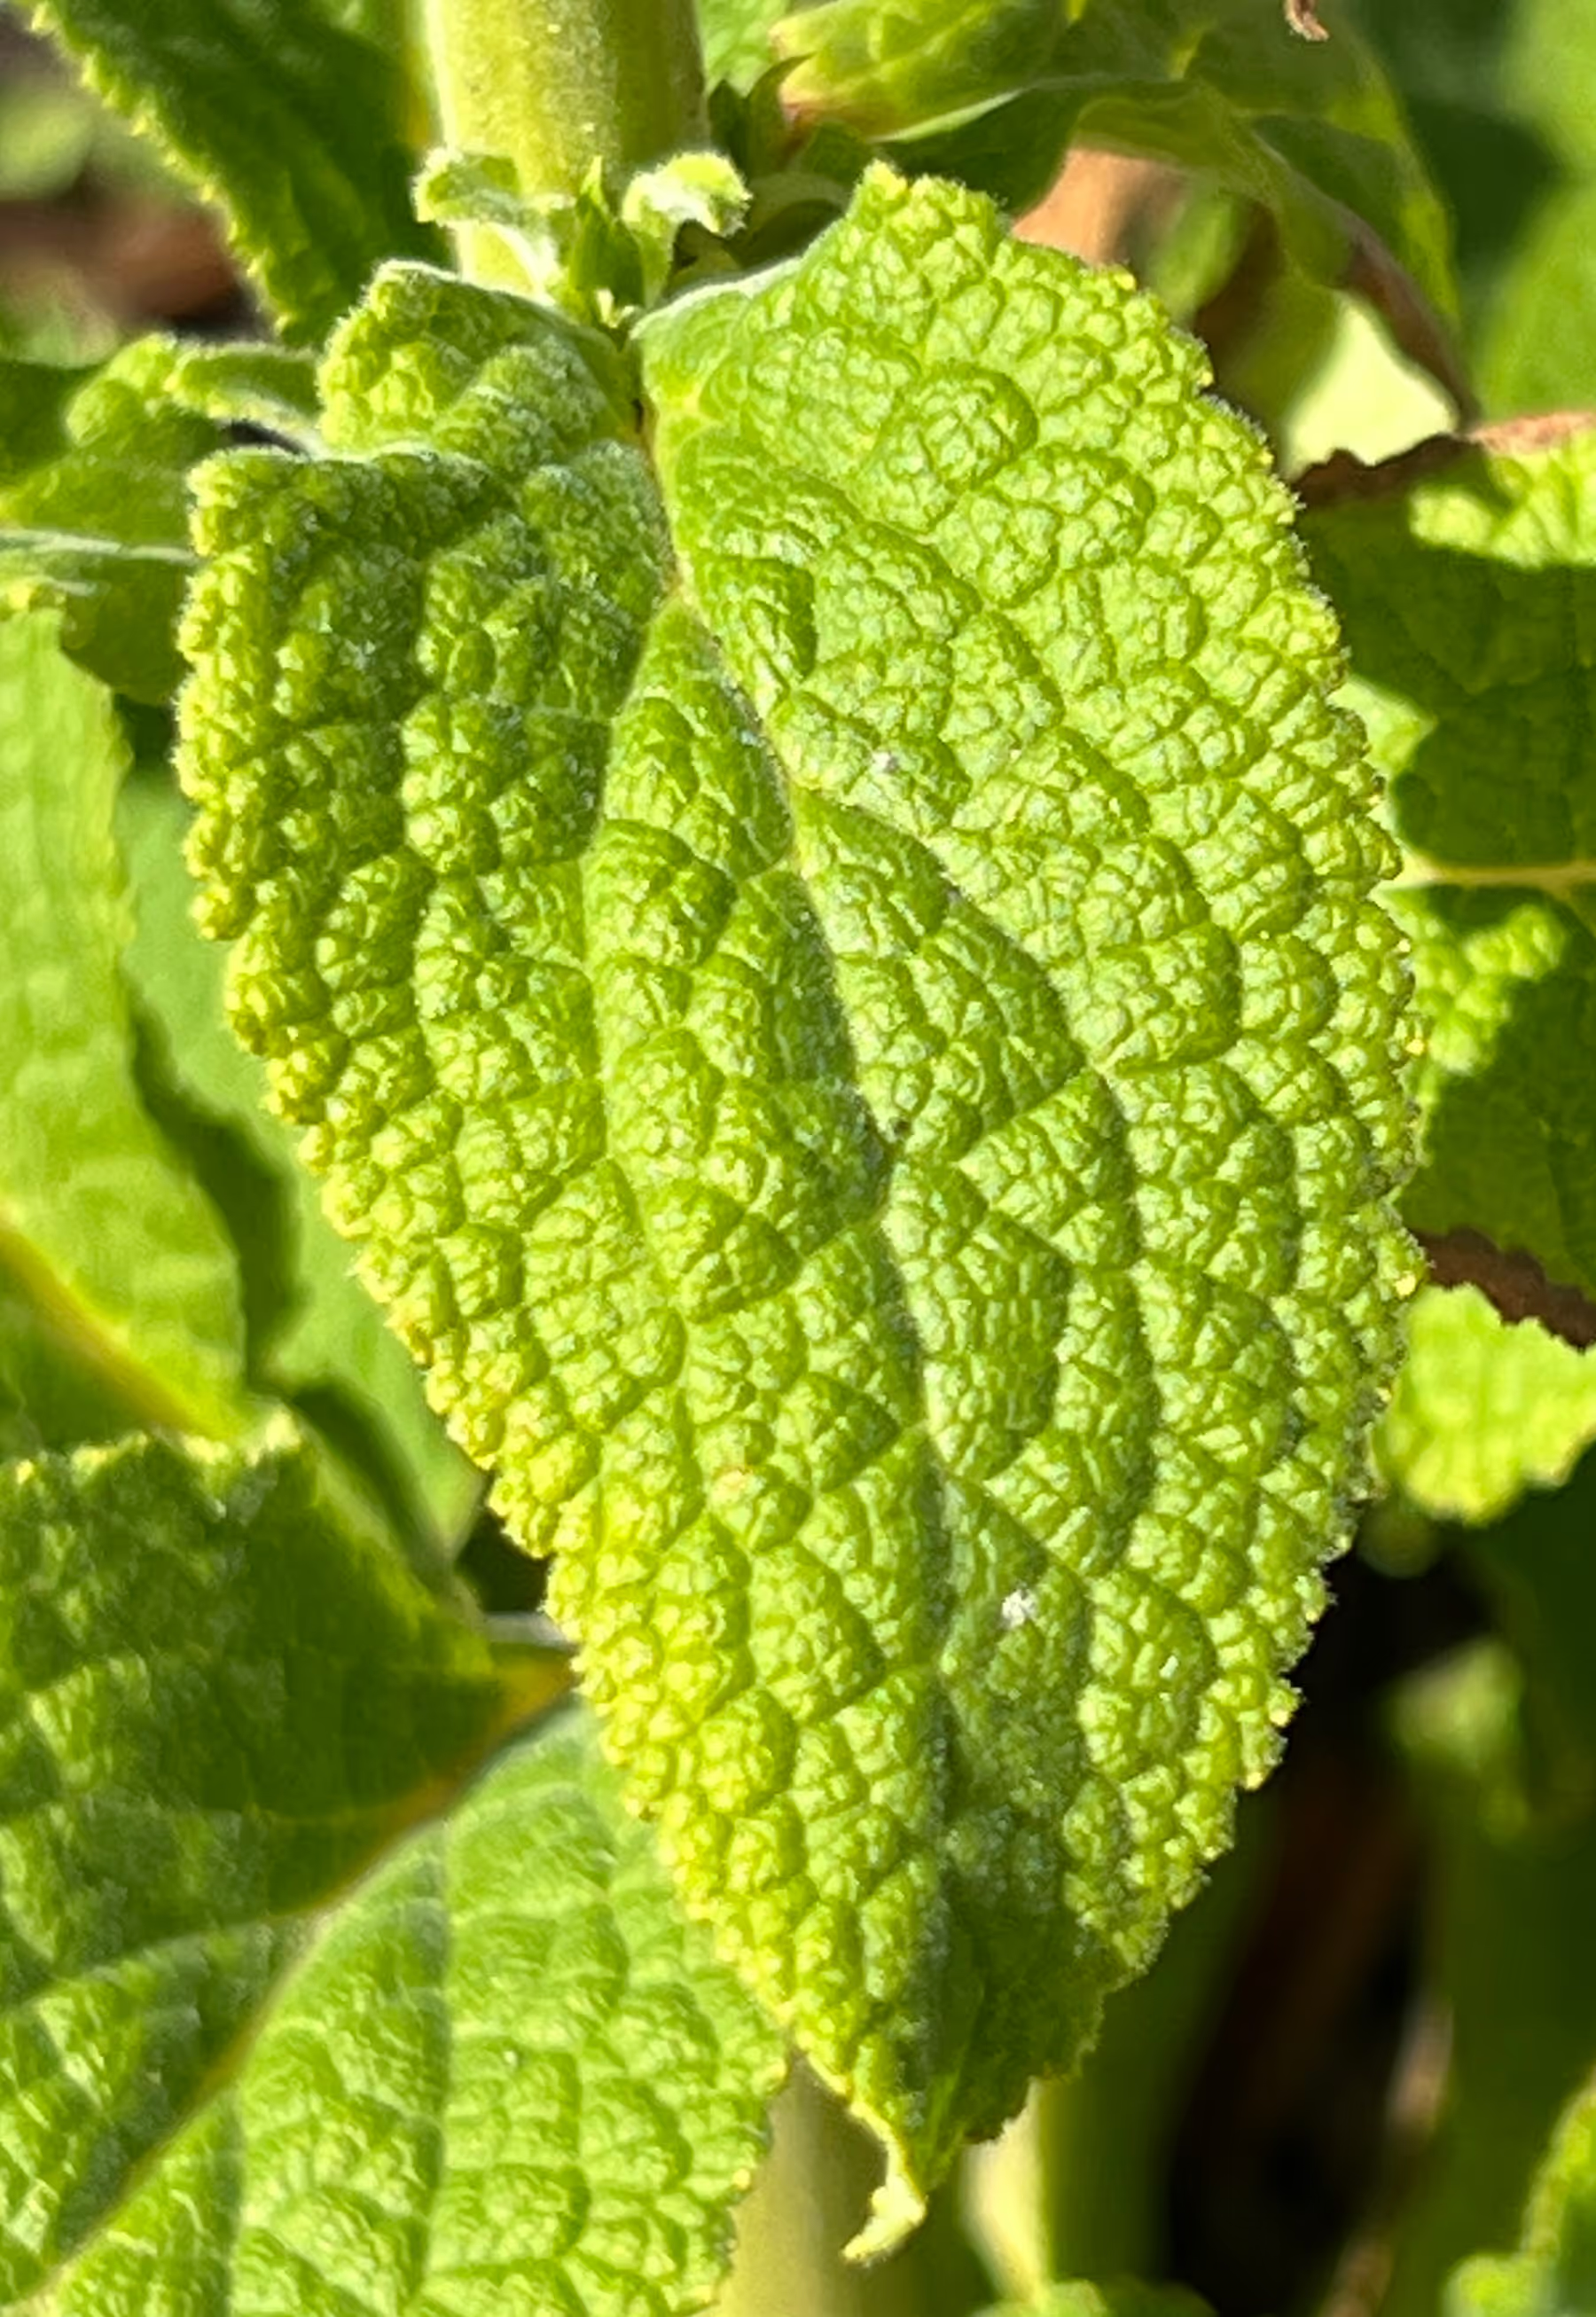
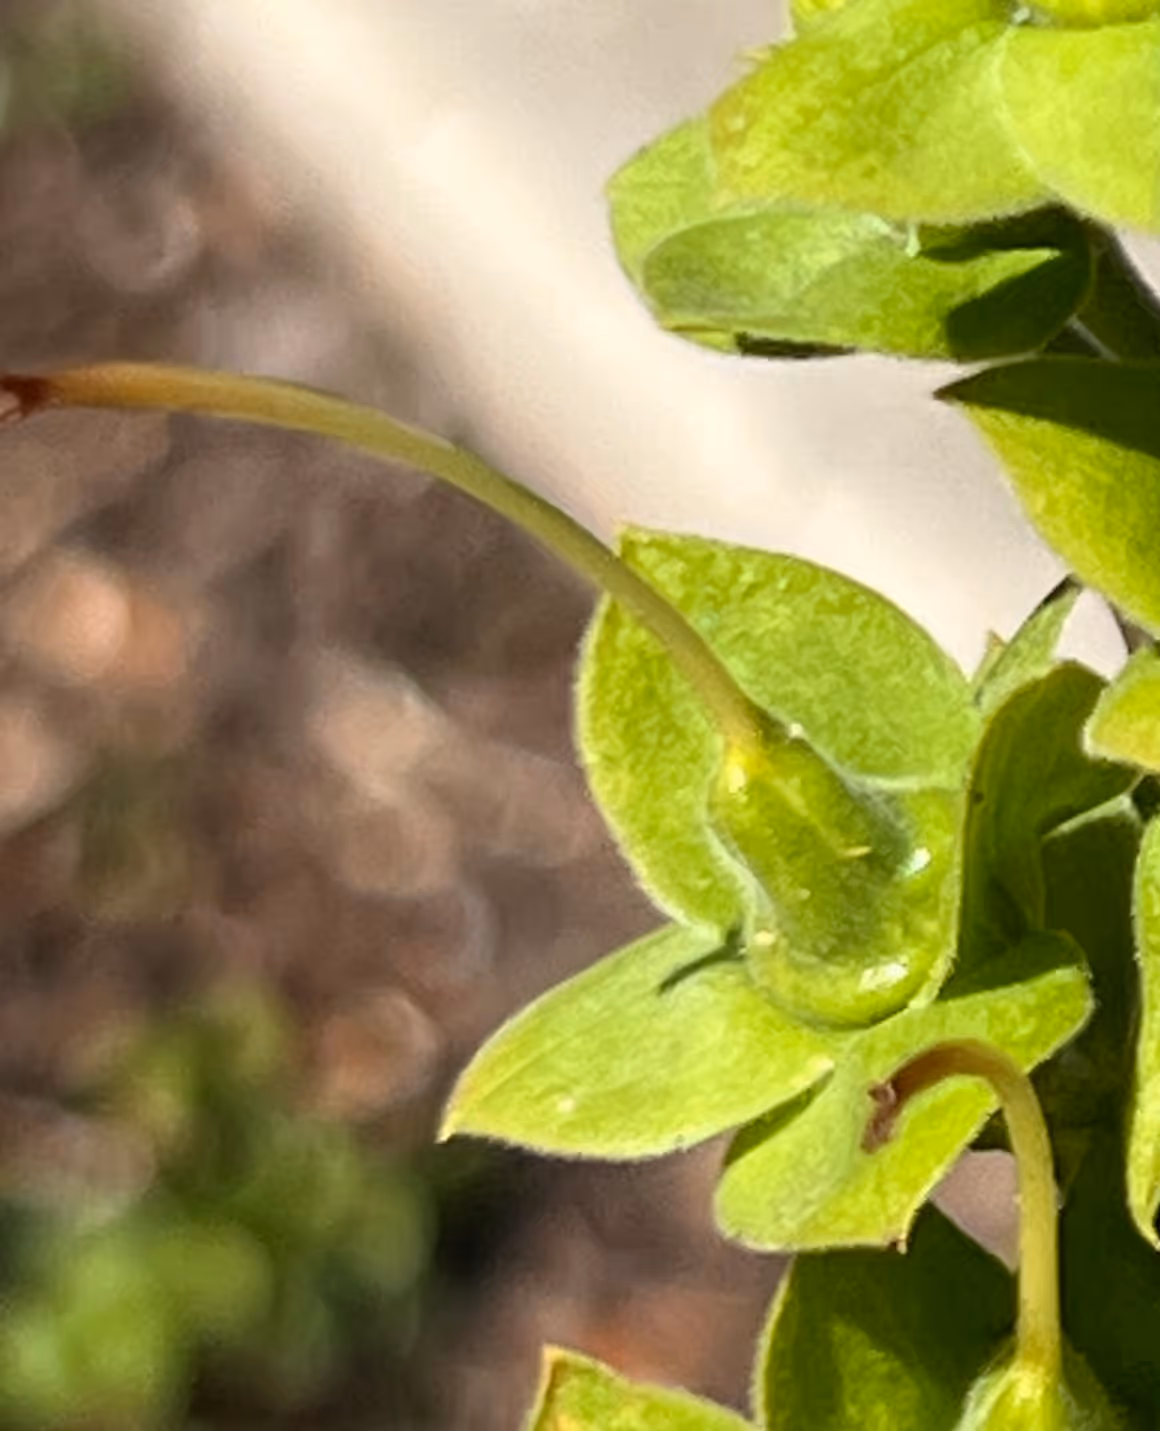
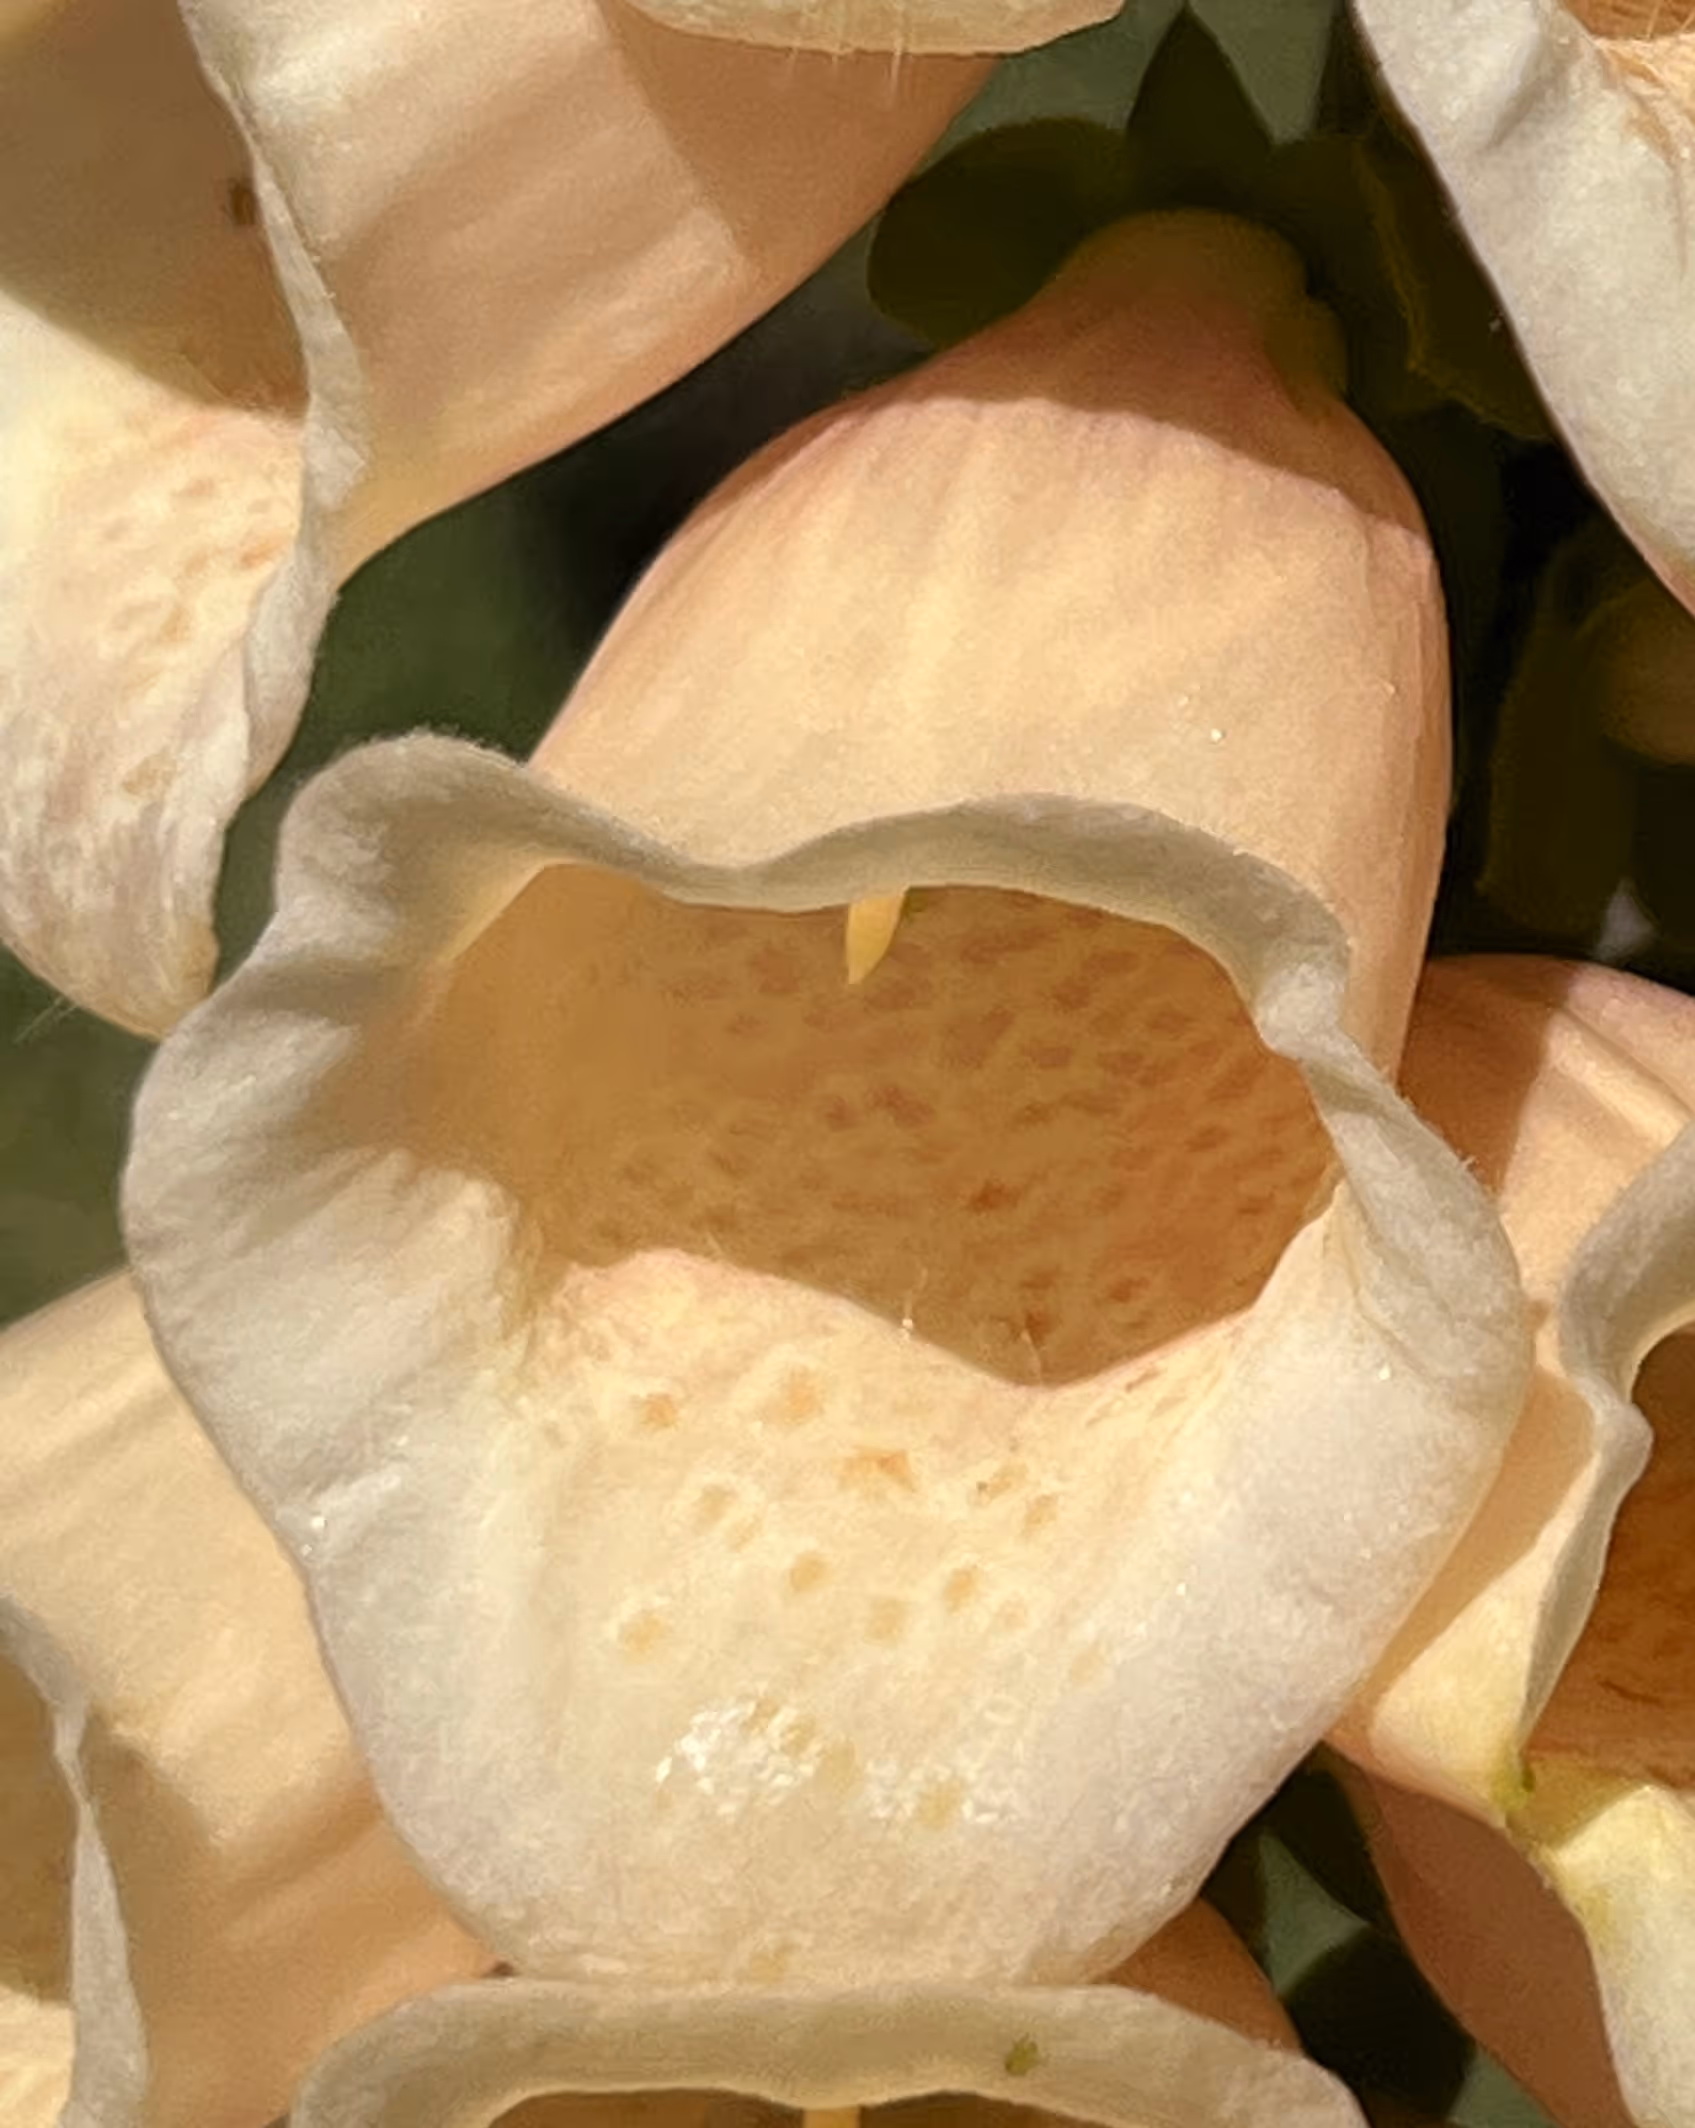
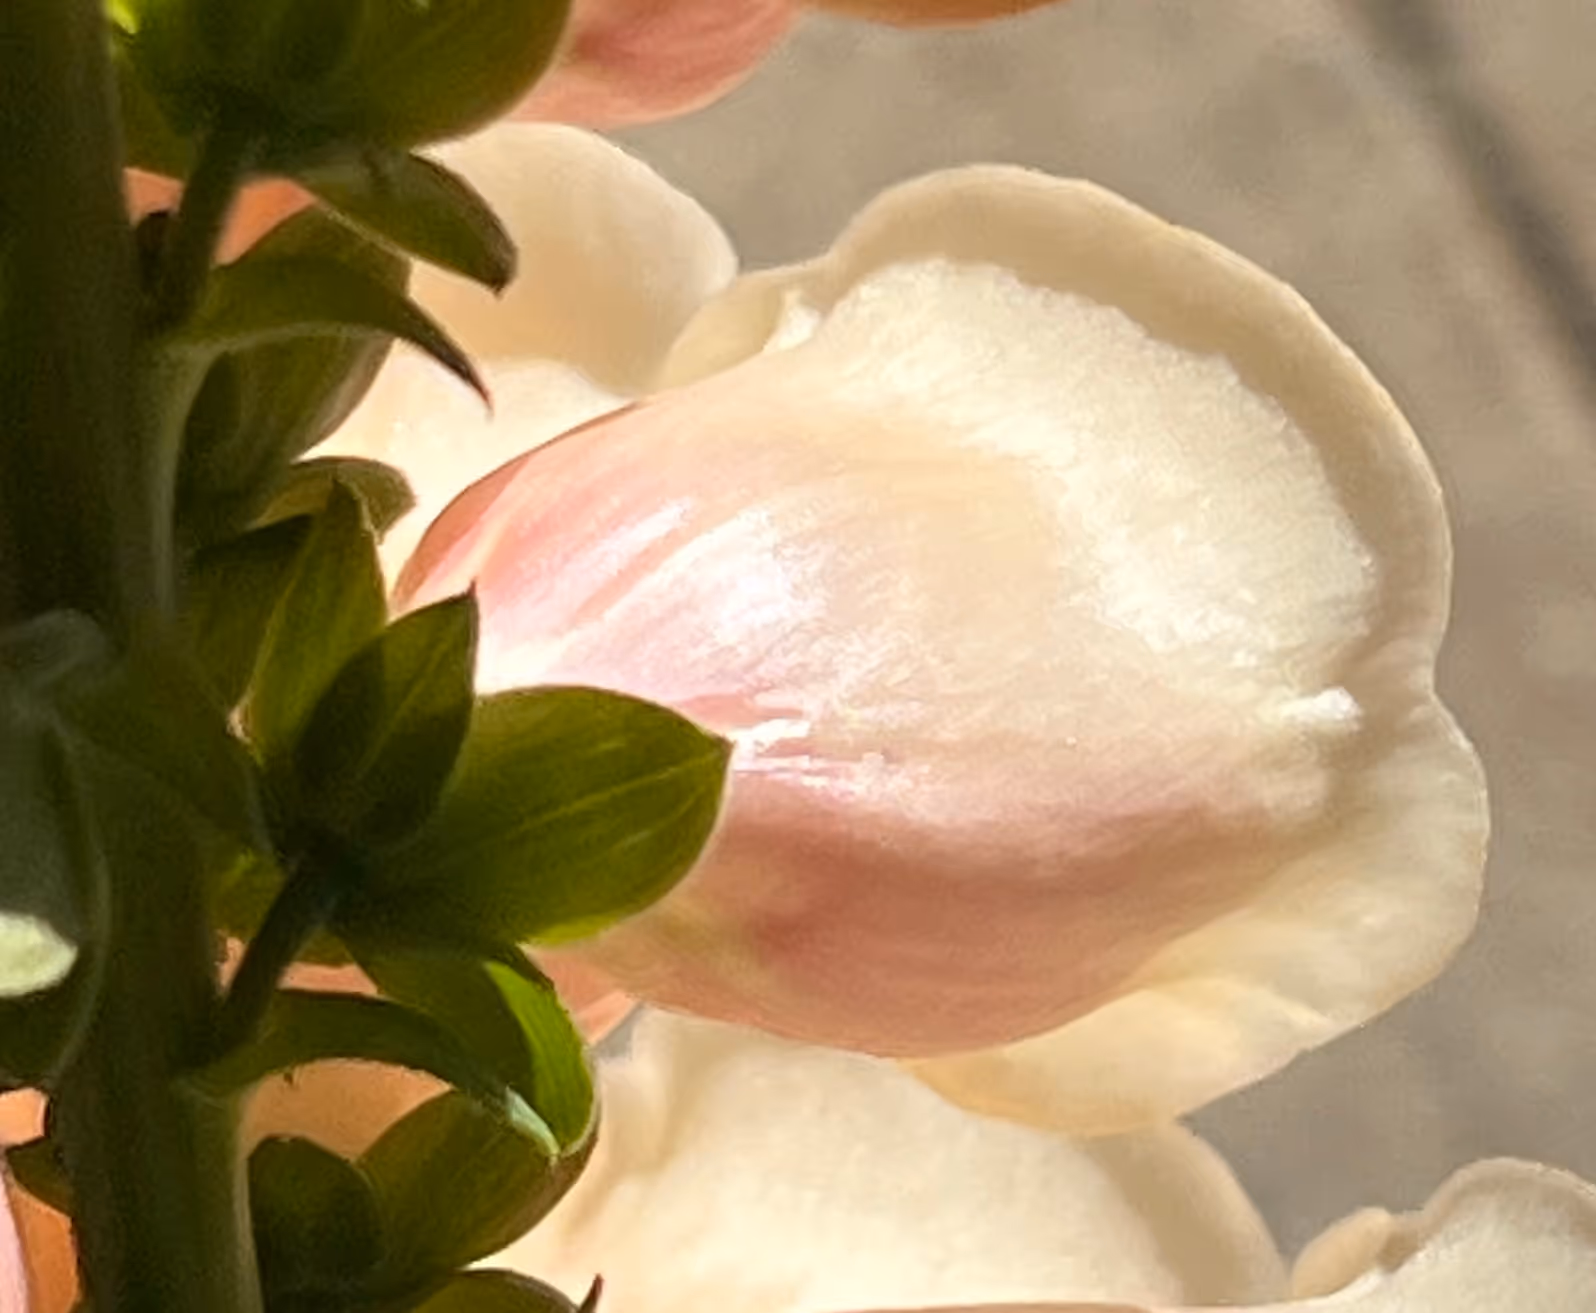
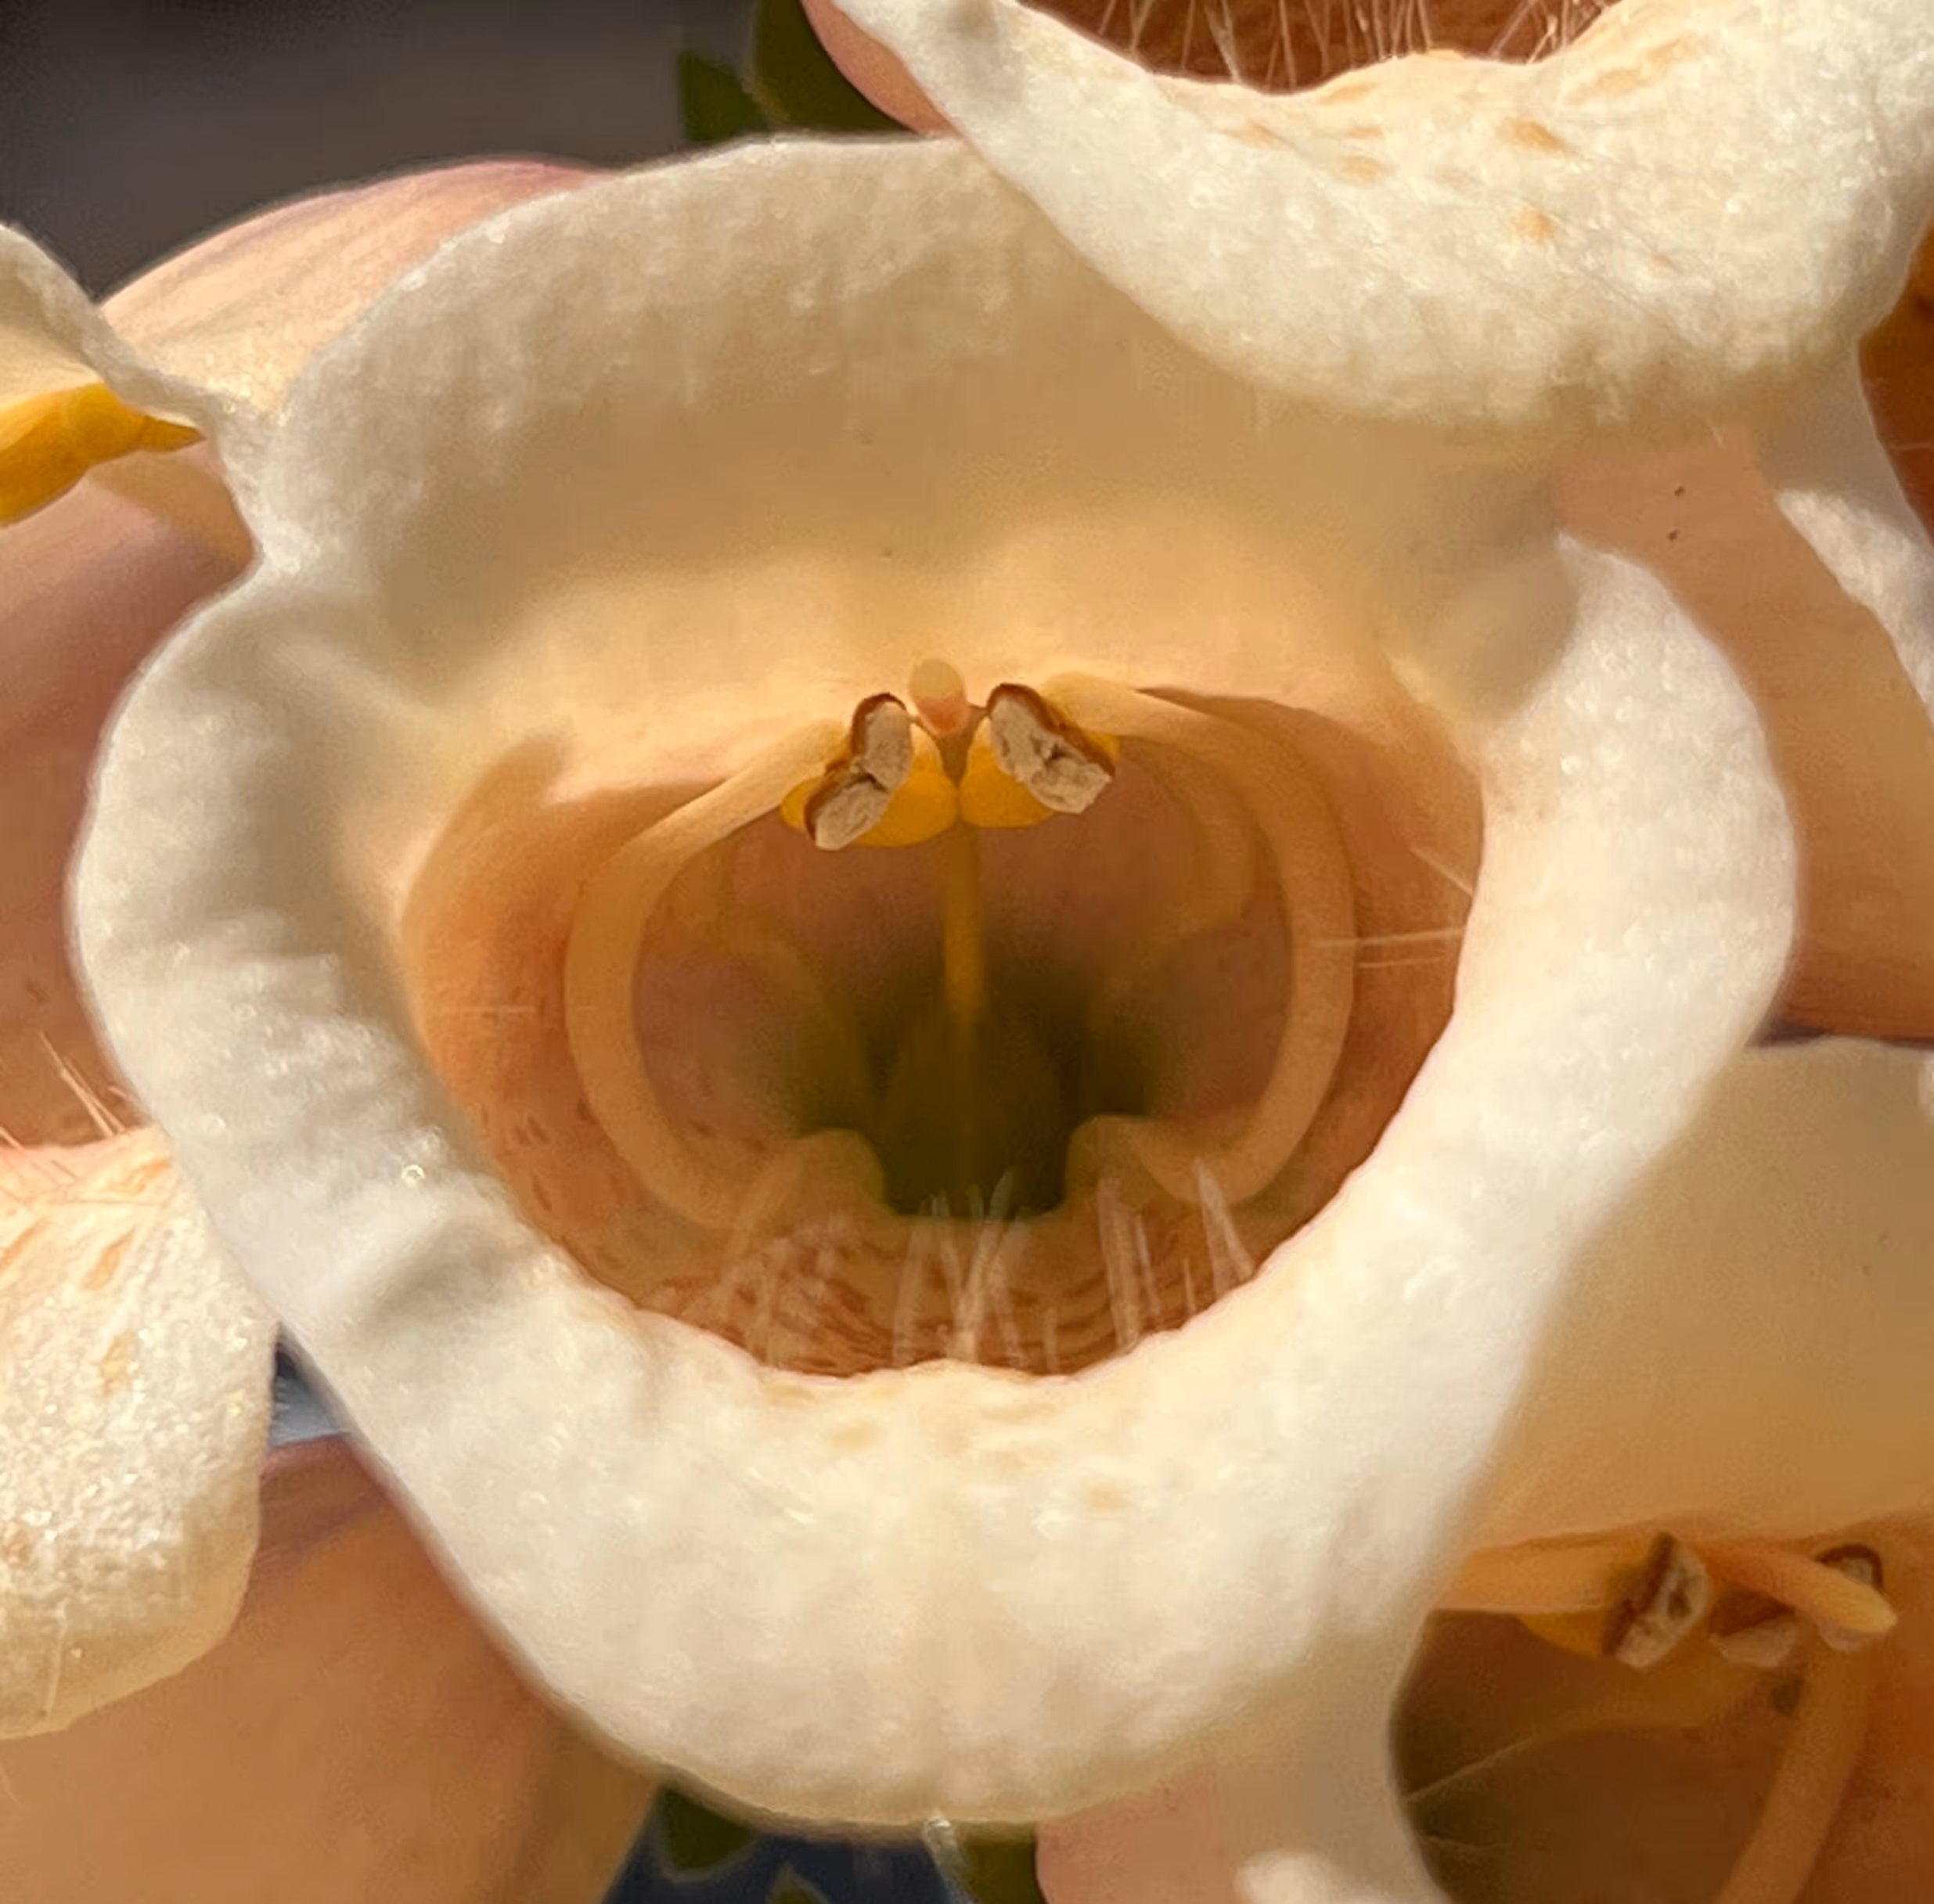
The more photos you take, the more you'll be able to include in your botanical illustration.
Want a closer look? Right-click and open in a new tab to view.