🎉 BOGO Summer Sale: Buy Any Eligible Course, Choose Another FREE!
Your free course will be added to your account within 24 hours. Contact us after purchase to choose your complimentary course.
Member's schedule
Log In
Right-click and open in a new tab to enlarge and print.
Begin adding more nuanced areas - refining lights and shadows, beginning to add details like facial features and background information. While you're working on details, don't forget to still mind the big picture, as this will help you keep the lights and shadows you've developed so far.
Tips:
Complete the "underpainting" before working on the lights and shadows, and details. Focus on the big picture before getting distracted by the little things like nostrils, pupils, highlights, etc. This is in case you need to change proportions or tone - that you won't have to redo what you've already done.
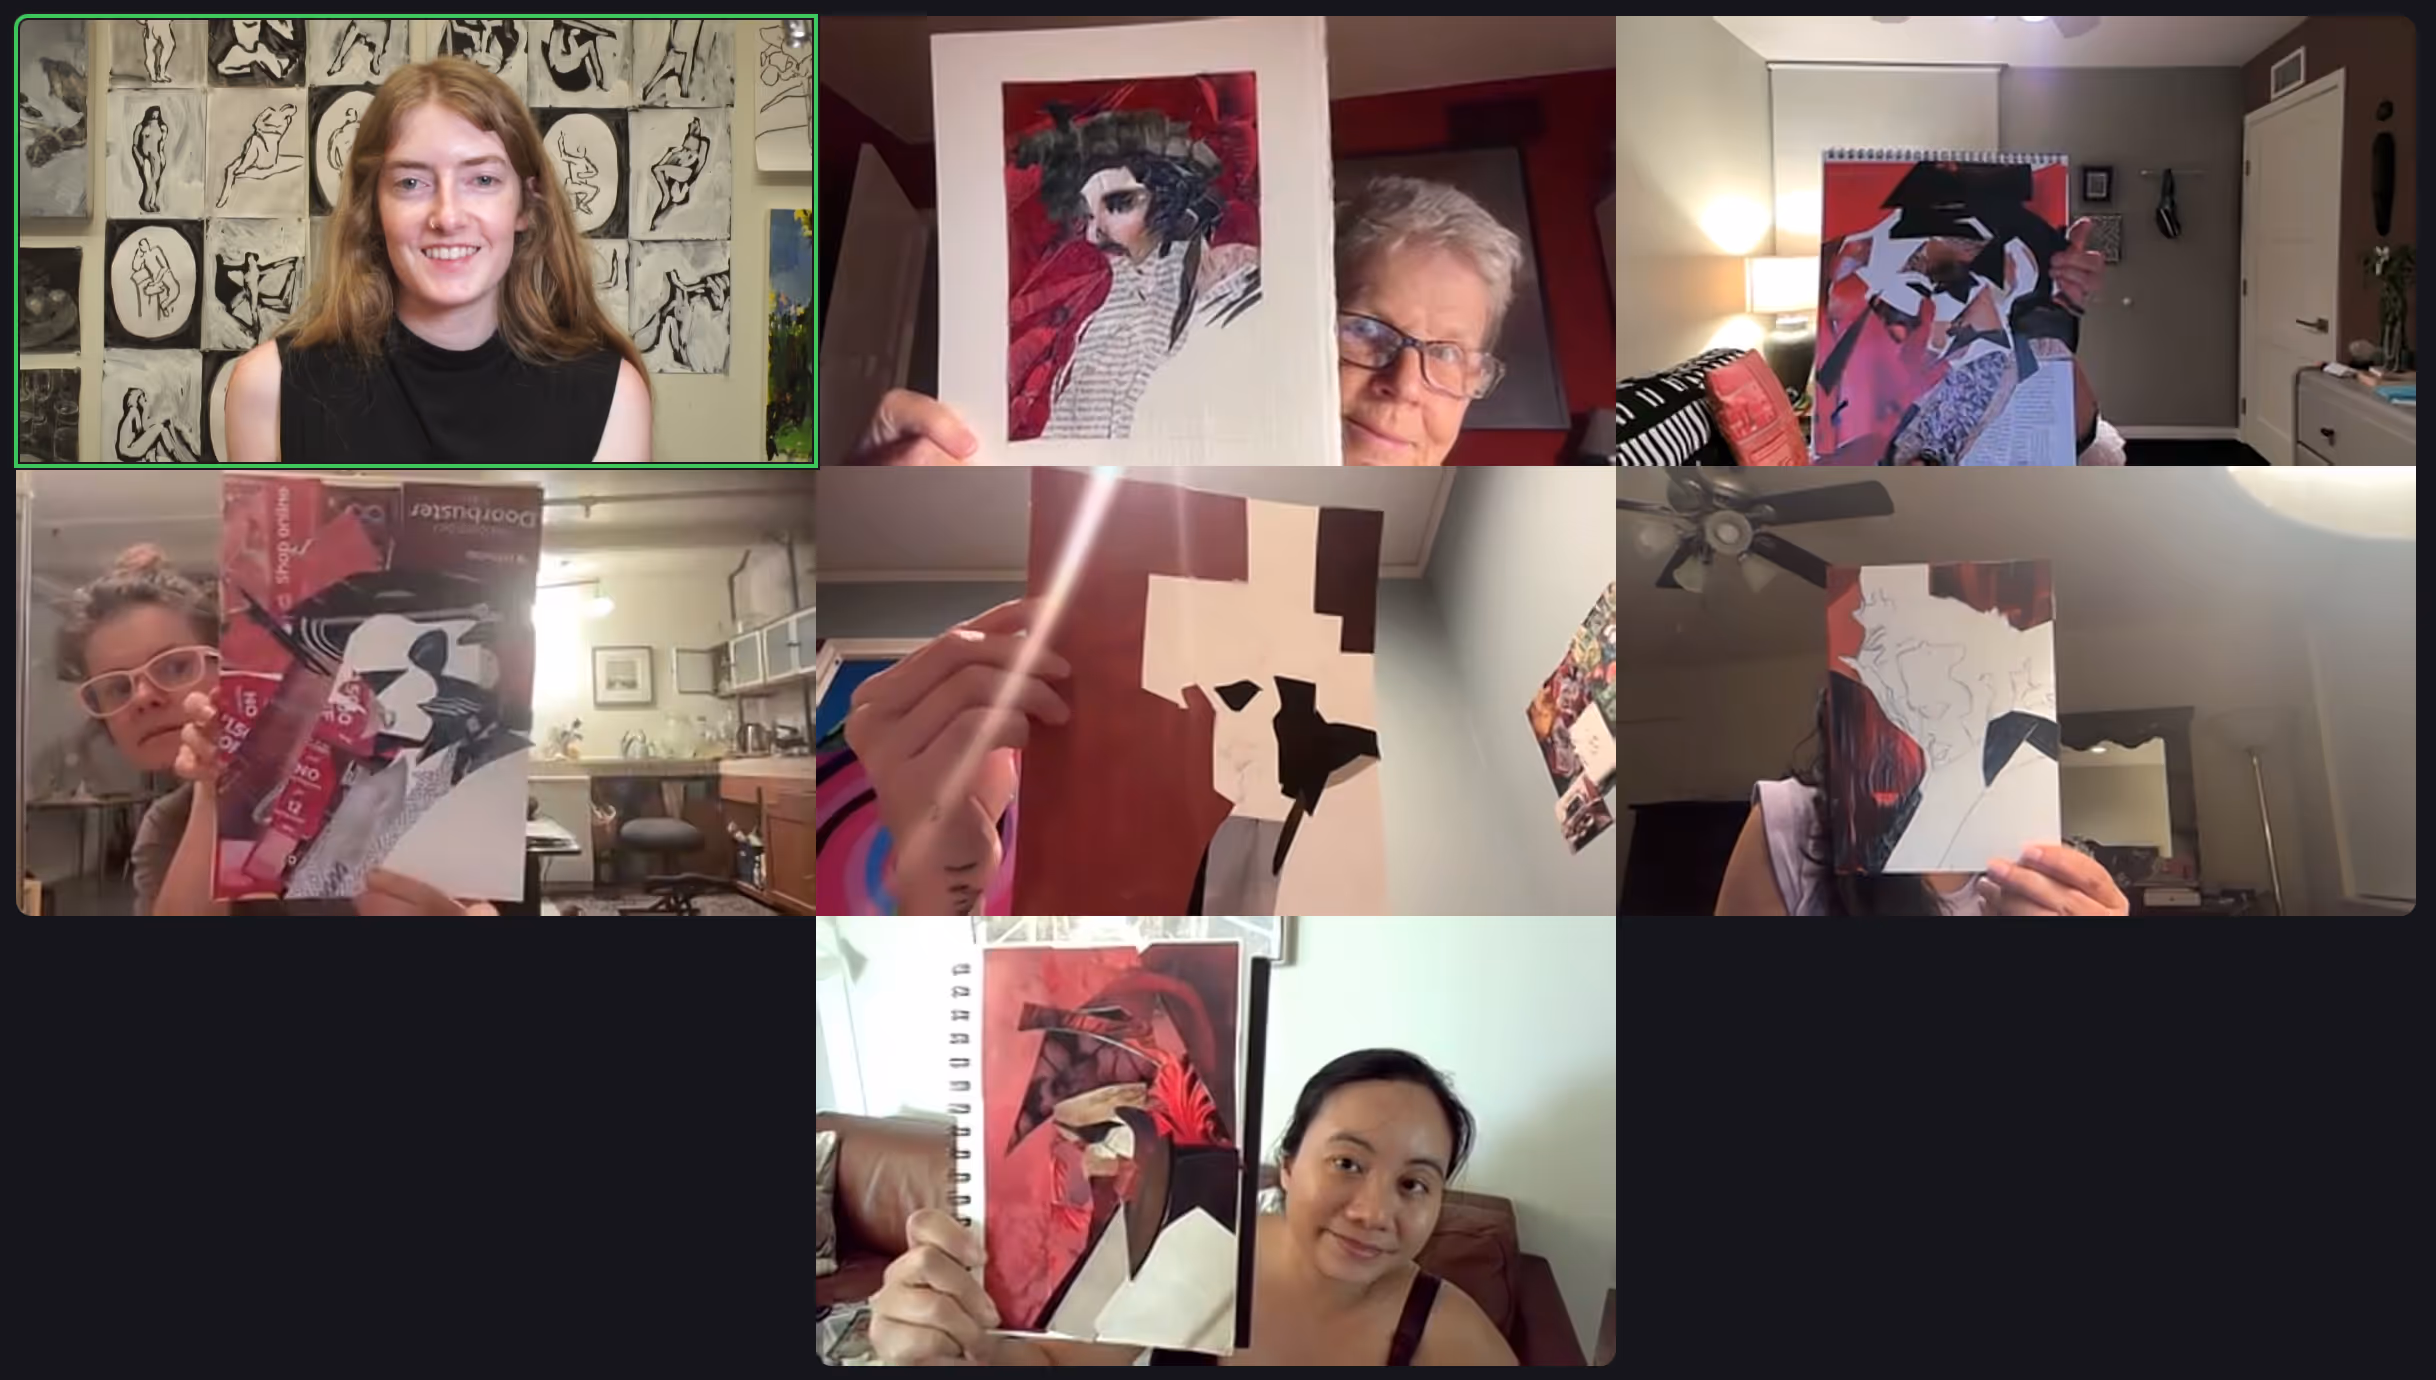
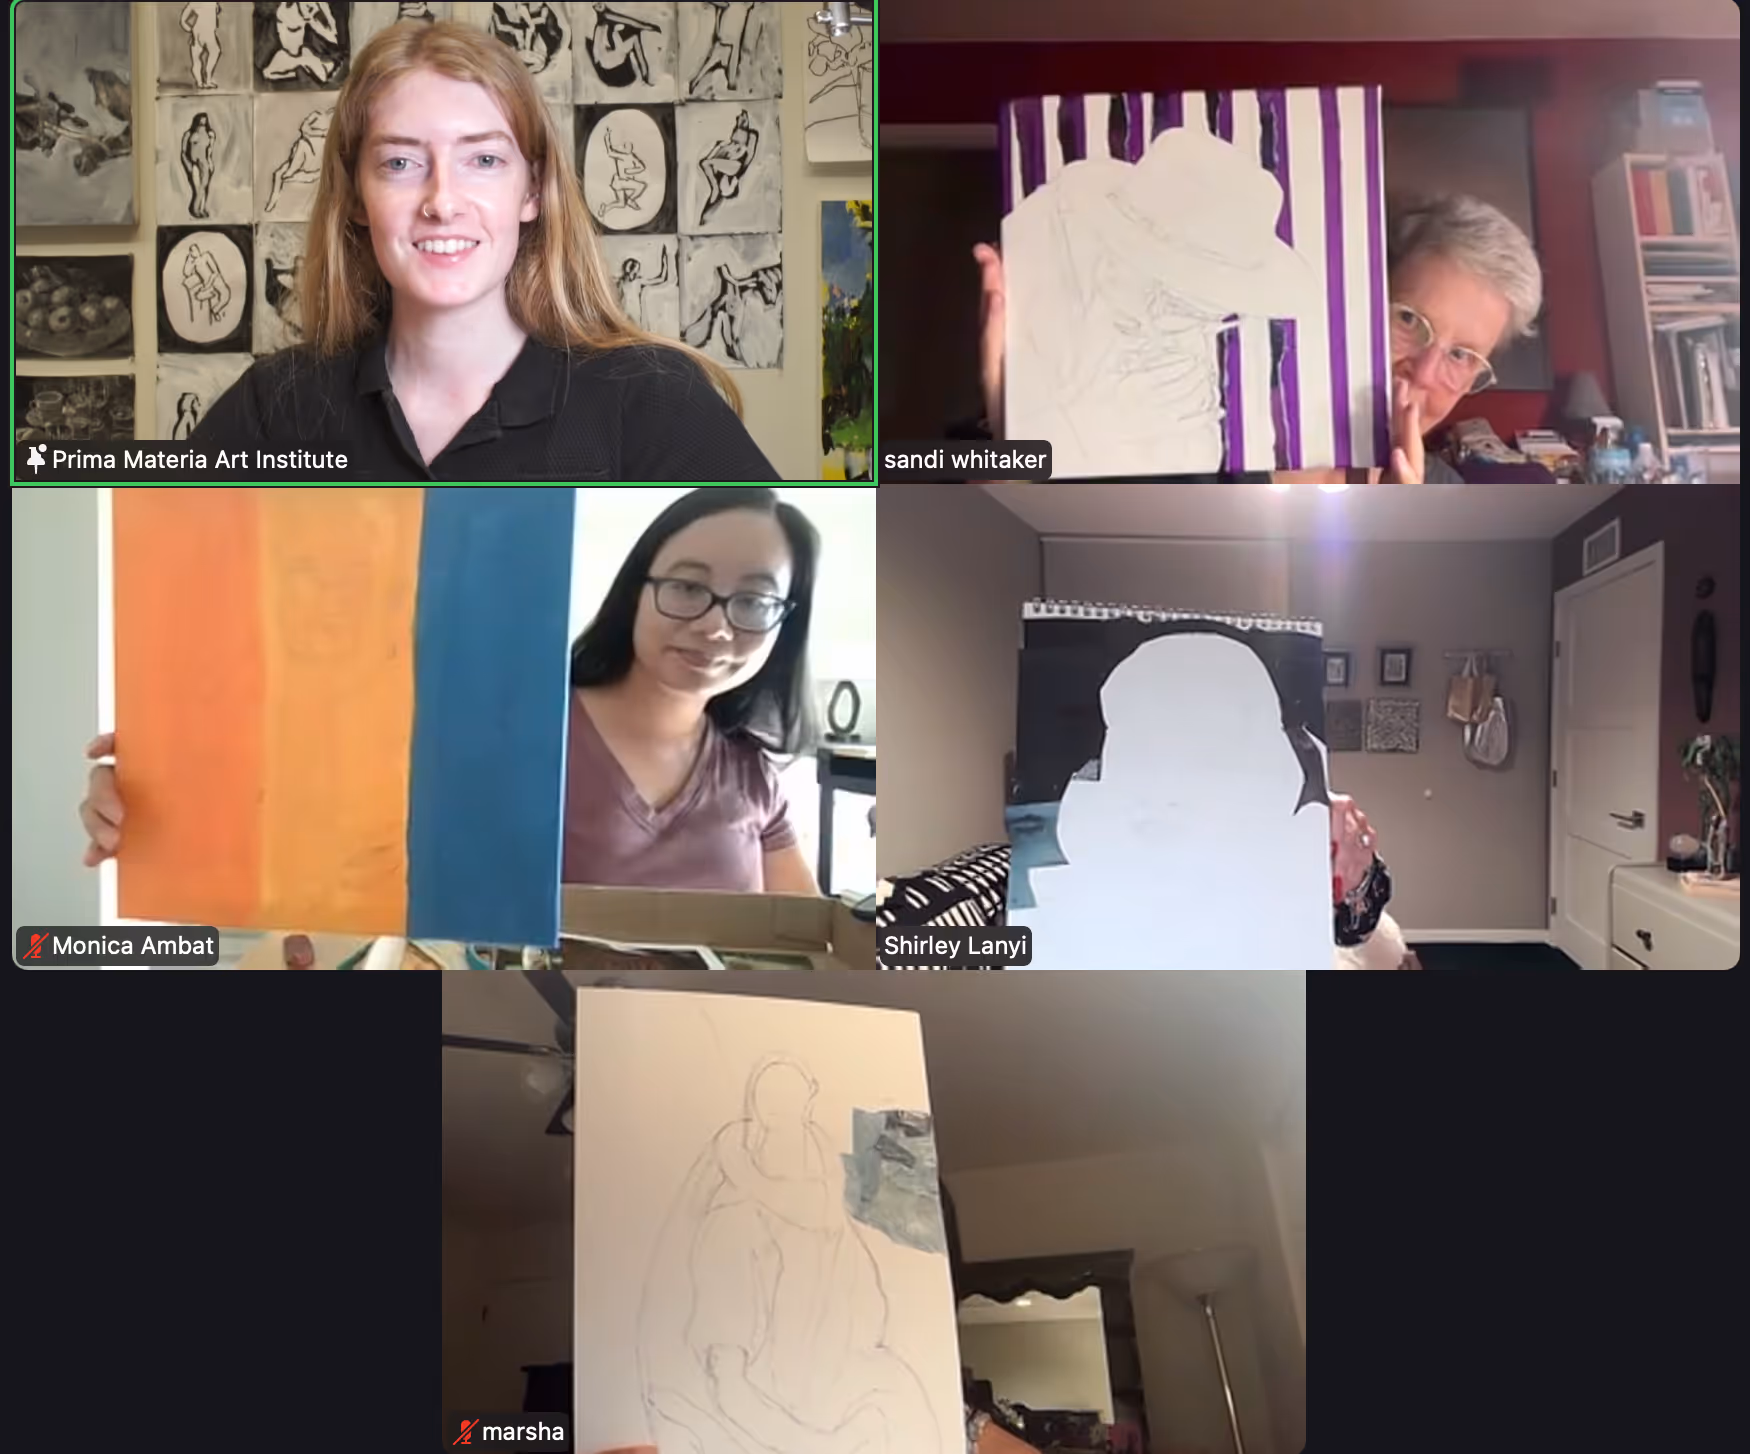
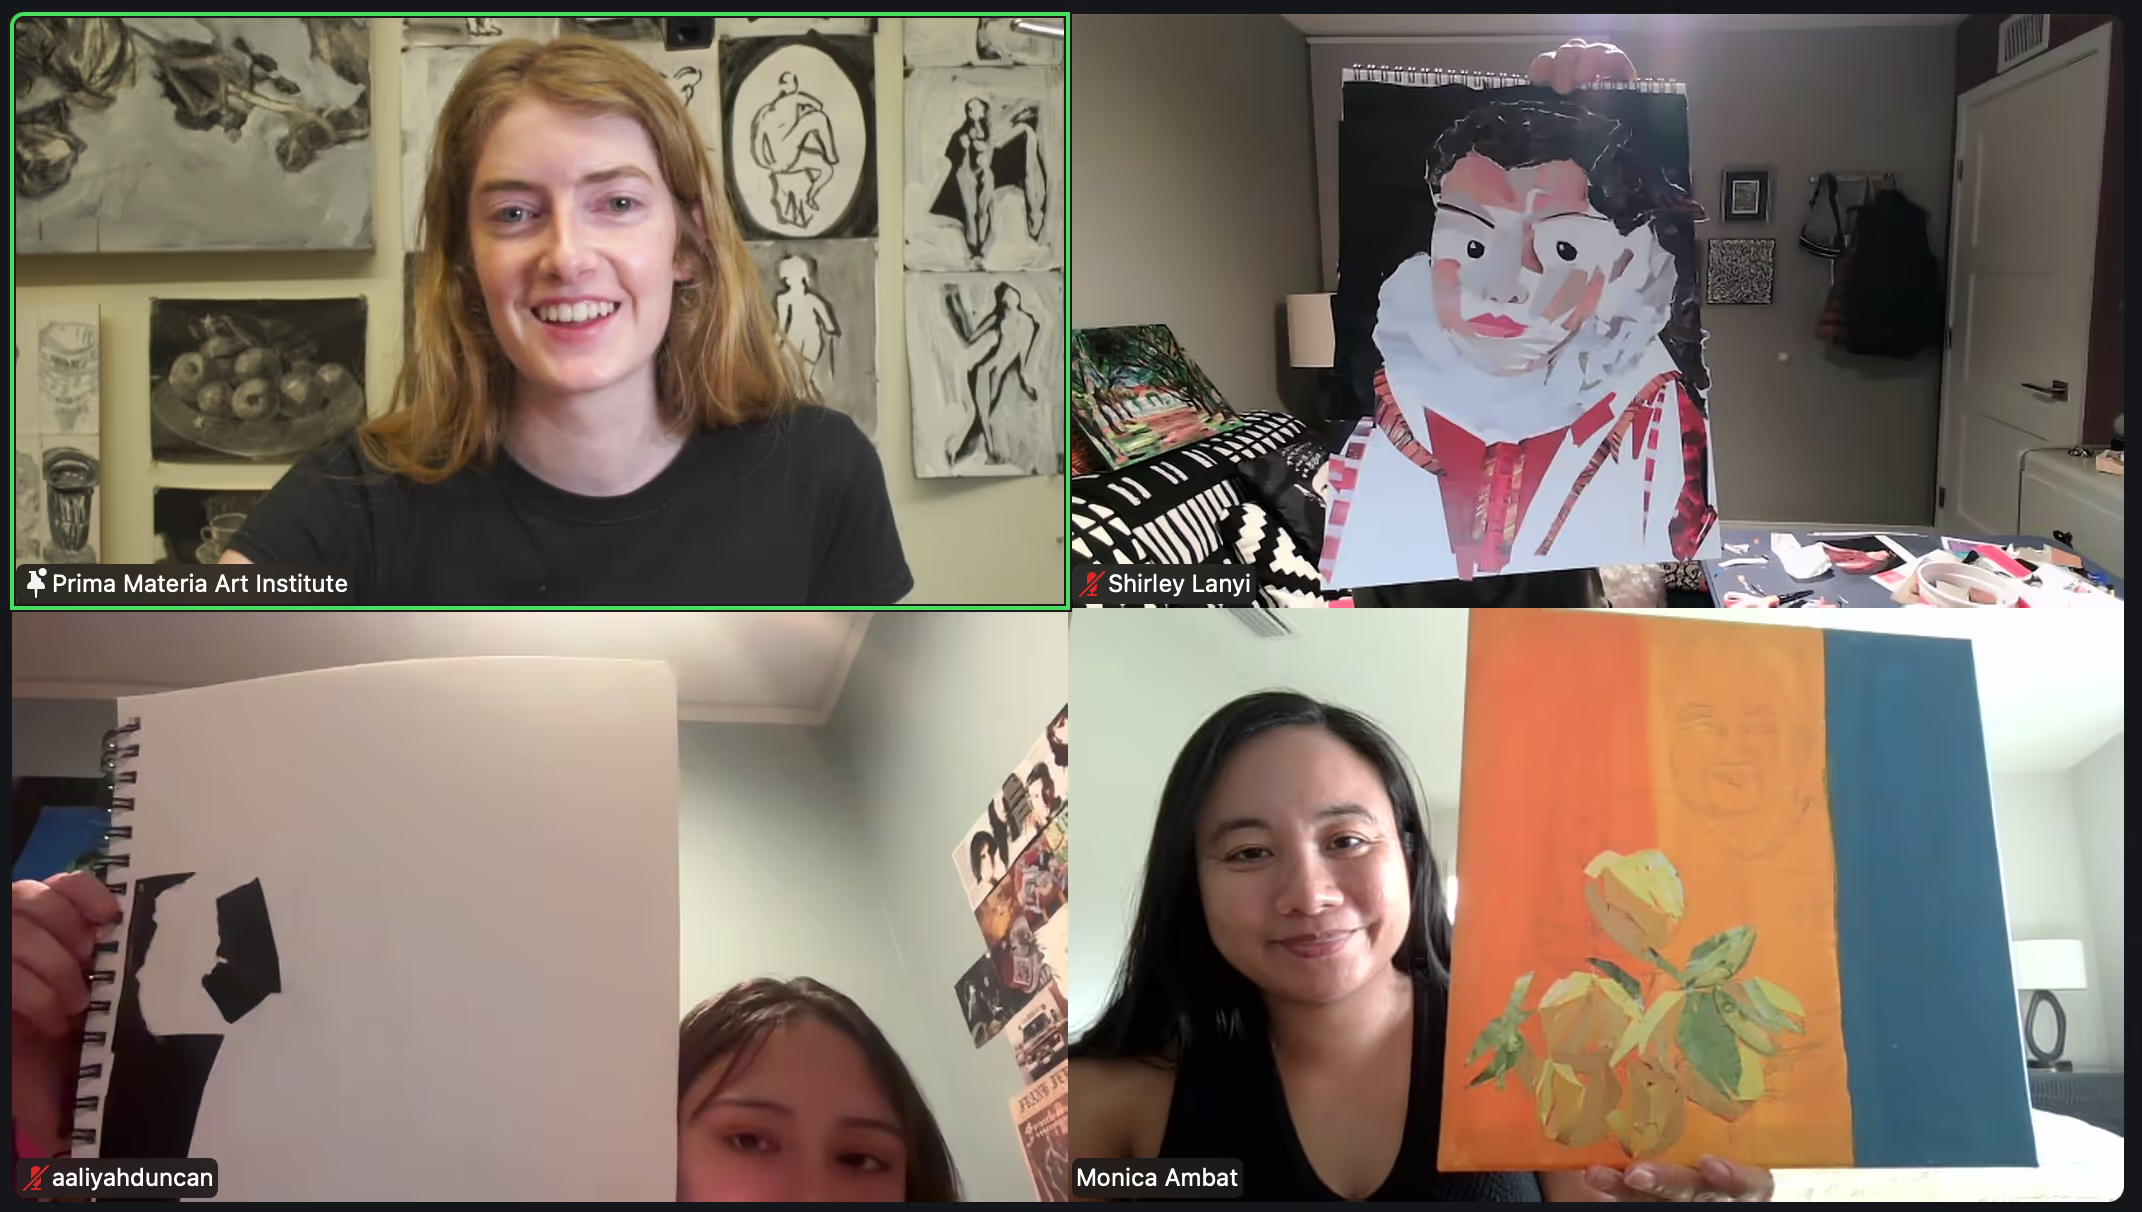
In between now and October 22nd, work on your collaged piece. This is the portrait you'll work on for the rest of the course. As you're collaging, remember to squint to see lights and shadows as this will make the biggest difference in the realism of your portrait. Rip or cut your paper, or play with a combination of the two. The more time you spend on your artwork, the more refined you'll be able to make it. Try to work on your piece at least 2 hours outside of class.
Finish your collaged portrait, created by cutting shapes with scissors / xacto knife.
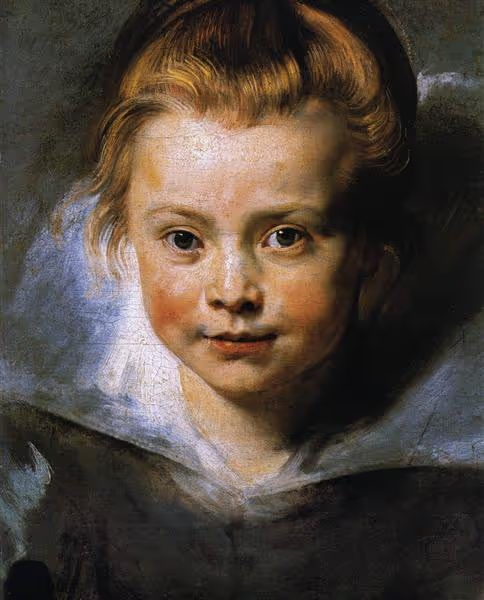
Choose a portrait you want to work on for the rest of the course.
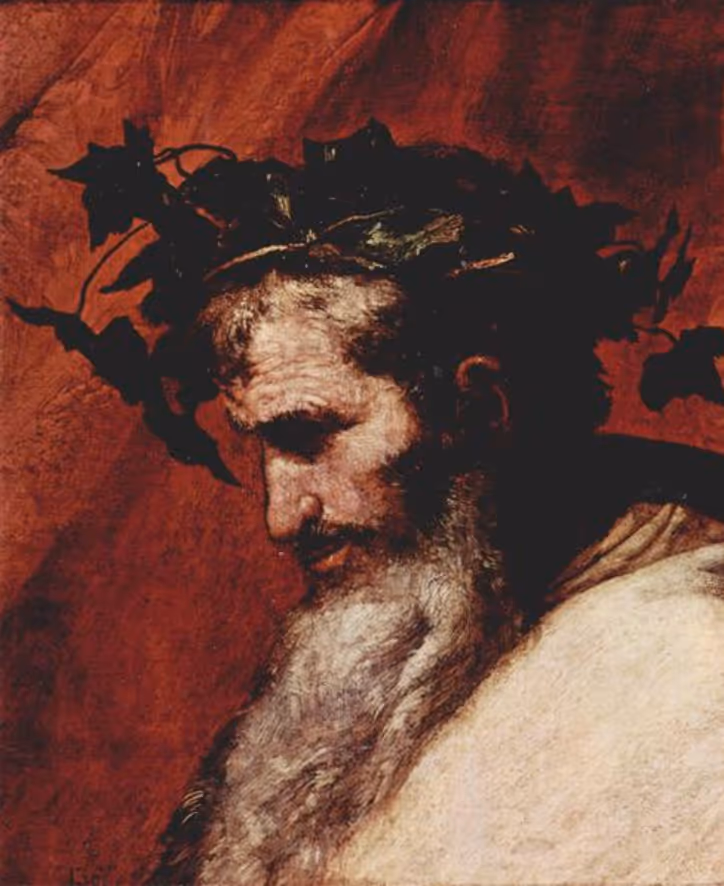
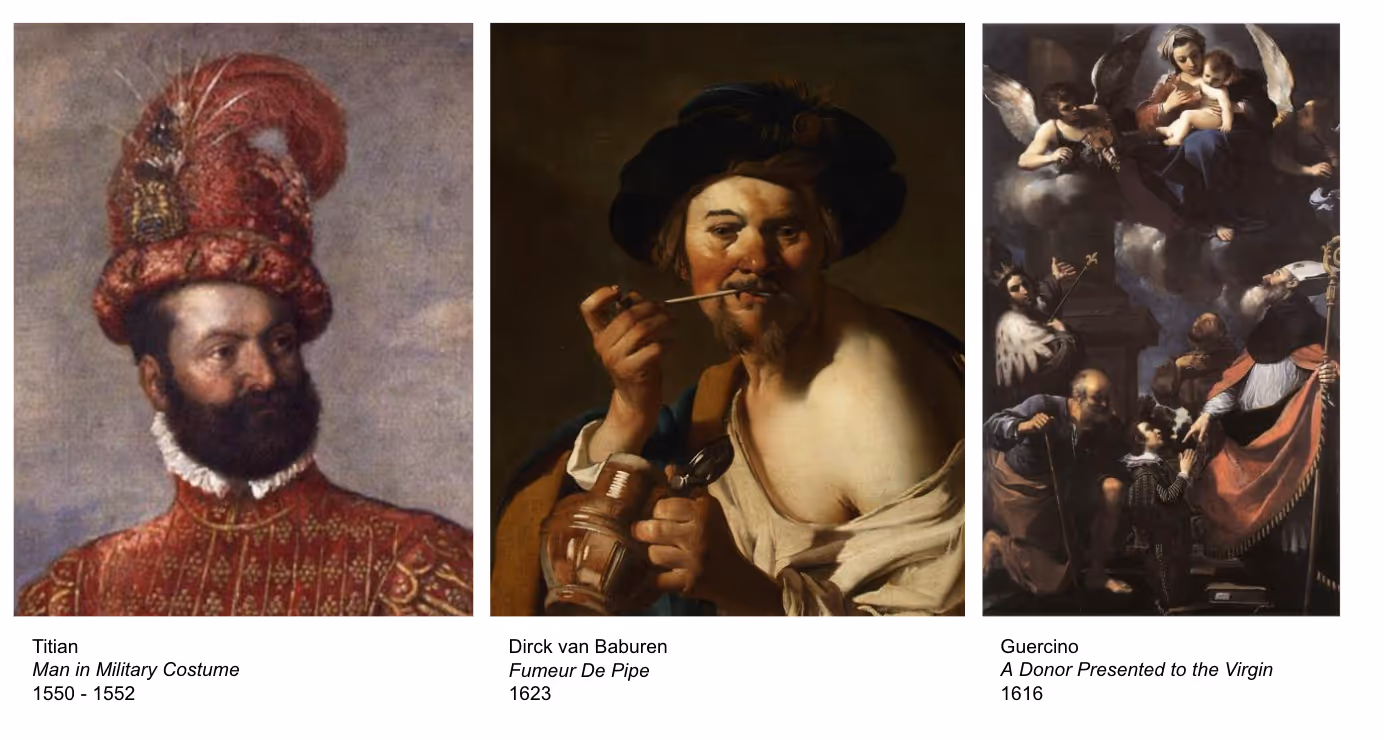
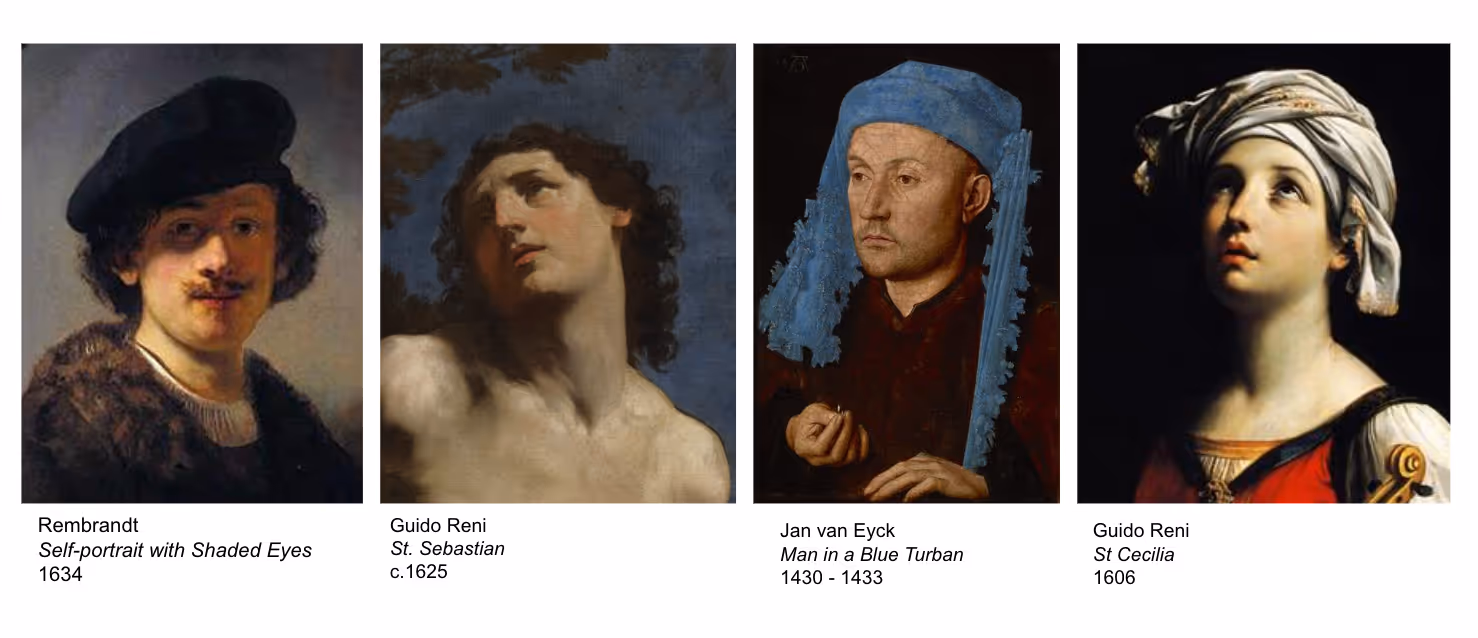
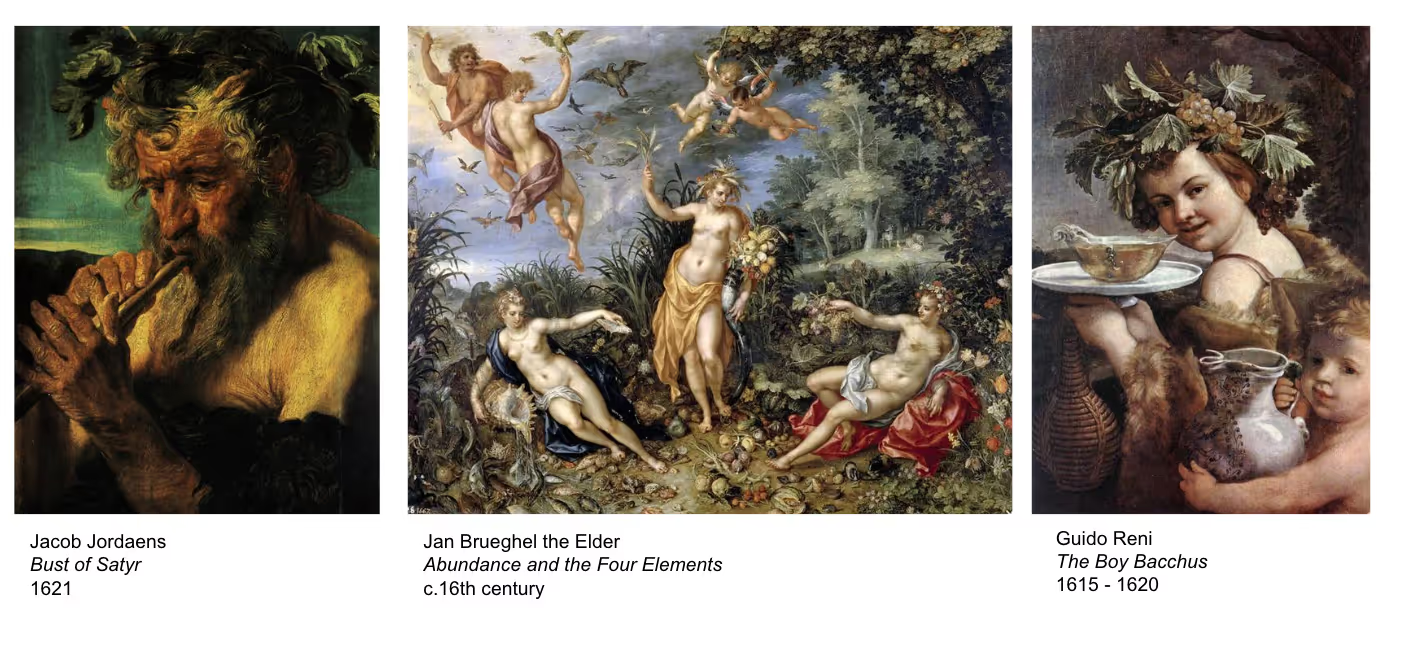
Want to find your own portrait? Here's a list of masters to choose from:
Choose a portrait that has high contrast, interesting shapes, fun texture, etc.
Finish your collaged portrait, creating only with ripped pieces. Squint to see tone, because accurate tonal values is what will create a realistic portrait!
Want a closer look? Right-click and open in a new tab to view.