🎉 BOGO Summer Sale: Buy Any Eligible Course, Choose Another FREE!
Your free course will be added to your account within 24 hours. Contact us after purchase to choose your complimentary course.
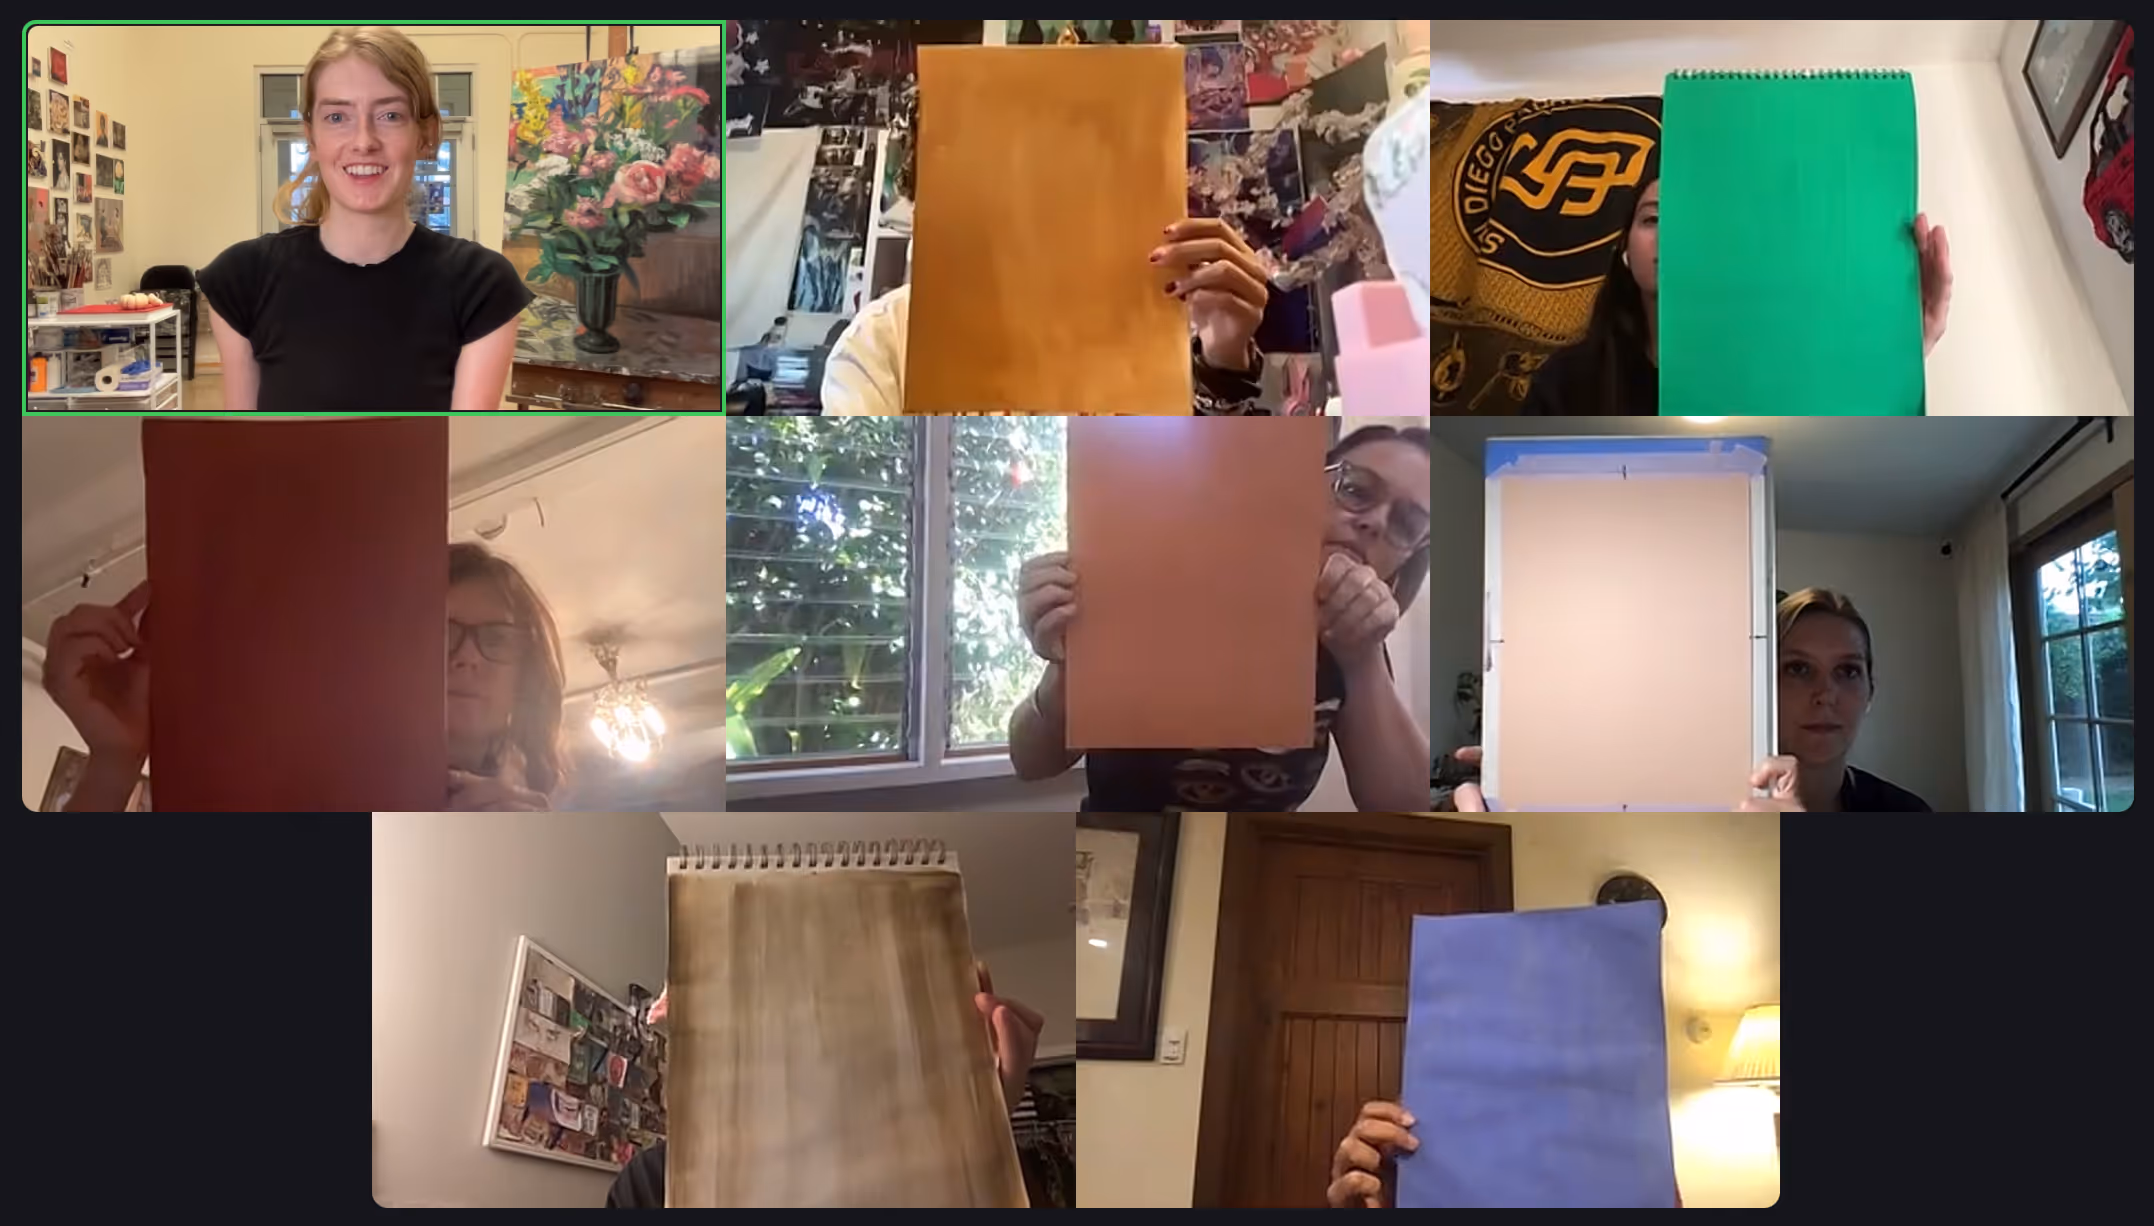
Member's schedule
Log In

Right-click and open in a new tab to enlarge and print.
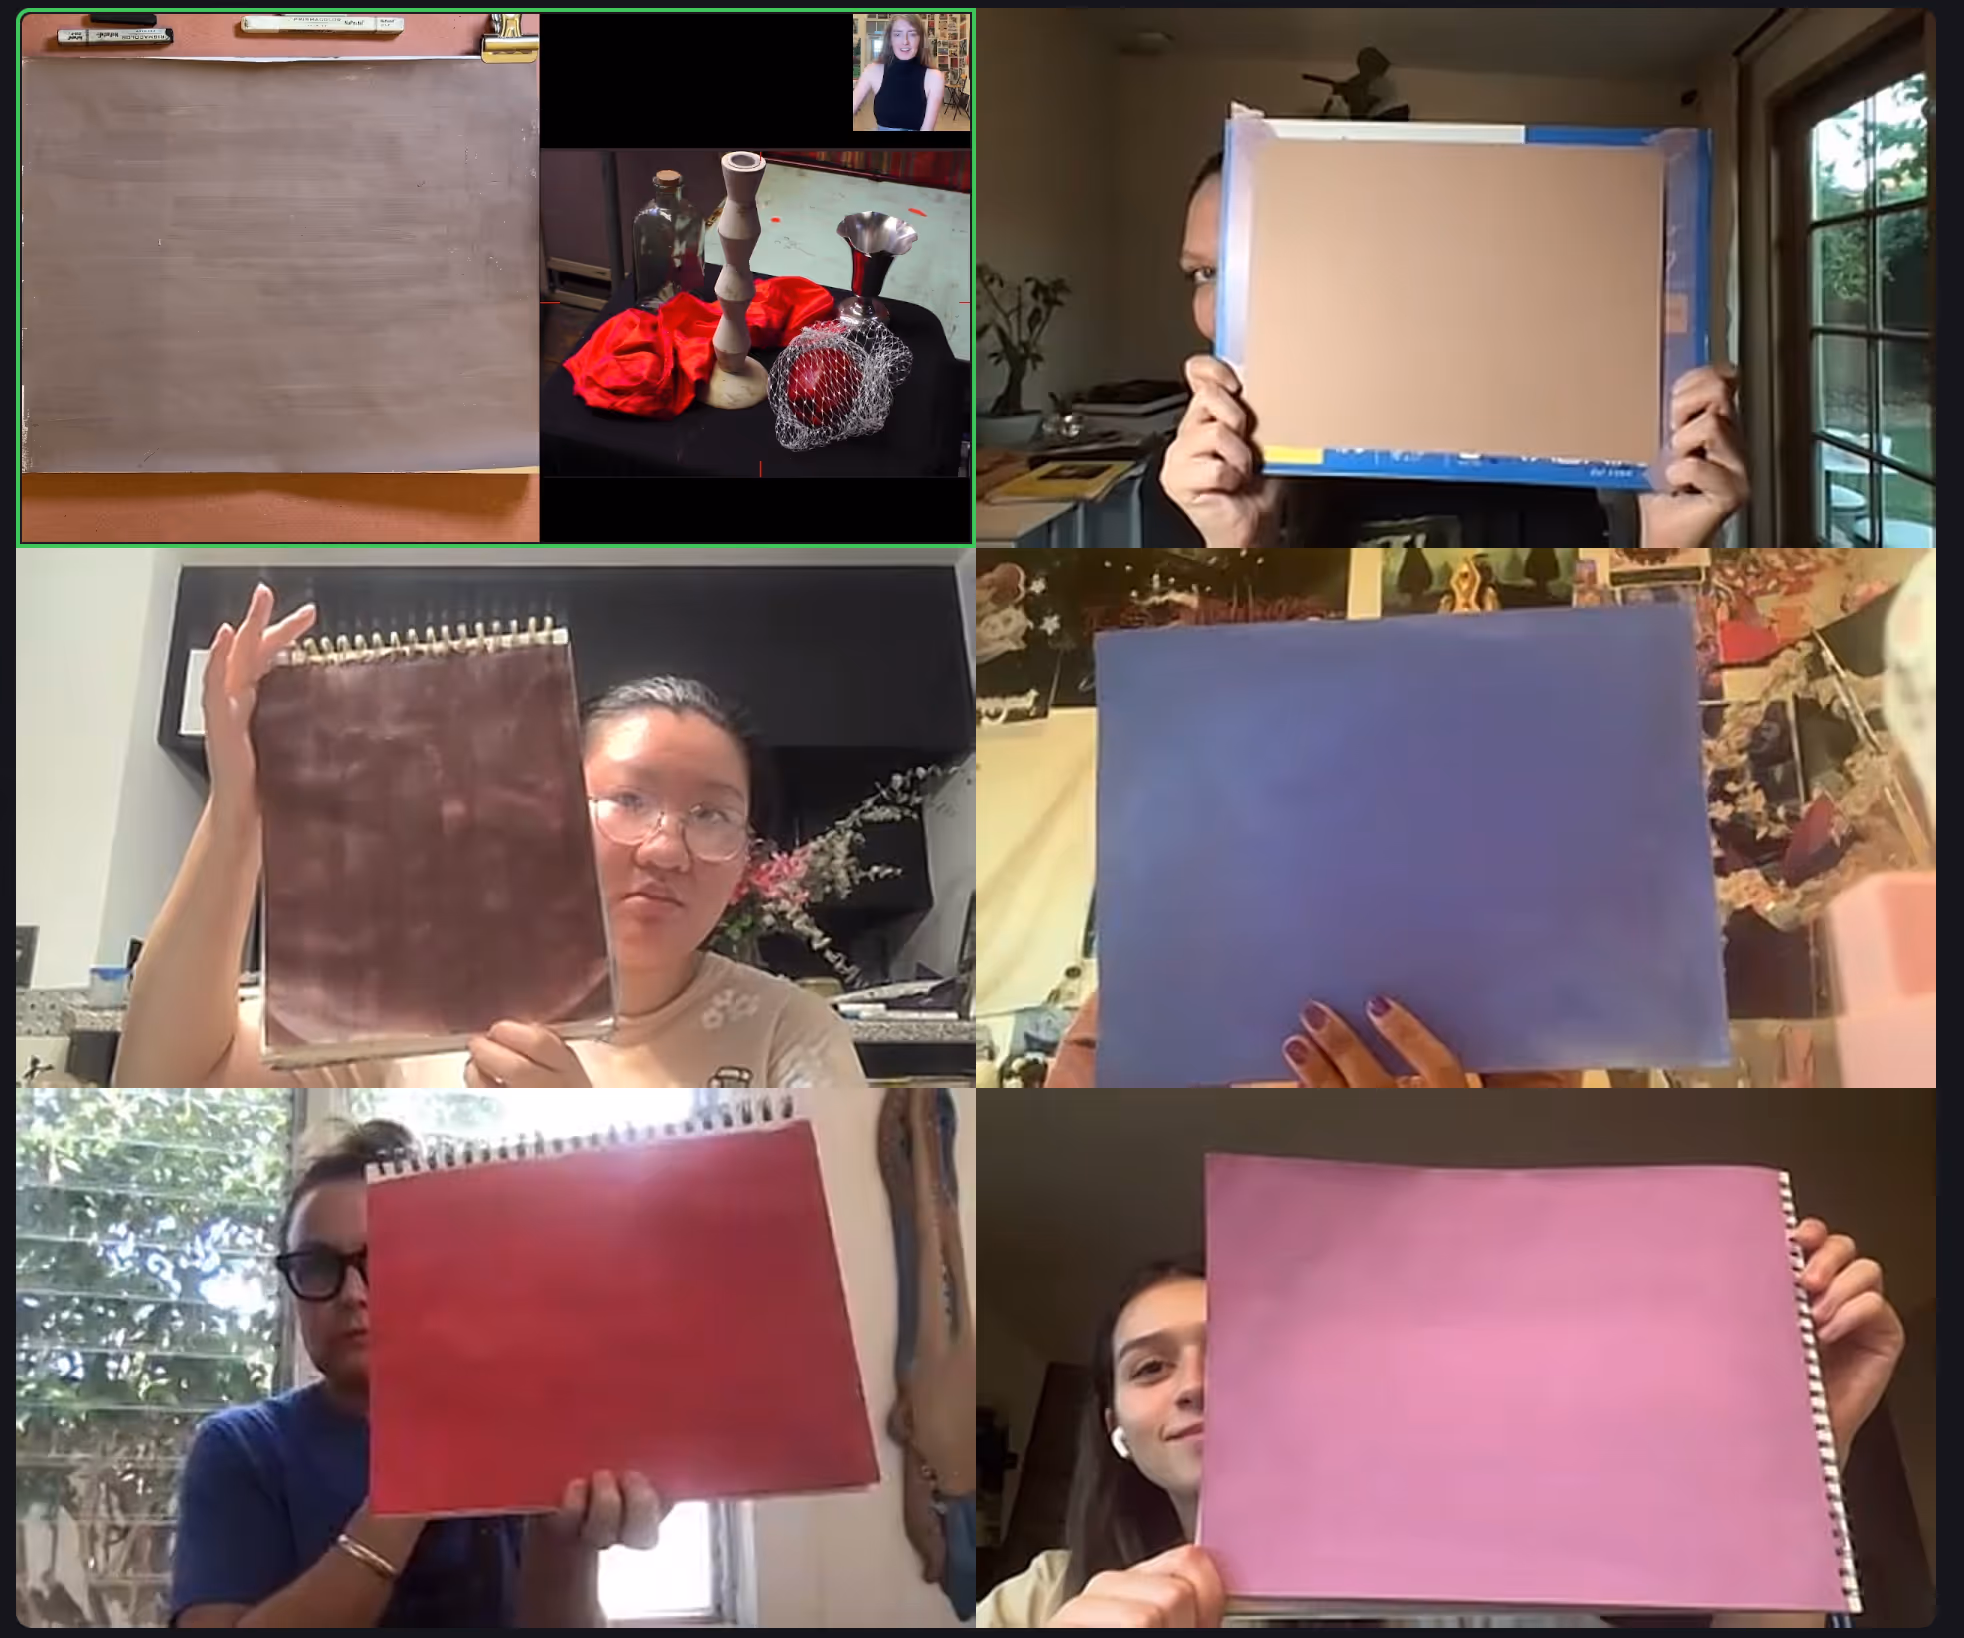
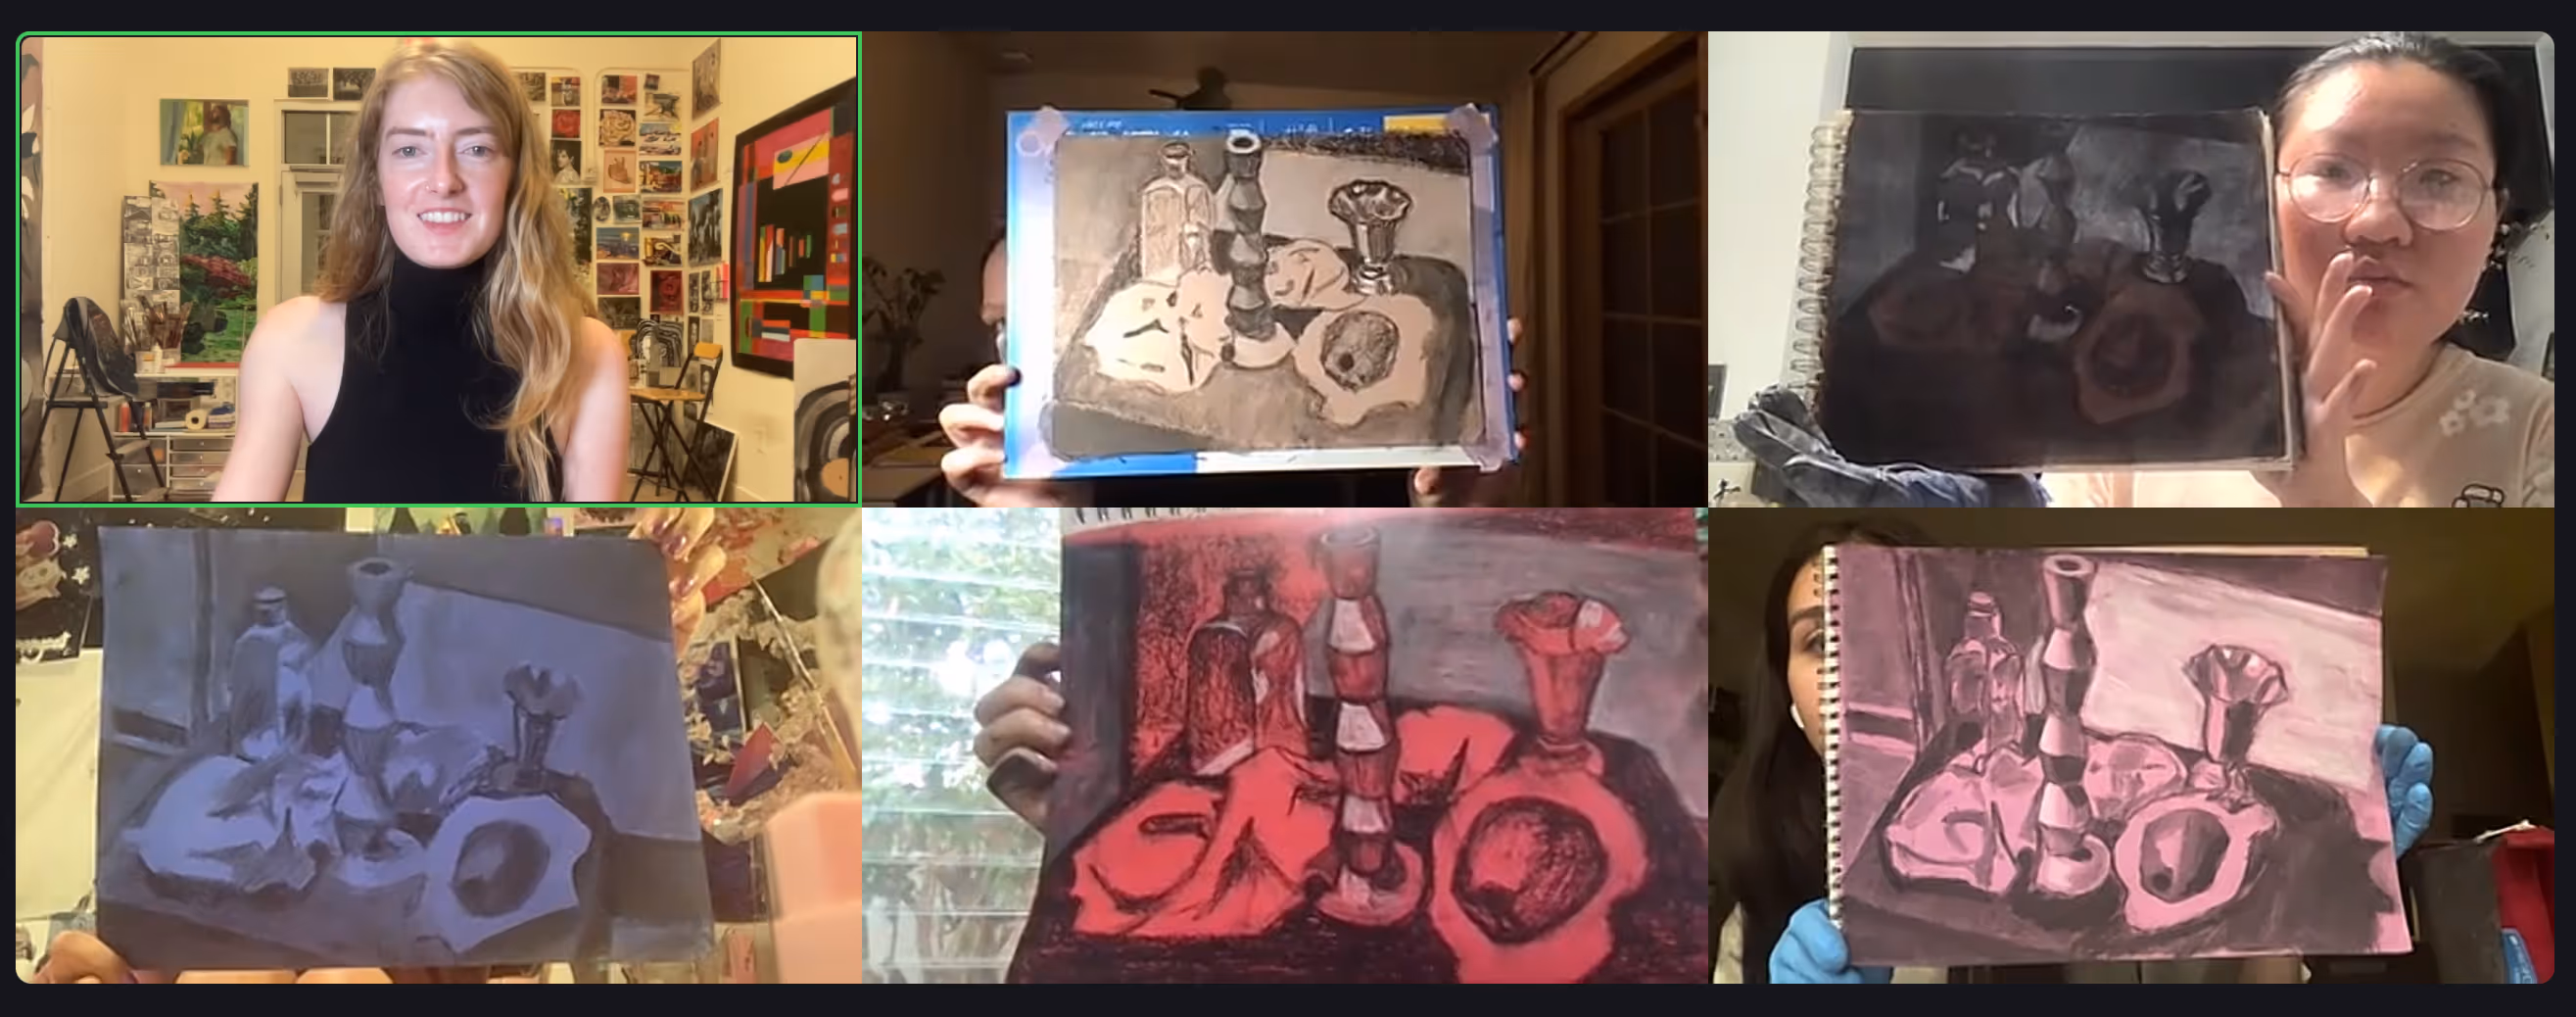
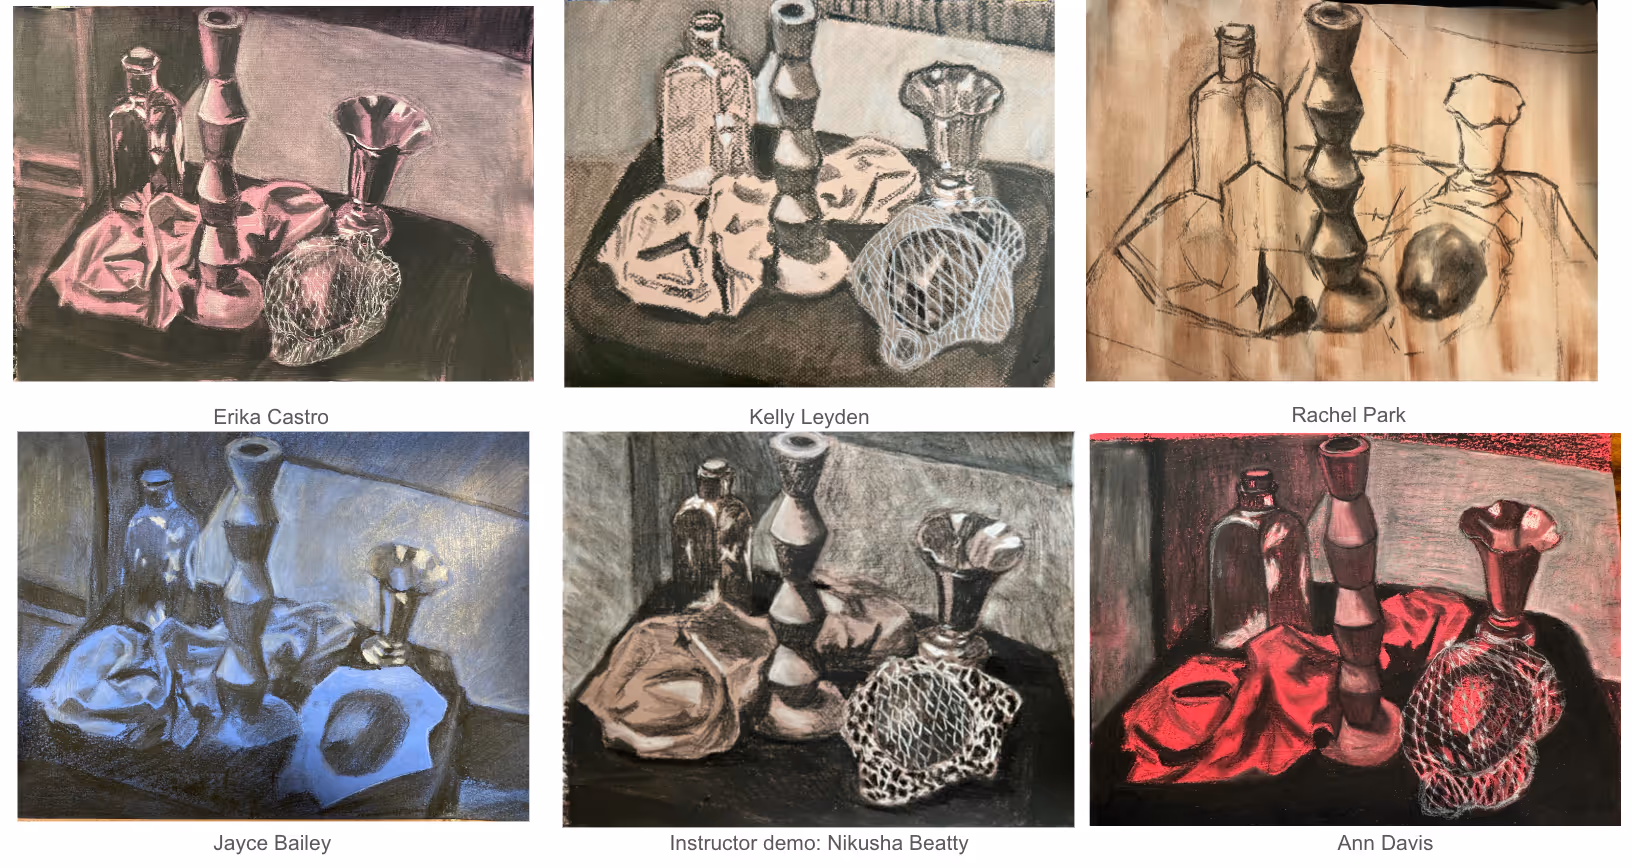
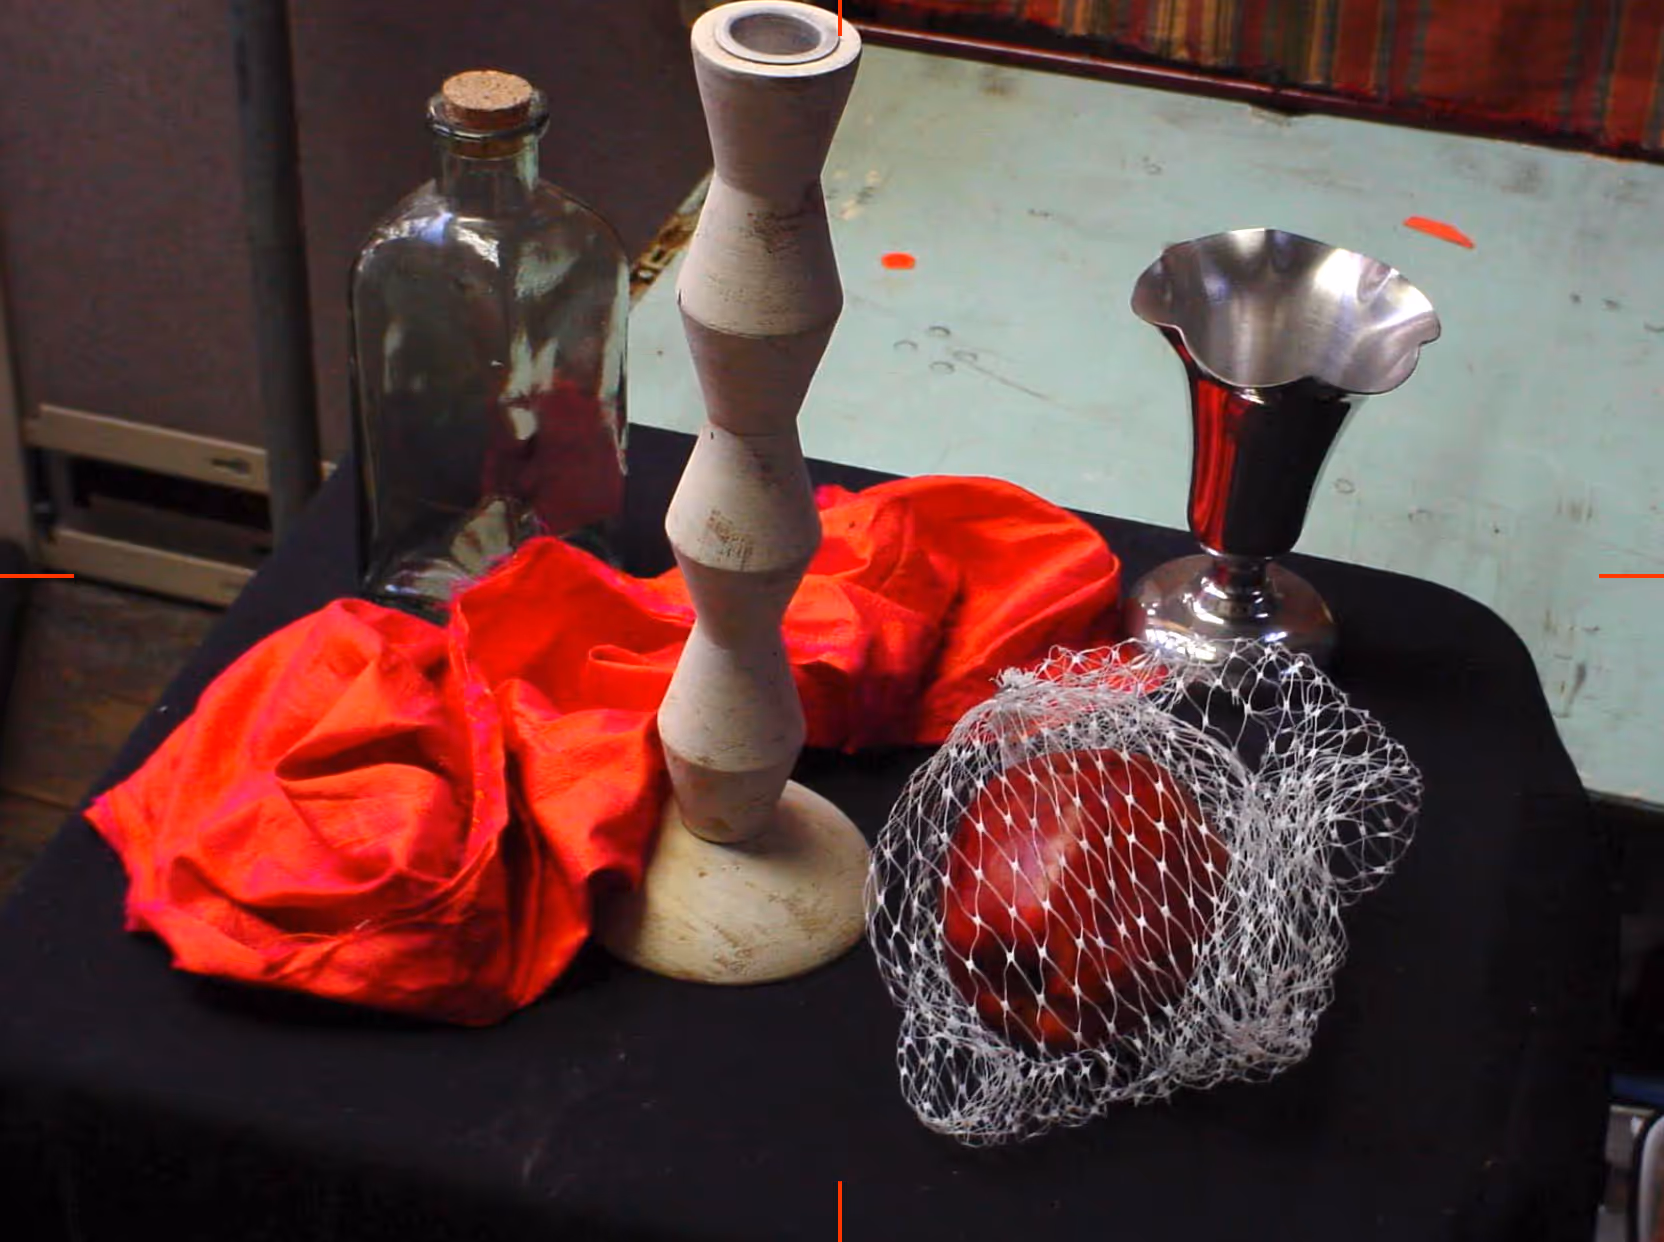
Continue your drawing from class. Before next week, draw as much as you can. Next week's class will be dedicated to finishing touches and refinements. Now that you have a still life where you can see both shiny and matte surfaces in the same scene, notice the differences between matte vs shiny surfaces
Matte vs shiny surfaces:
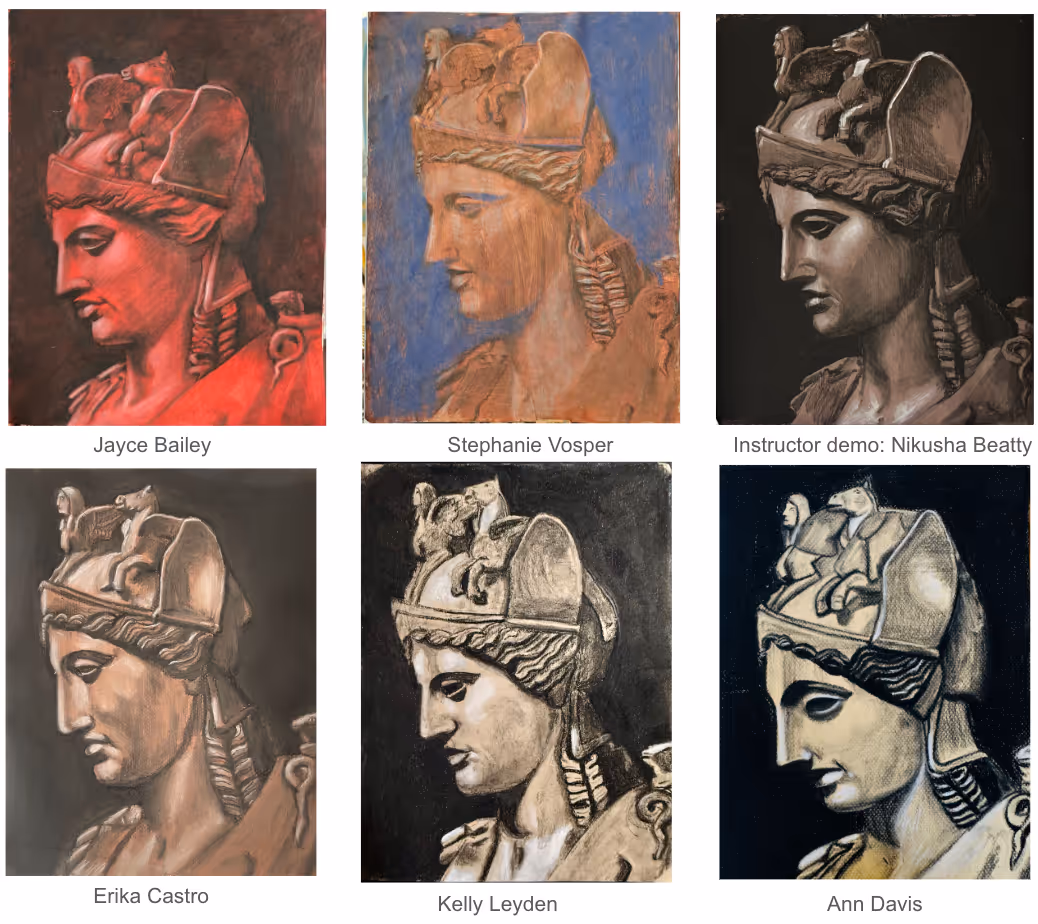
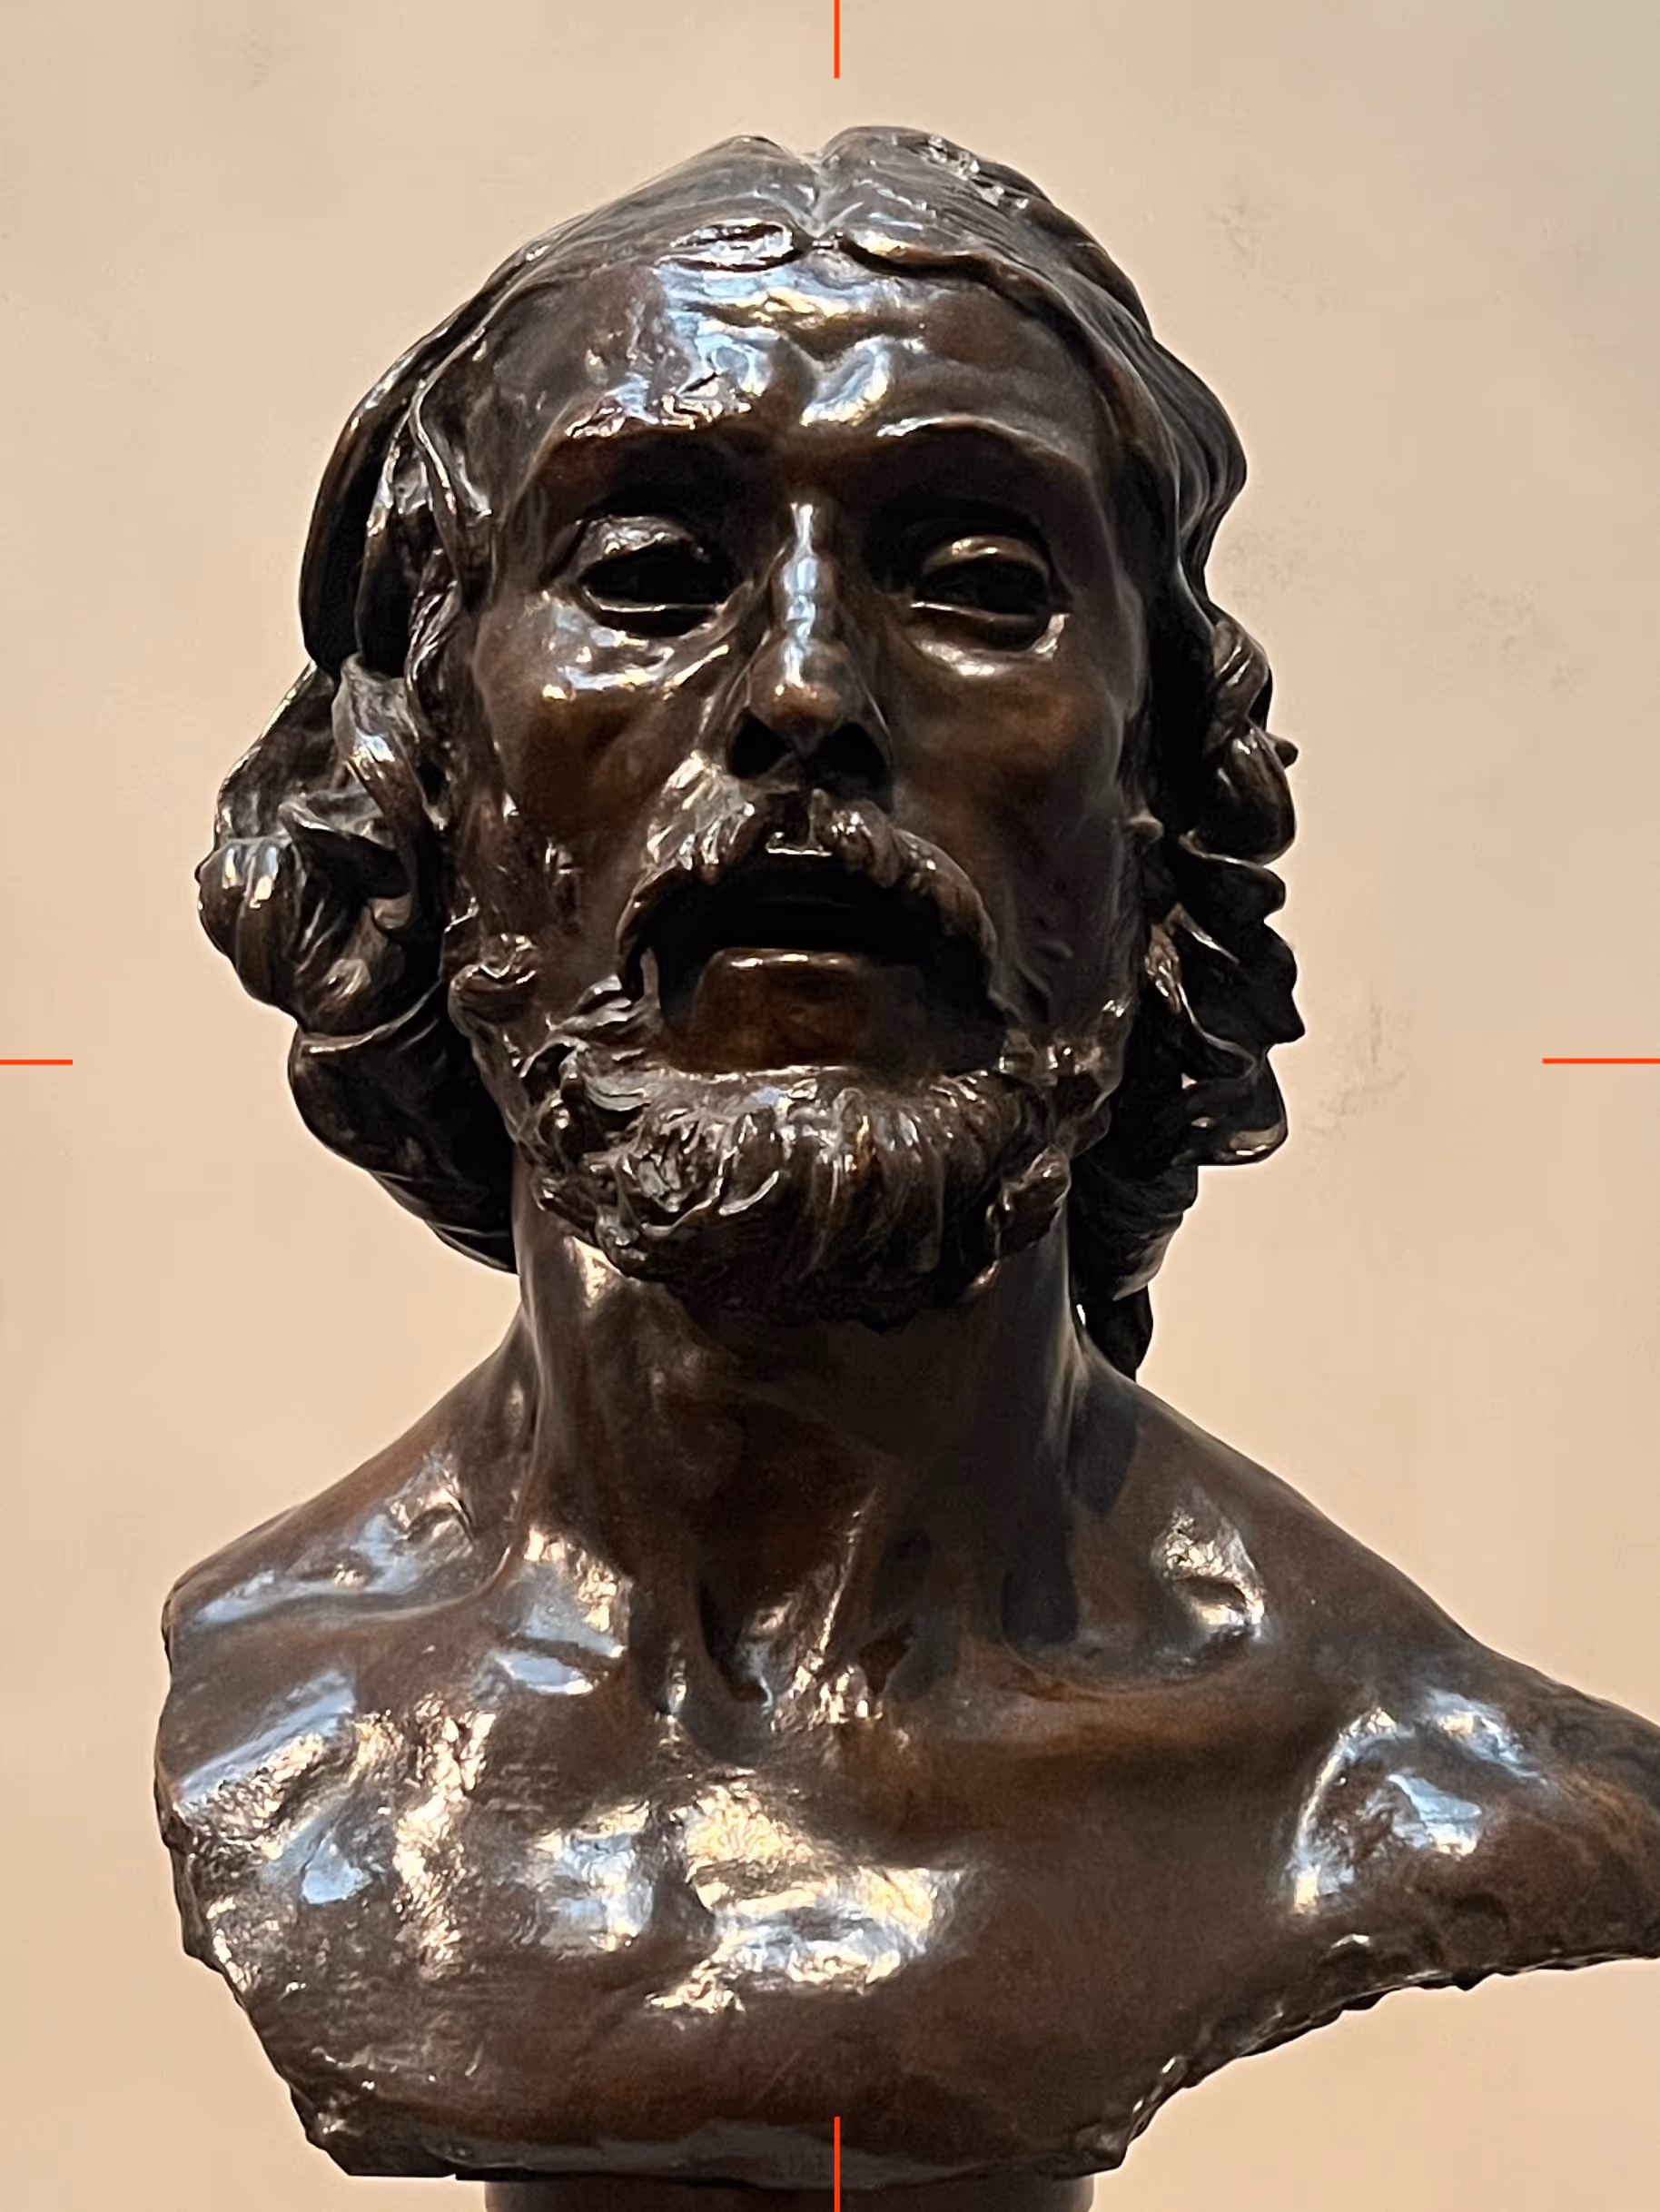
Continue working on your shiny sculpture. Try your best not to mix black and white pastel. Remember to keep your brown paper!
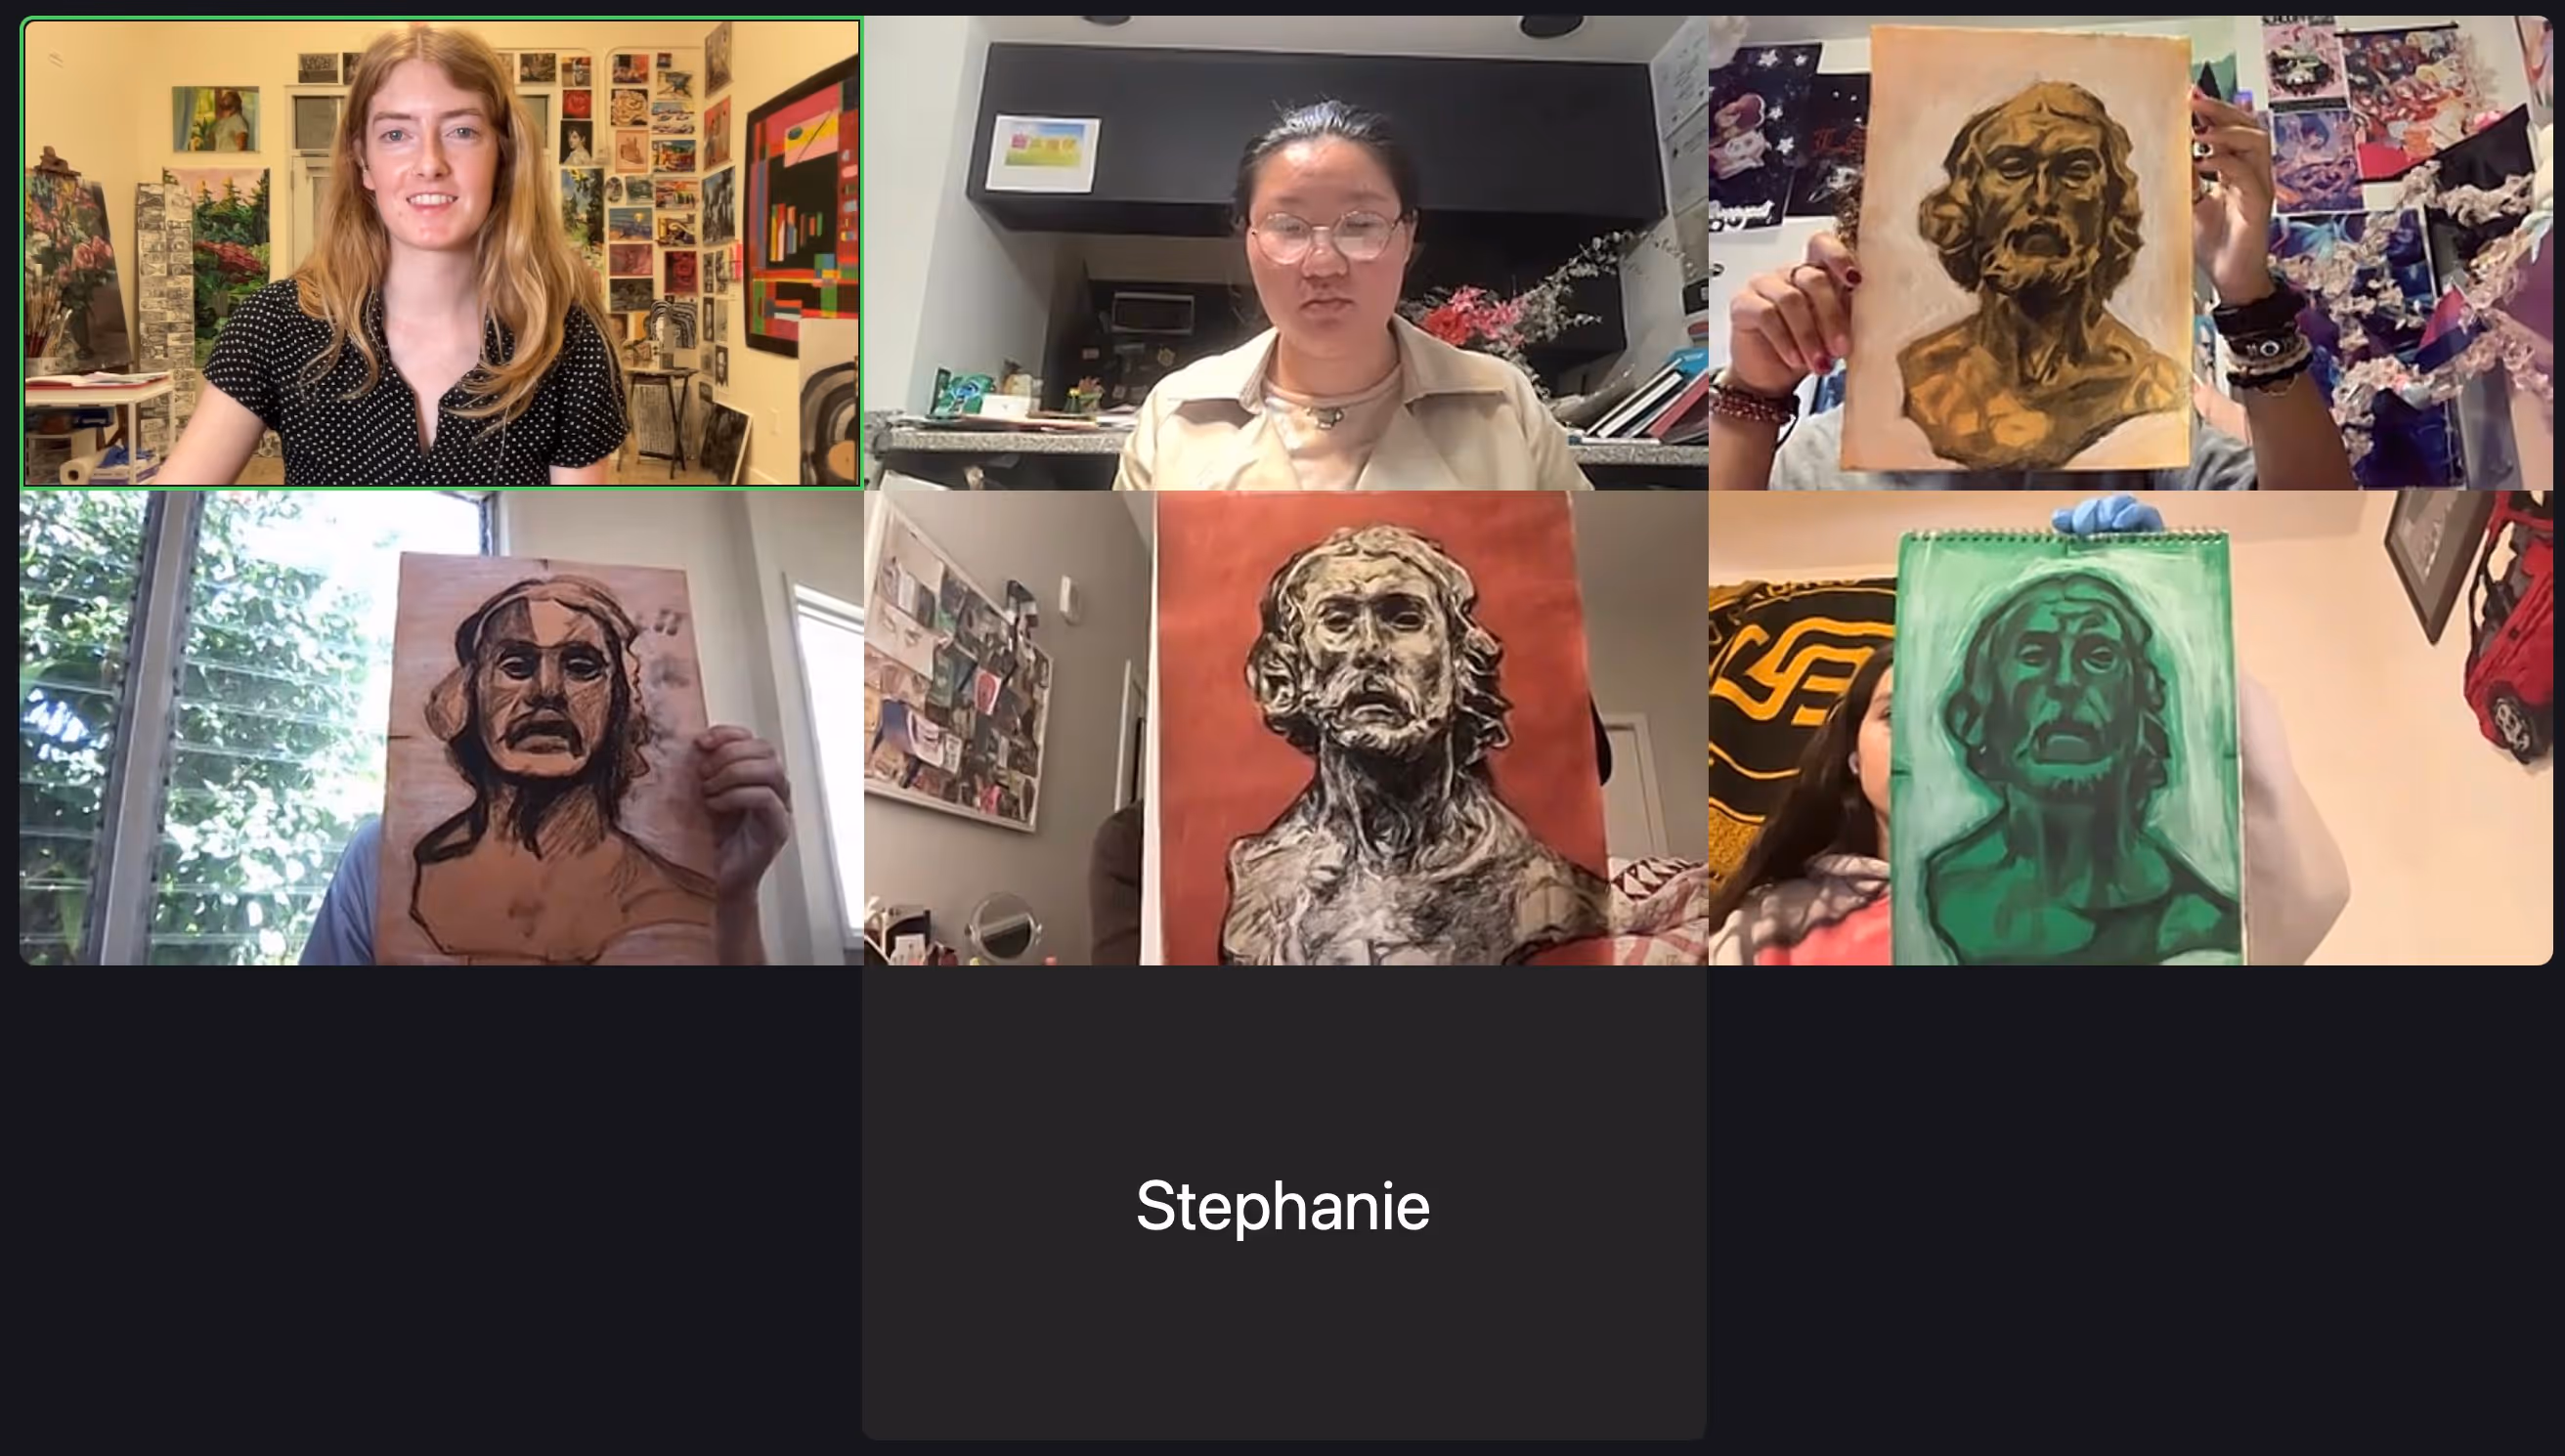
How to make the sculpture shiny:
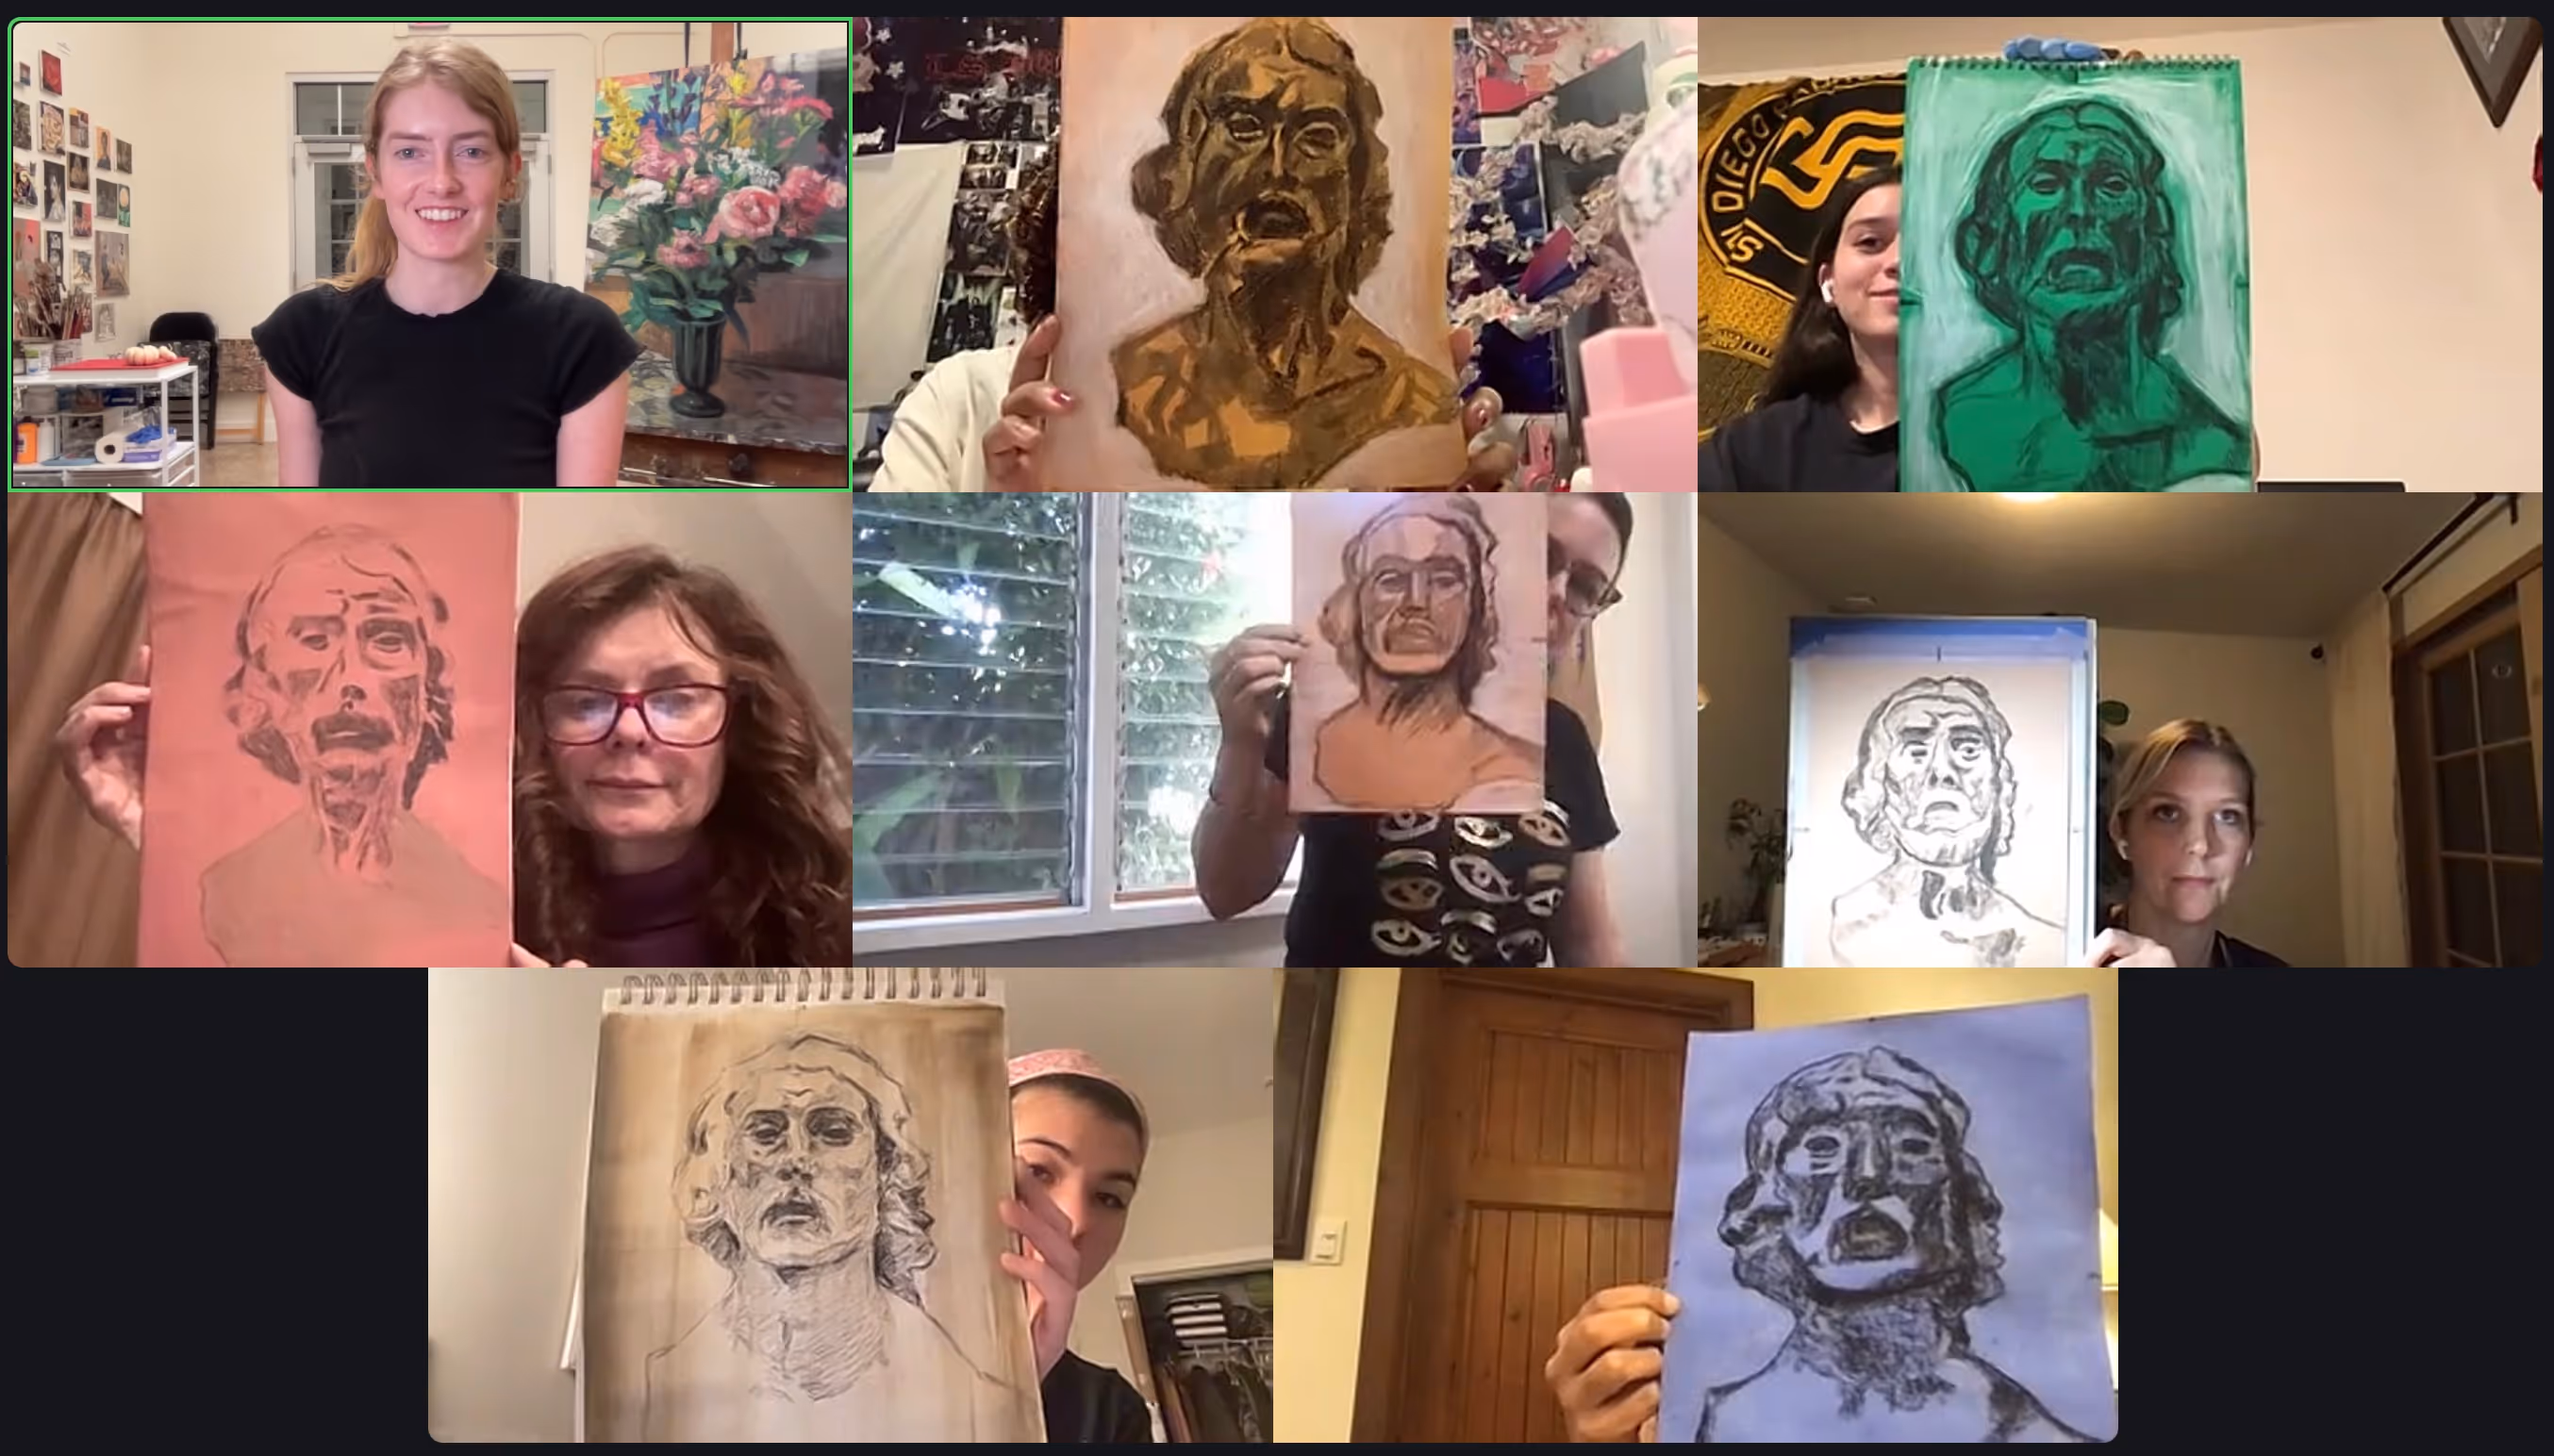
Continue your drawing from class, focusing on the shadows. Remember to leave some of the tonal paper showing; before you add the highlight, you may have more tonal paper showing than you want, but that will change as soon as you add white pastel.
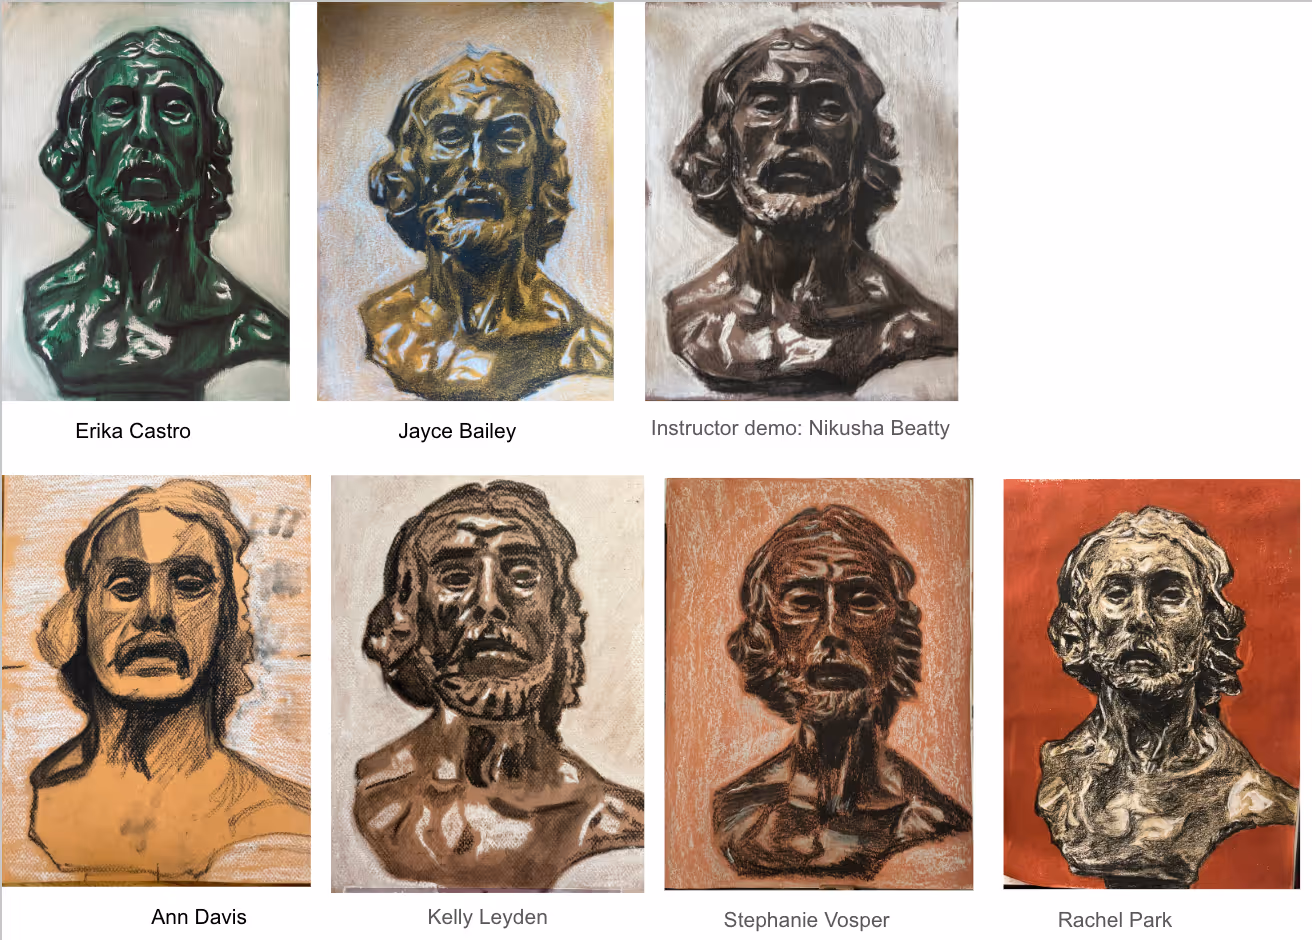
Continue working on your matte sculpture. Try your best not to mix black and white pastel. Remember to keep your brown paper! You may need to erase some shadows you've already drawn to make room for your highlights, but only erase the shadows when you add the highlights, no need to erase preemptively.
How to make the sculpture matte:
Continue adding the areas that are darker than your toned paper. I recommend to do less rather than more, anticipating for the finishing effect that the addition of white pastel will bring.
If you'd like to begin blending the edges of your shadows, you can. Just be aware that blending areas can make them larger.
Squint, step back, look at shapes (negative and positive shapes).
Send me a photo of the latest version of your drawing if you'd like feedback next week. I will only give feedback to those that send me photos!
Want a closer look? Right-click and open in a new tab to view.