🎉 BOGO Summer Sale: Buy Any Eligible Course, Choose Another FREE!
Your free course will be added to your account within 24 hours. Contact us after purchase to choose your complimentary course.
Member's schedule
Log In
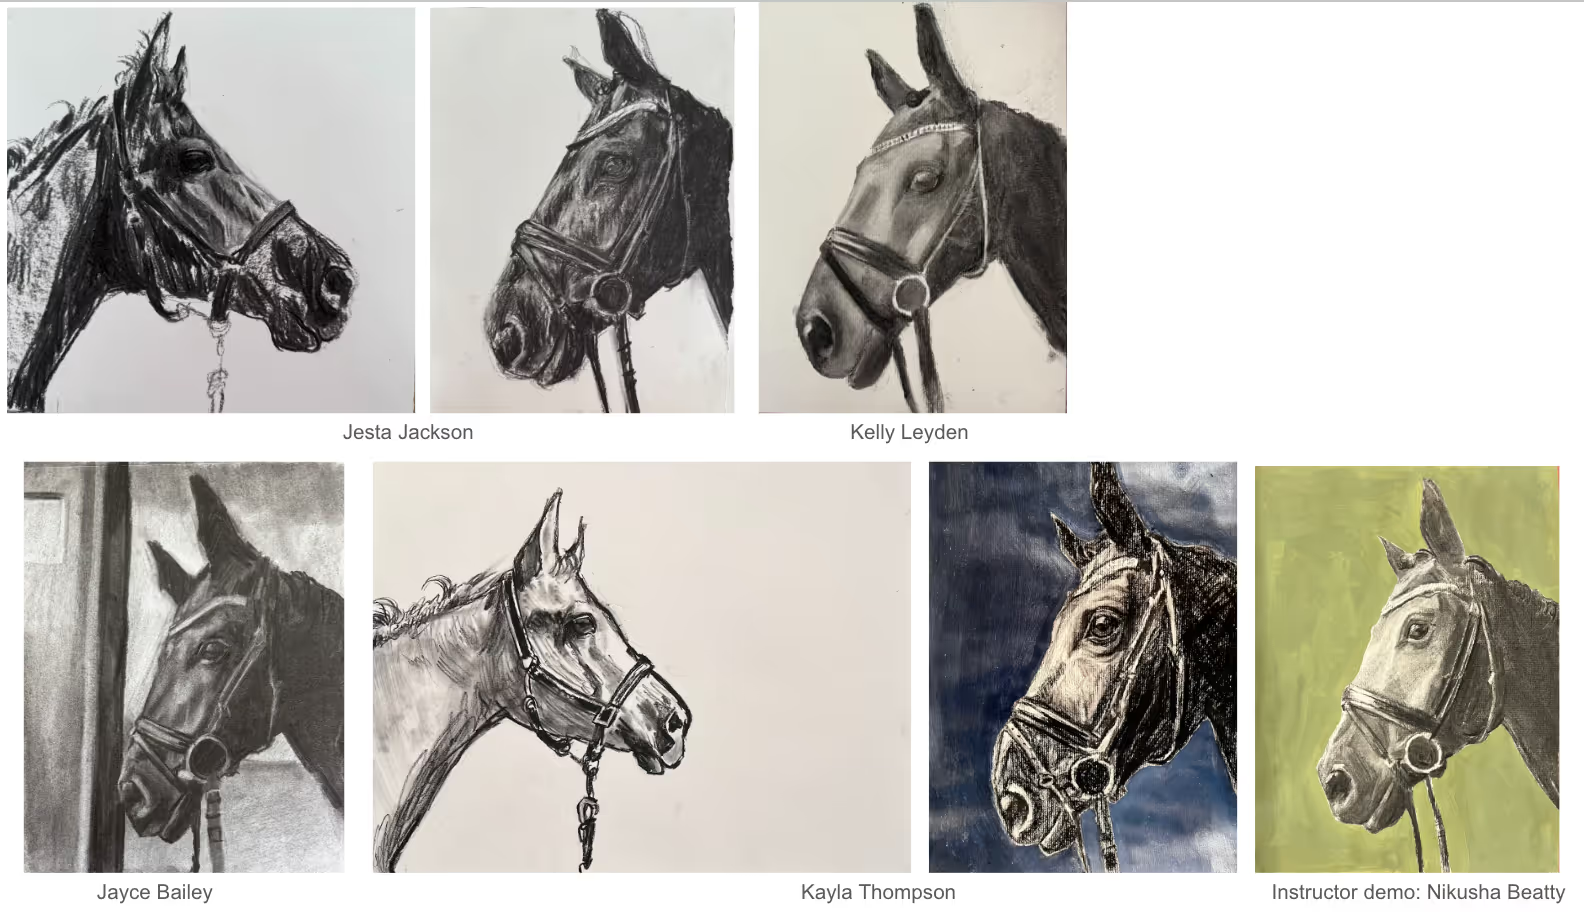
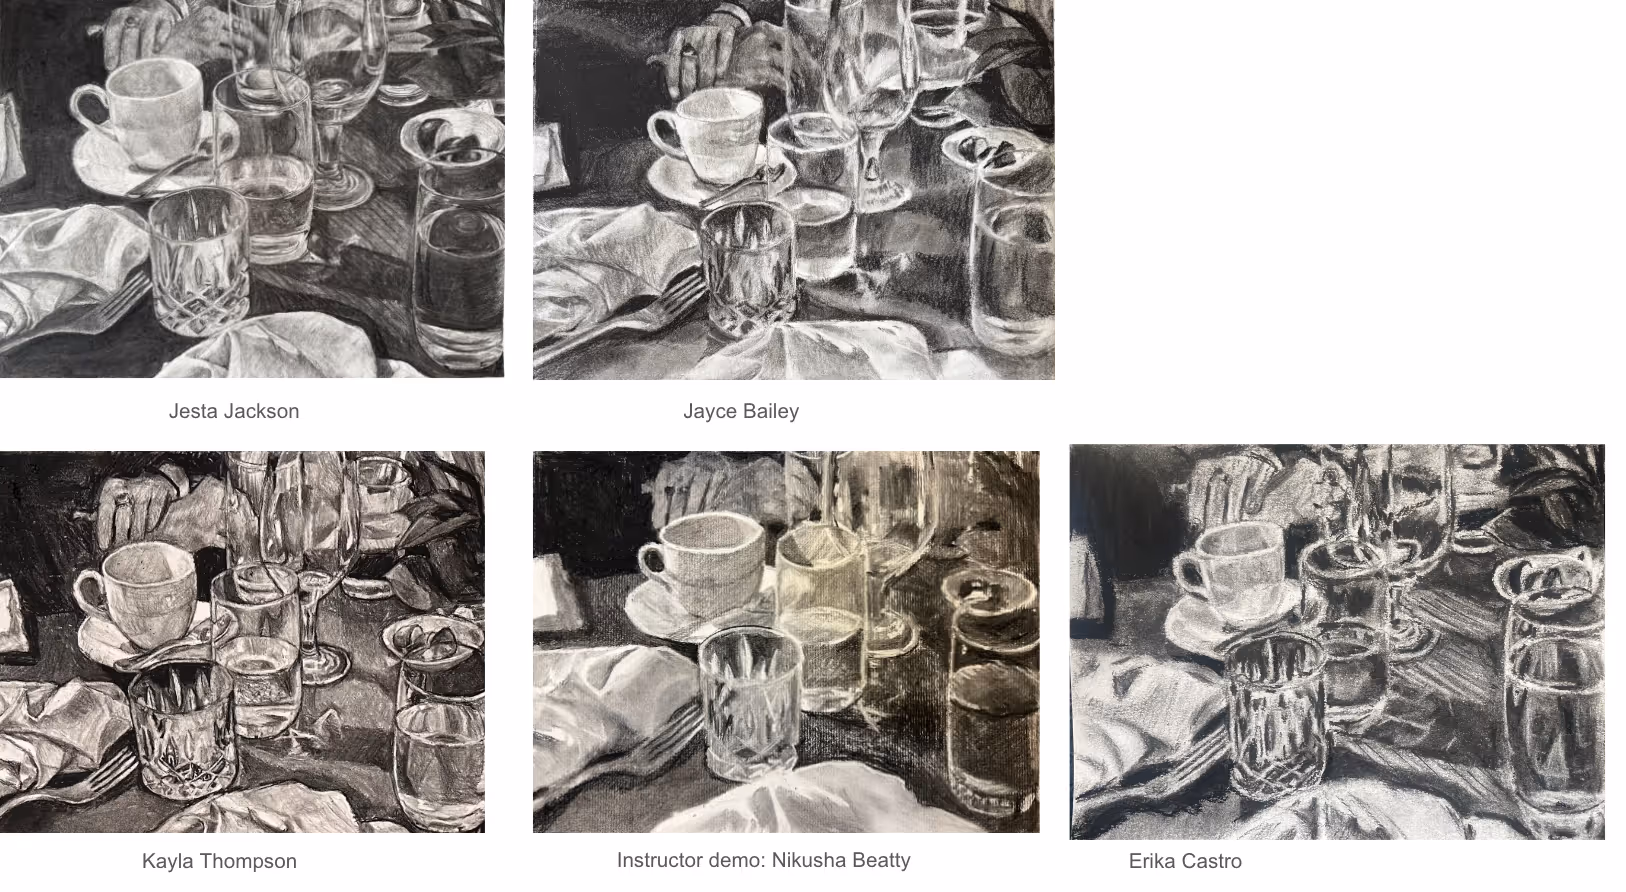


Right-click and open in a new tab to enlarge and print.
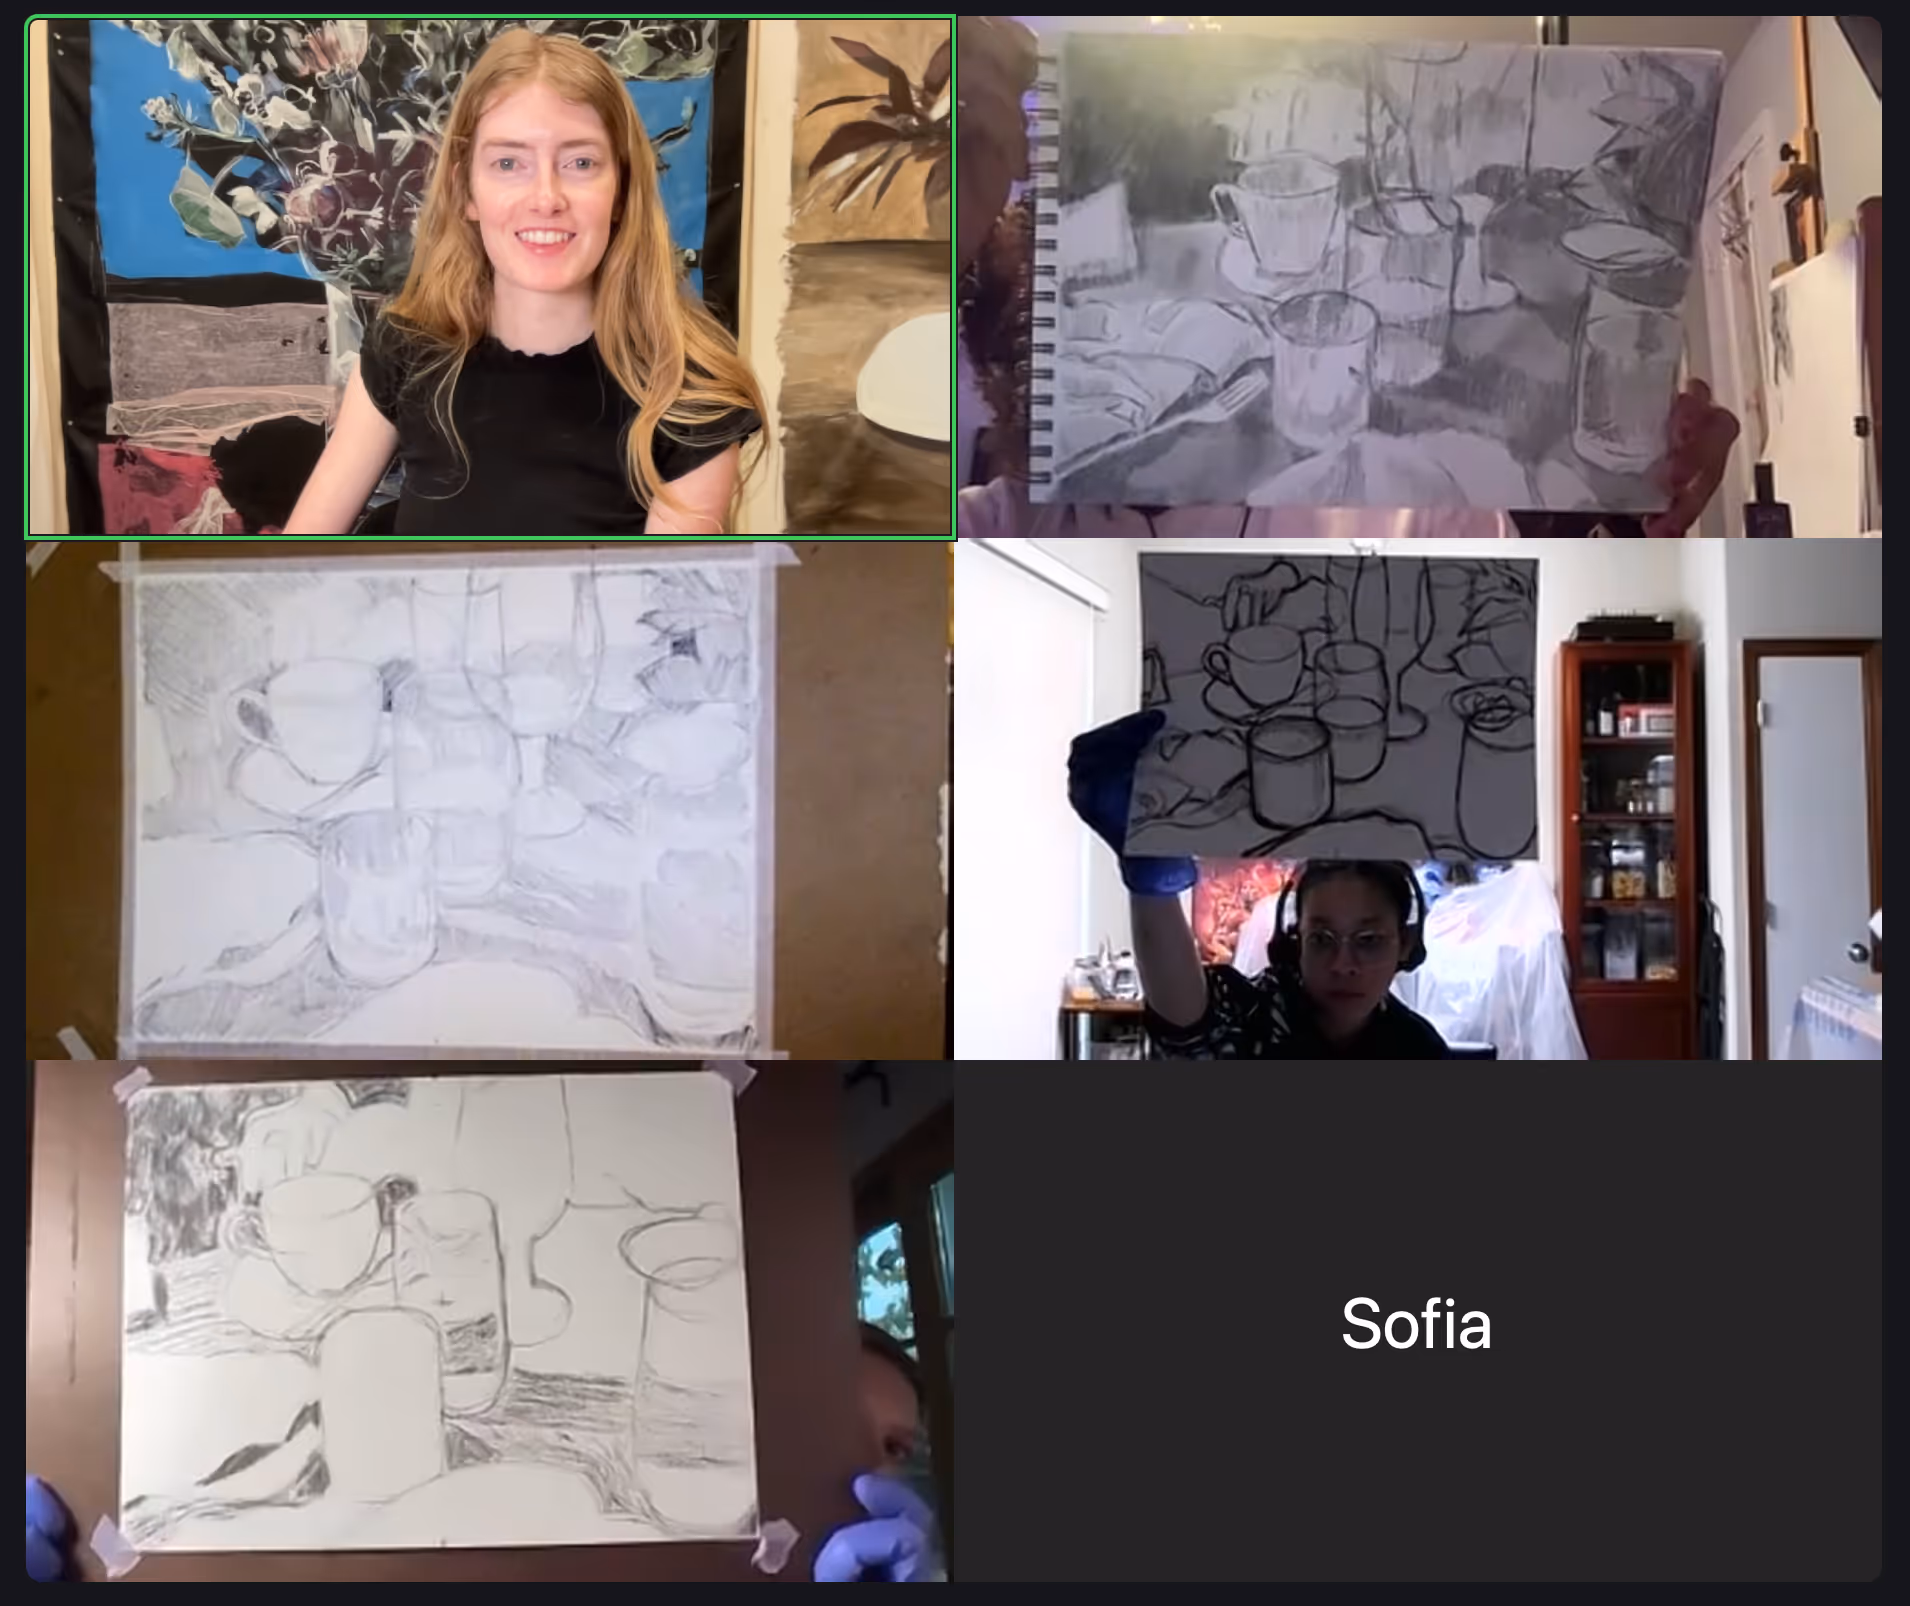
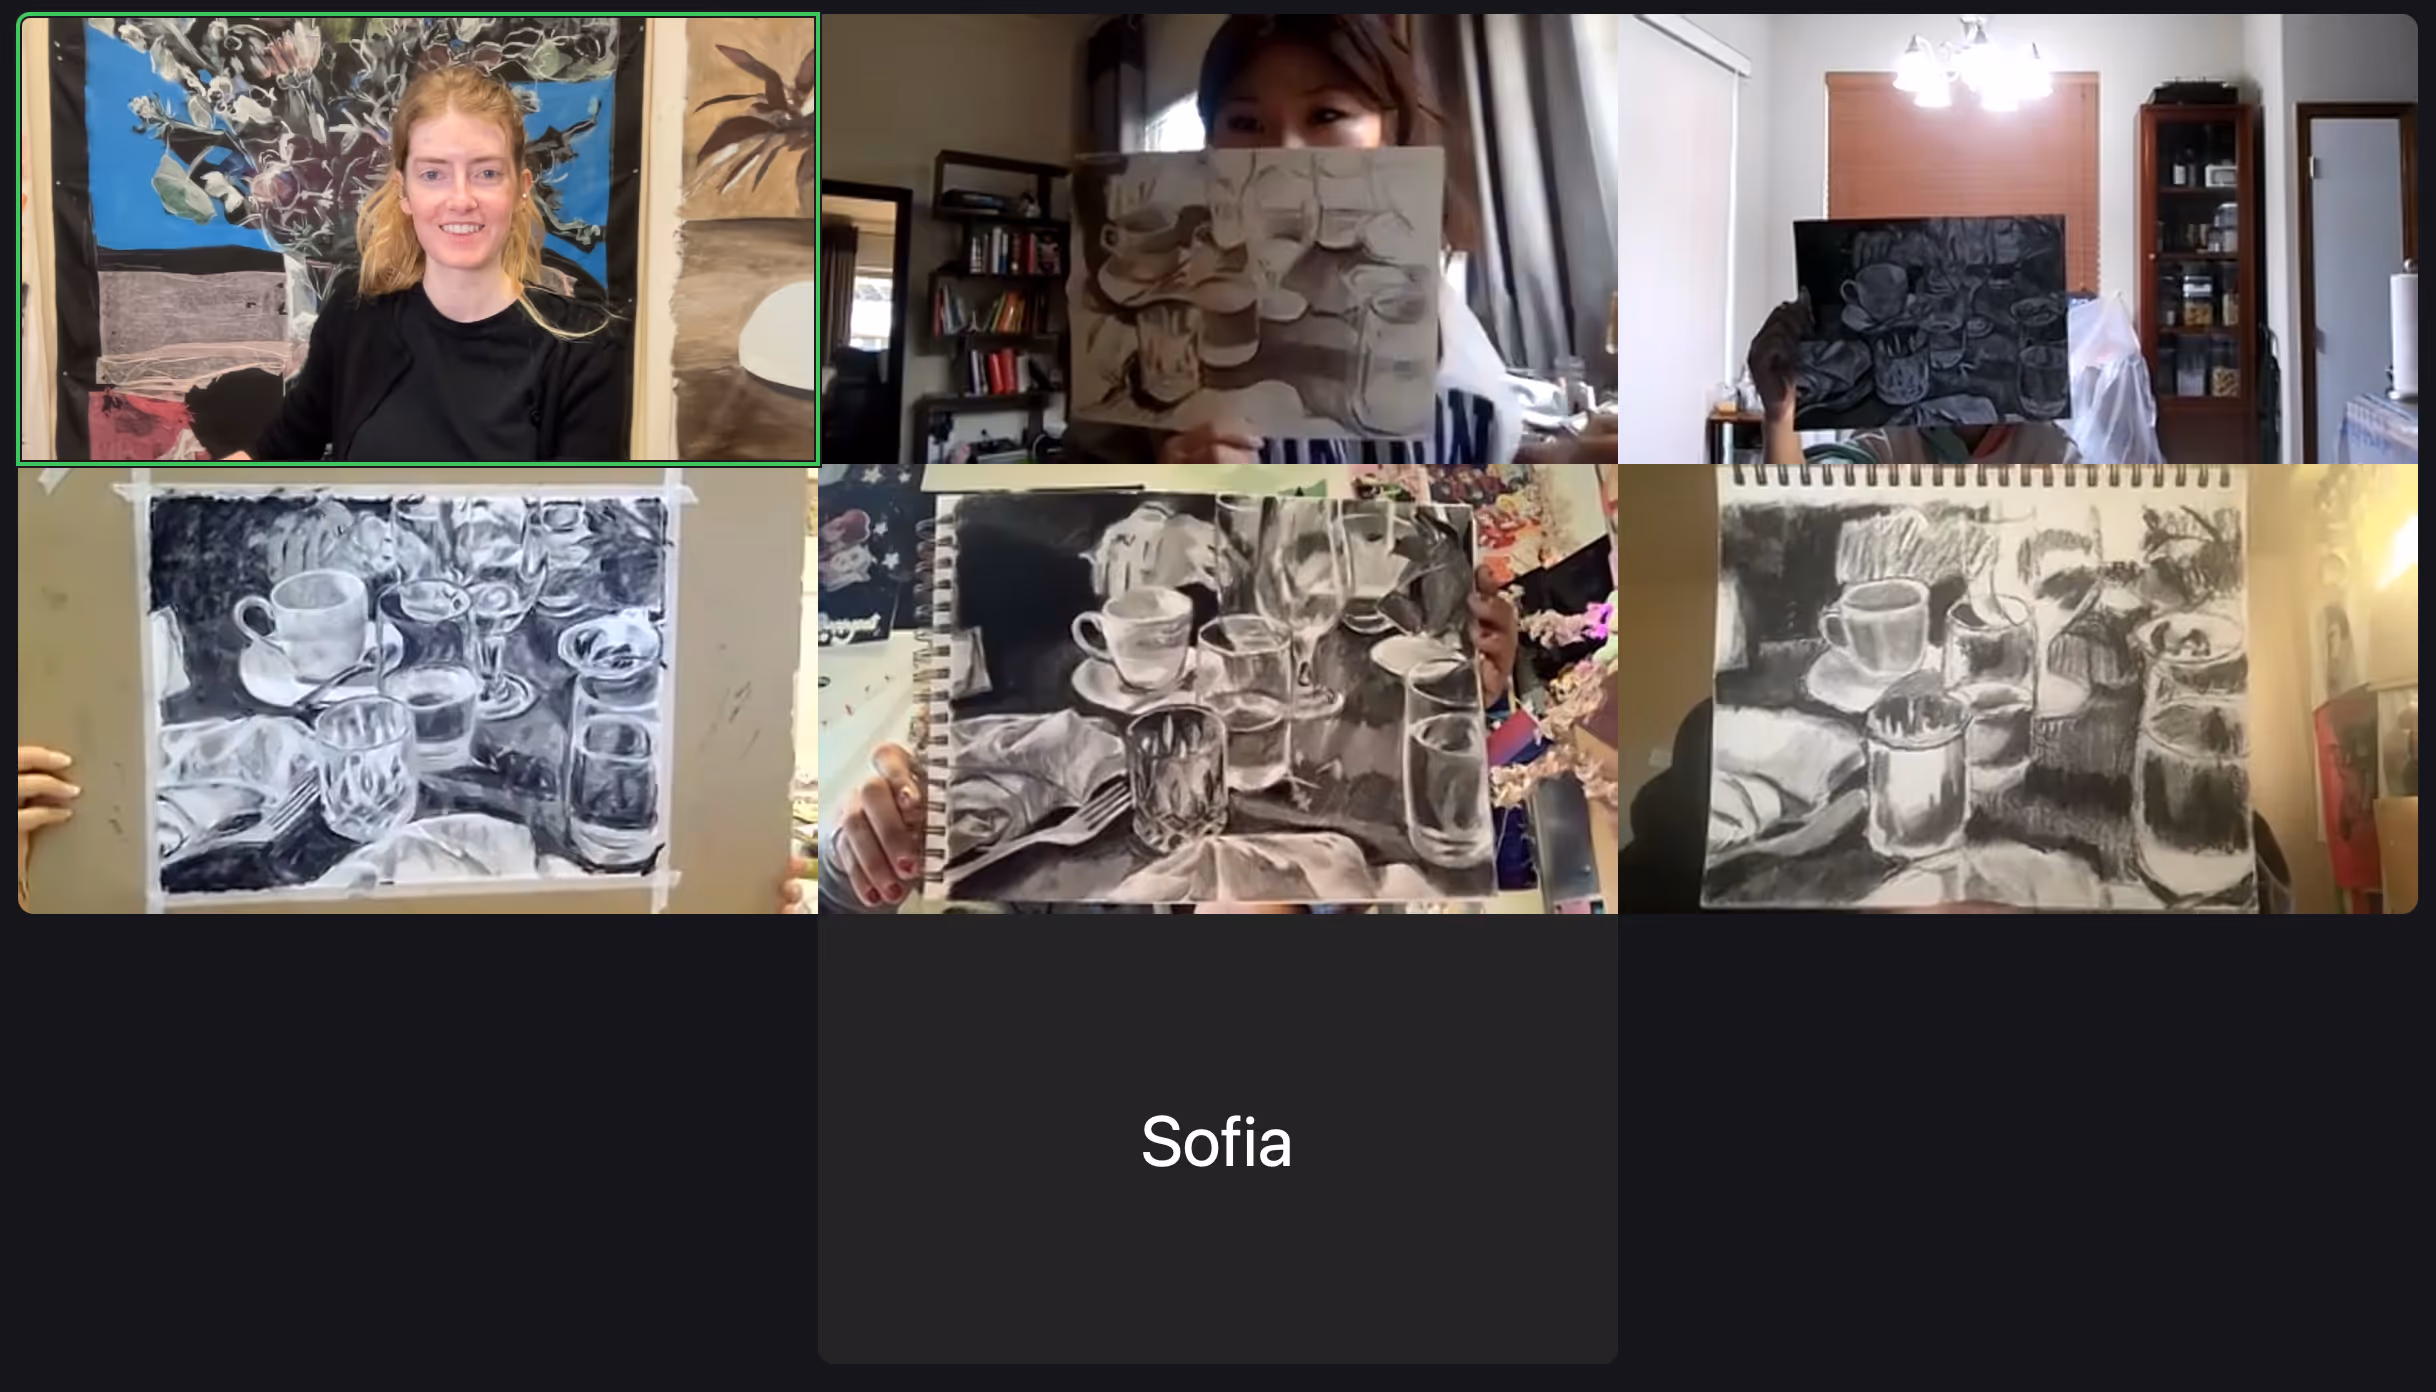
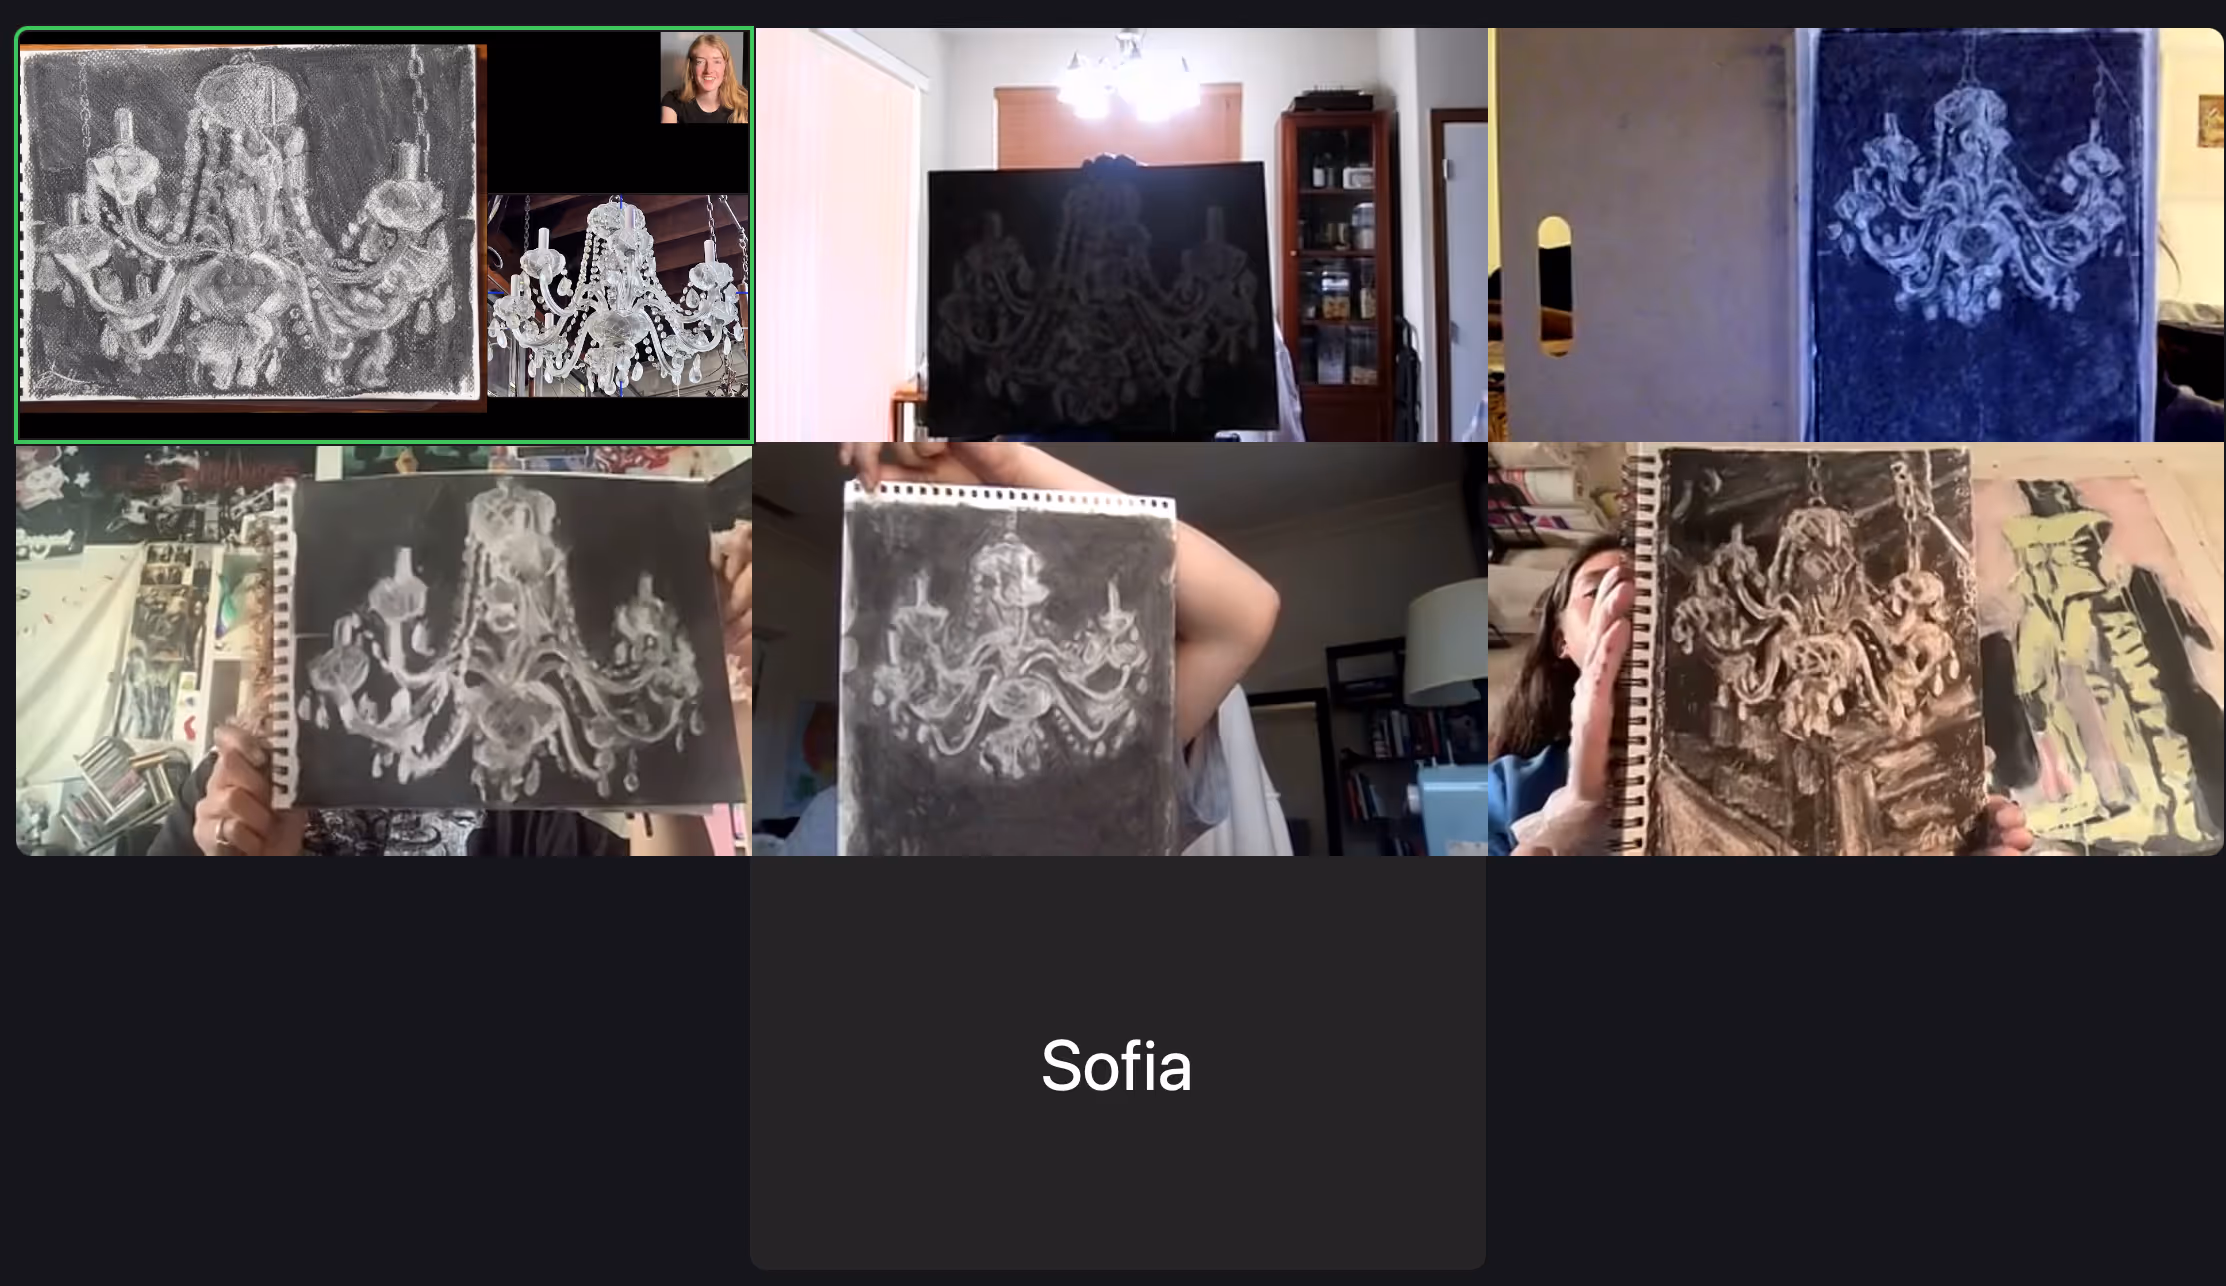
Practice a subtractive charcoal approach by toning your paper with charcoal to black. With this technique, the roles of the eraser and charcoal are reversed–you use your eraser to draw and the charcoal to erase.
Toning your paper with grey immediately gives you the midtone, allowing you to lighten with your eraser and darken with charcoal.
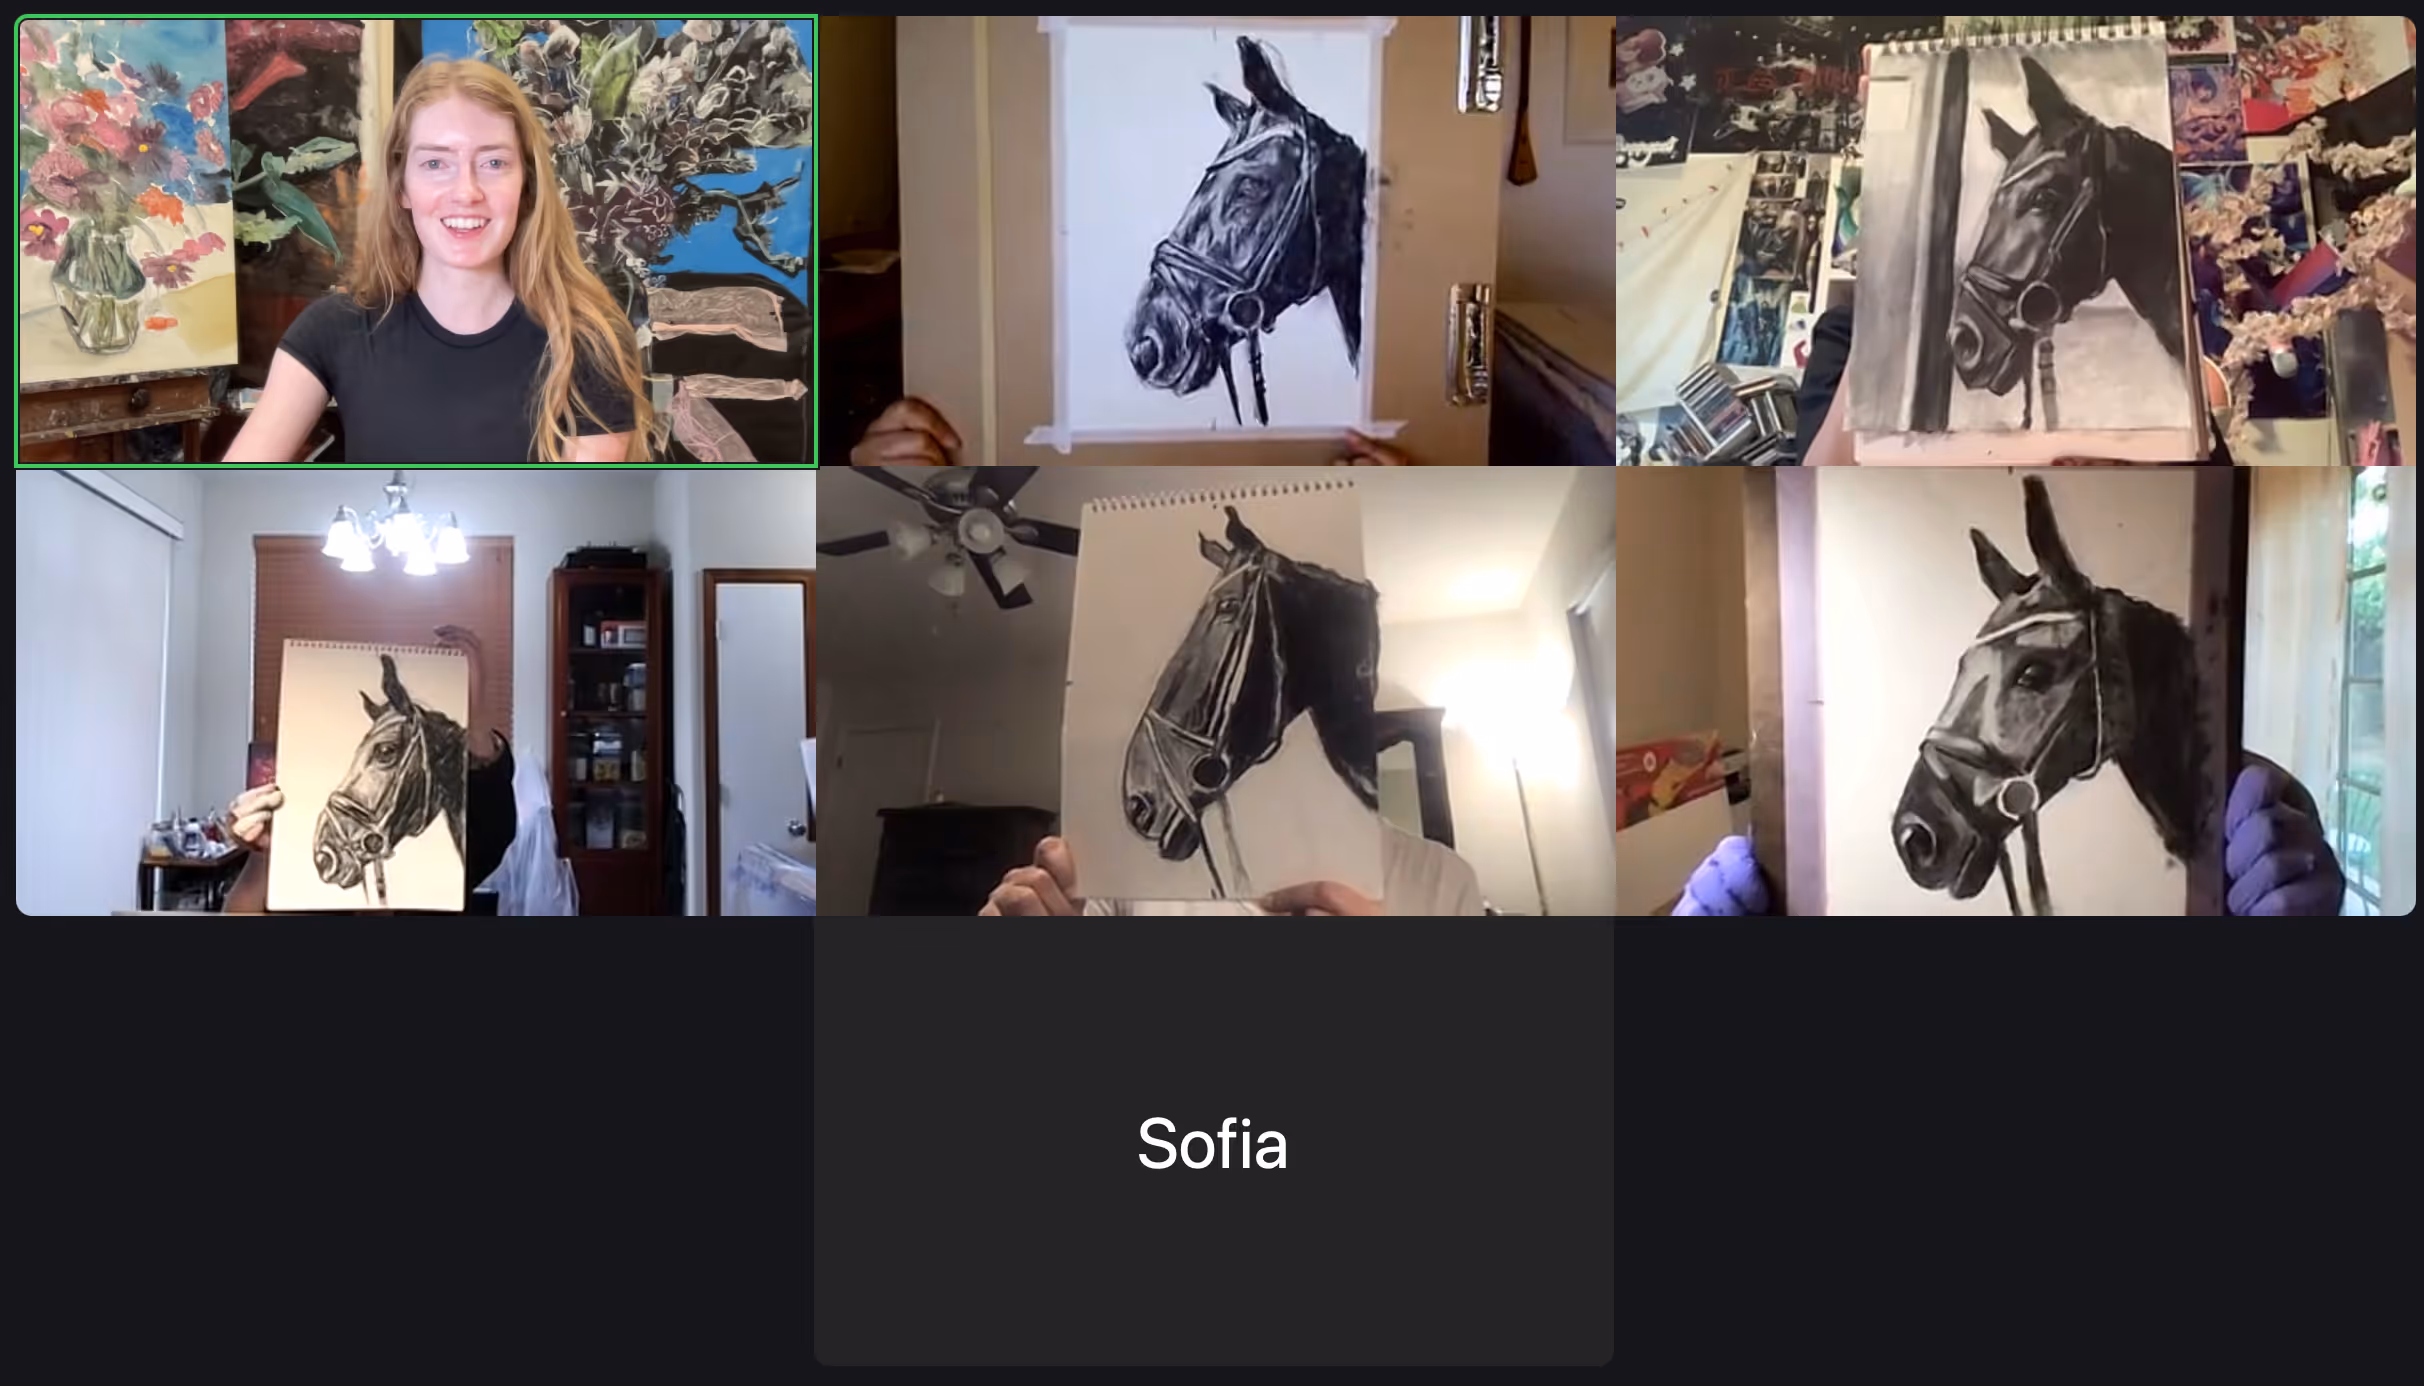
Add refinements and details. As you work on the tiny areas and nuances, don't forget to see the big picture. Squint, step back, take photos, compare your drawing to the photo.
Continue working on your drawing. Focus on three areas: 1. proportions, 2. the different colors of objects (light colored objects versus dark colored objects), and 3. lights and shadows on each object / area
Spend time on your drawing every day - it adds up!
You can ignore details and textures and subtle nuances - we'll discuss that next week.
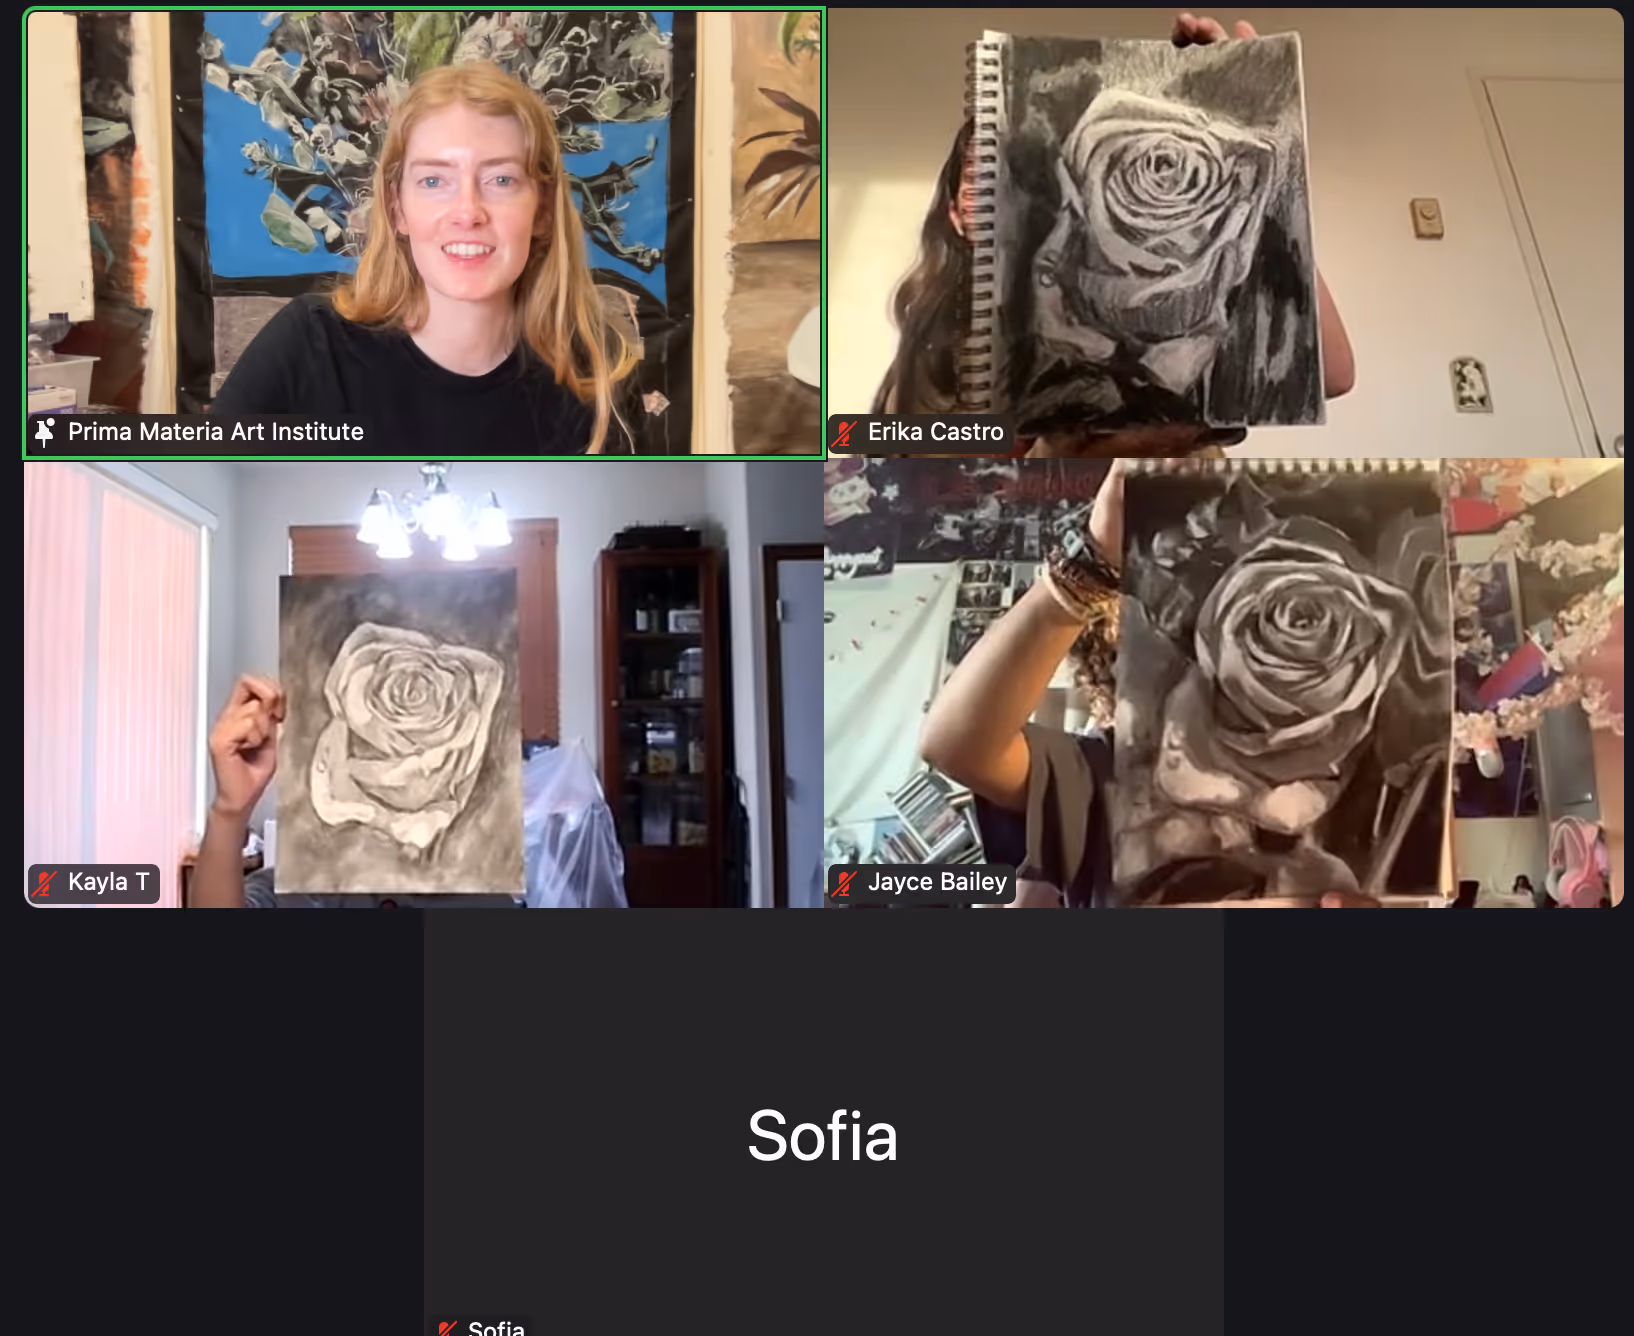
Sketching with charcoal is a fun and easy way to quickly create a tonal drawing. Even if you don't add all the details, the result feels quite substantial.
Finish your charcoal chart if you haven't already.
Here's the list of optional supplies that I introduced in class:
Here's more information about the "Natural charcoal pencils" Kelly asked about in class.
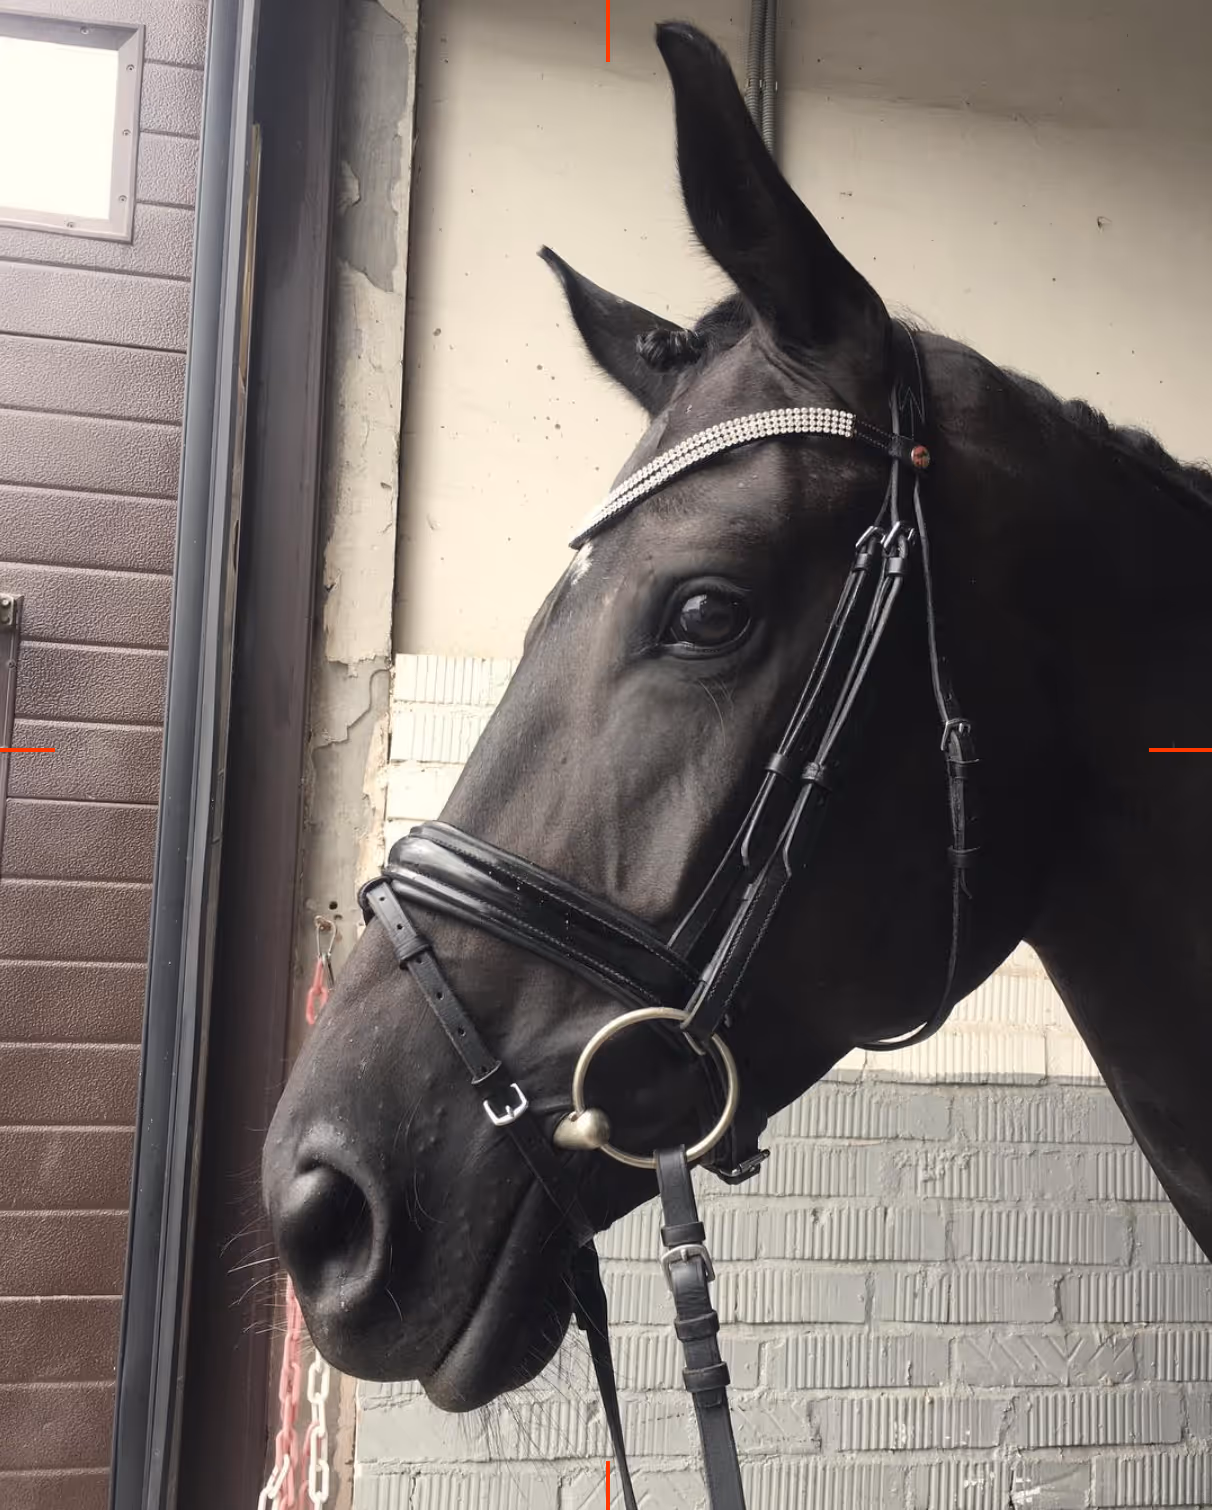
Want a closer look? Right-click and open in a new tab to view.