🎉 BOGO Summer Sale: Buy Any Eligible Course, Choose Another FREE!
Your free course will be added to your account within 24 hours. Contact us after purchase to choose your complimentary course.
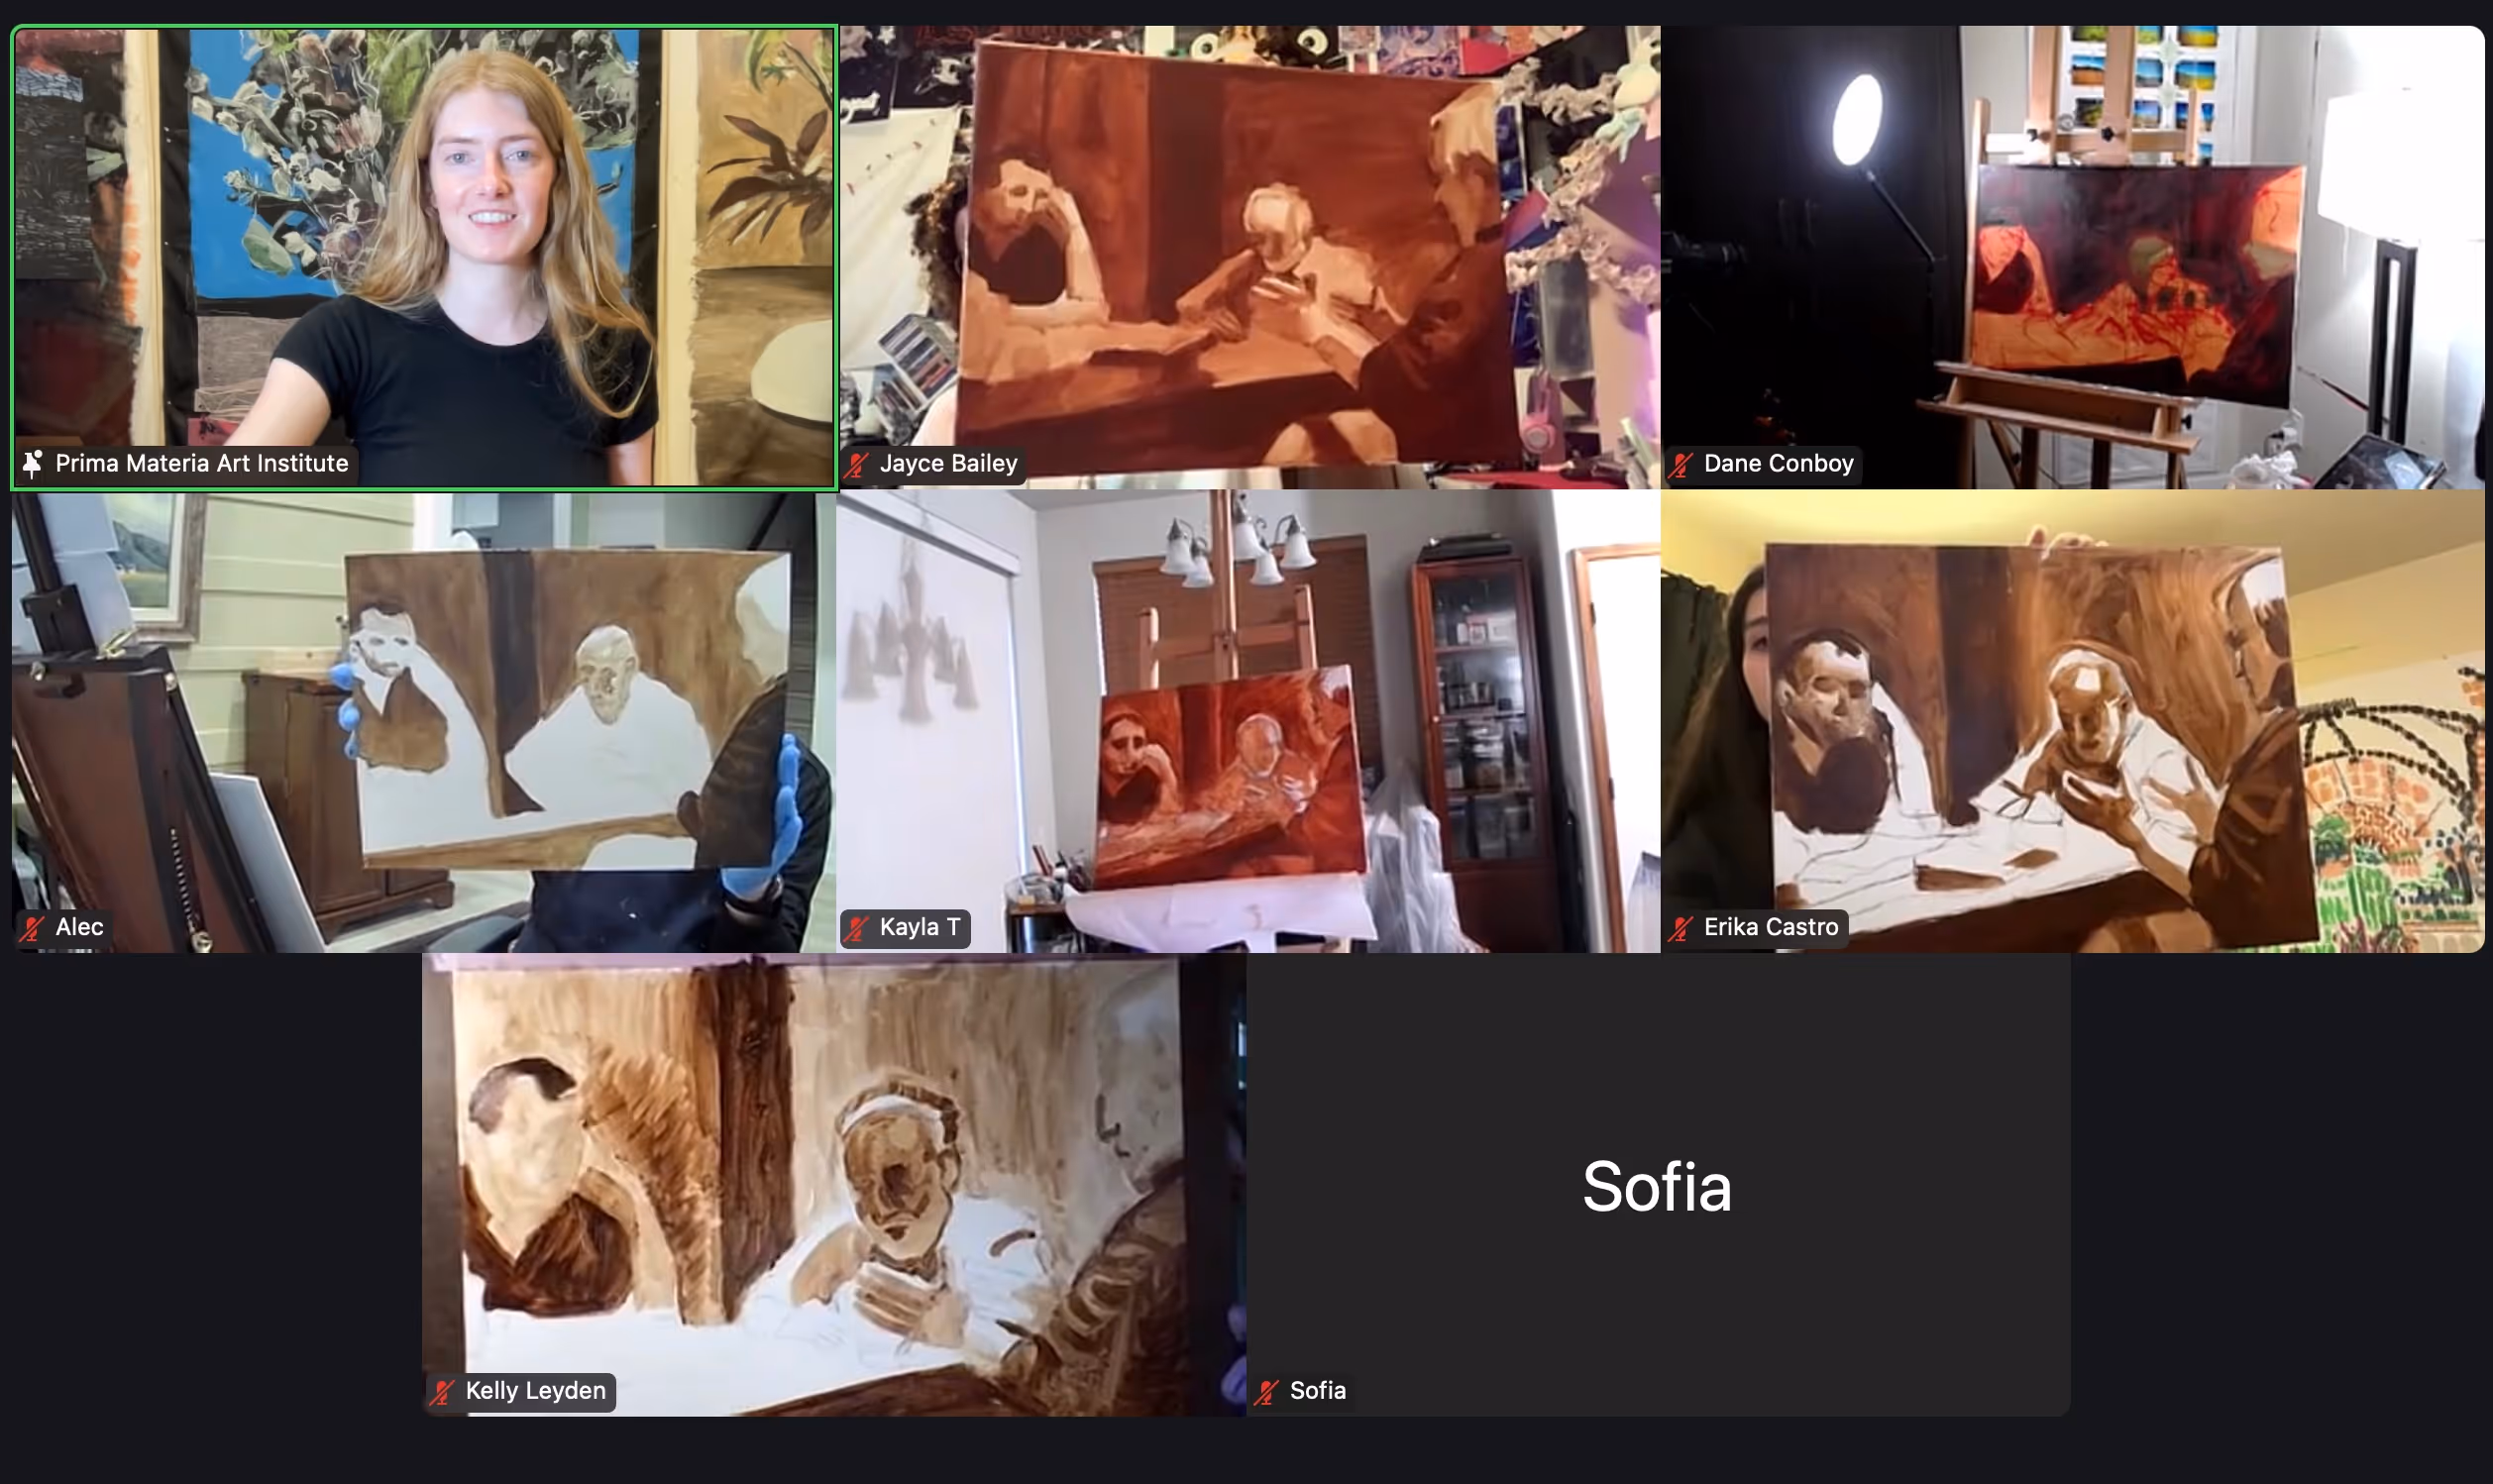
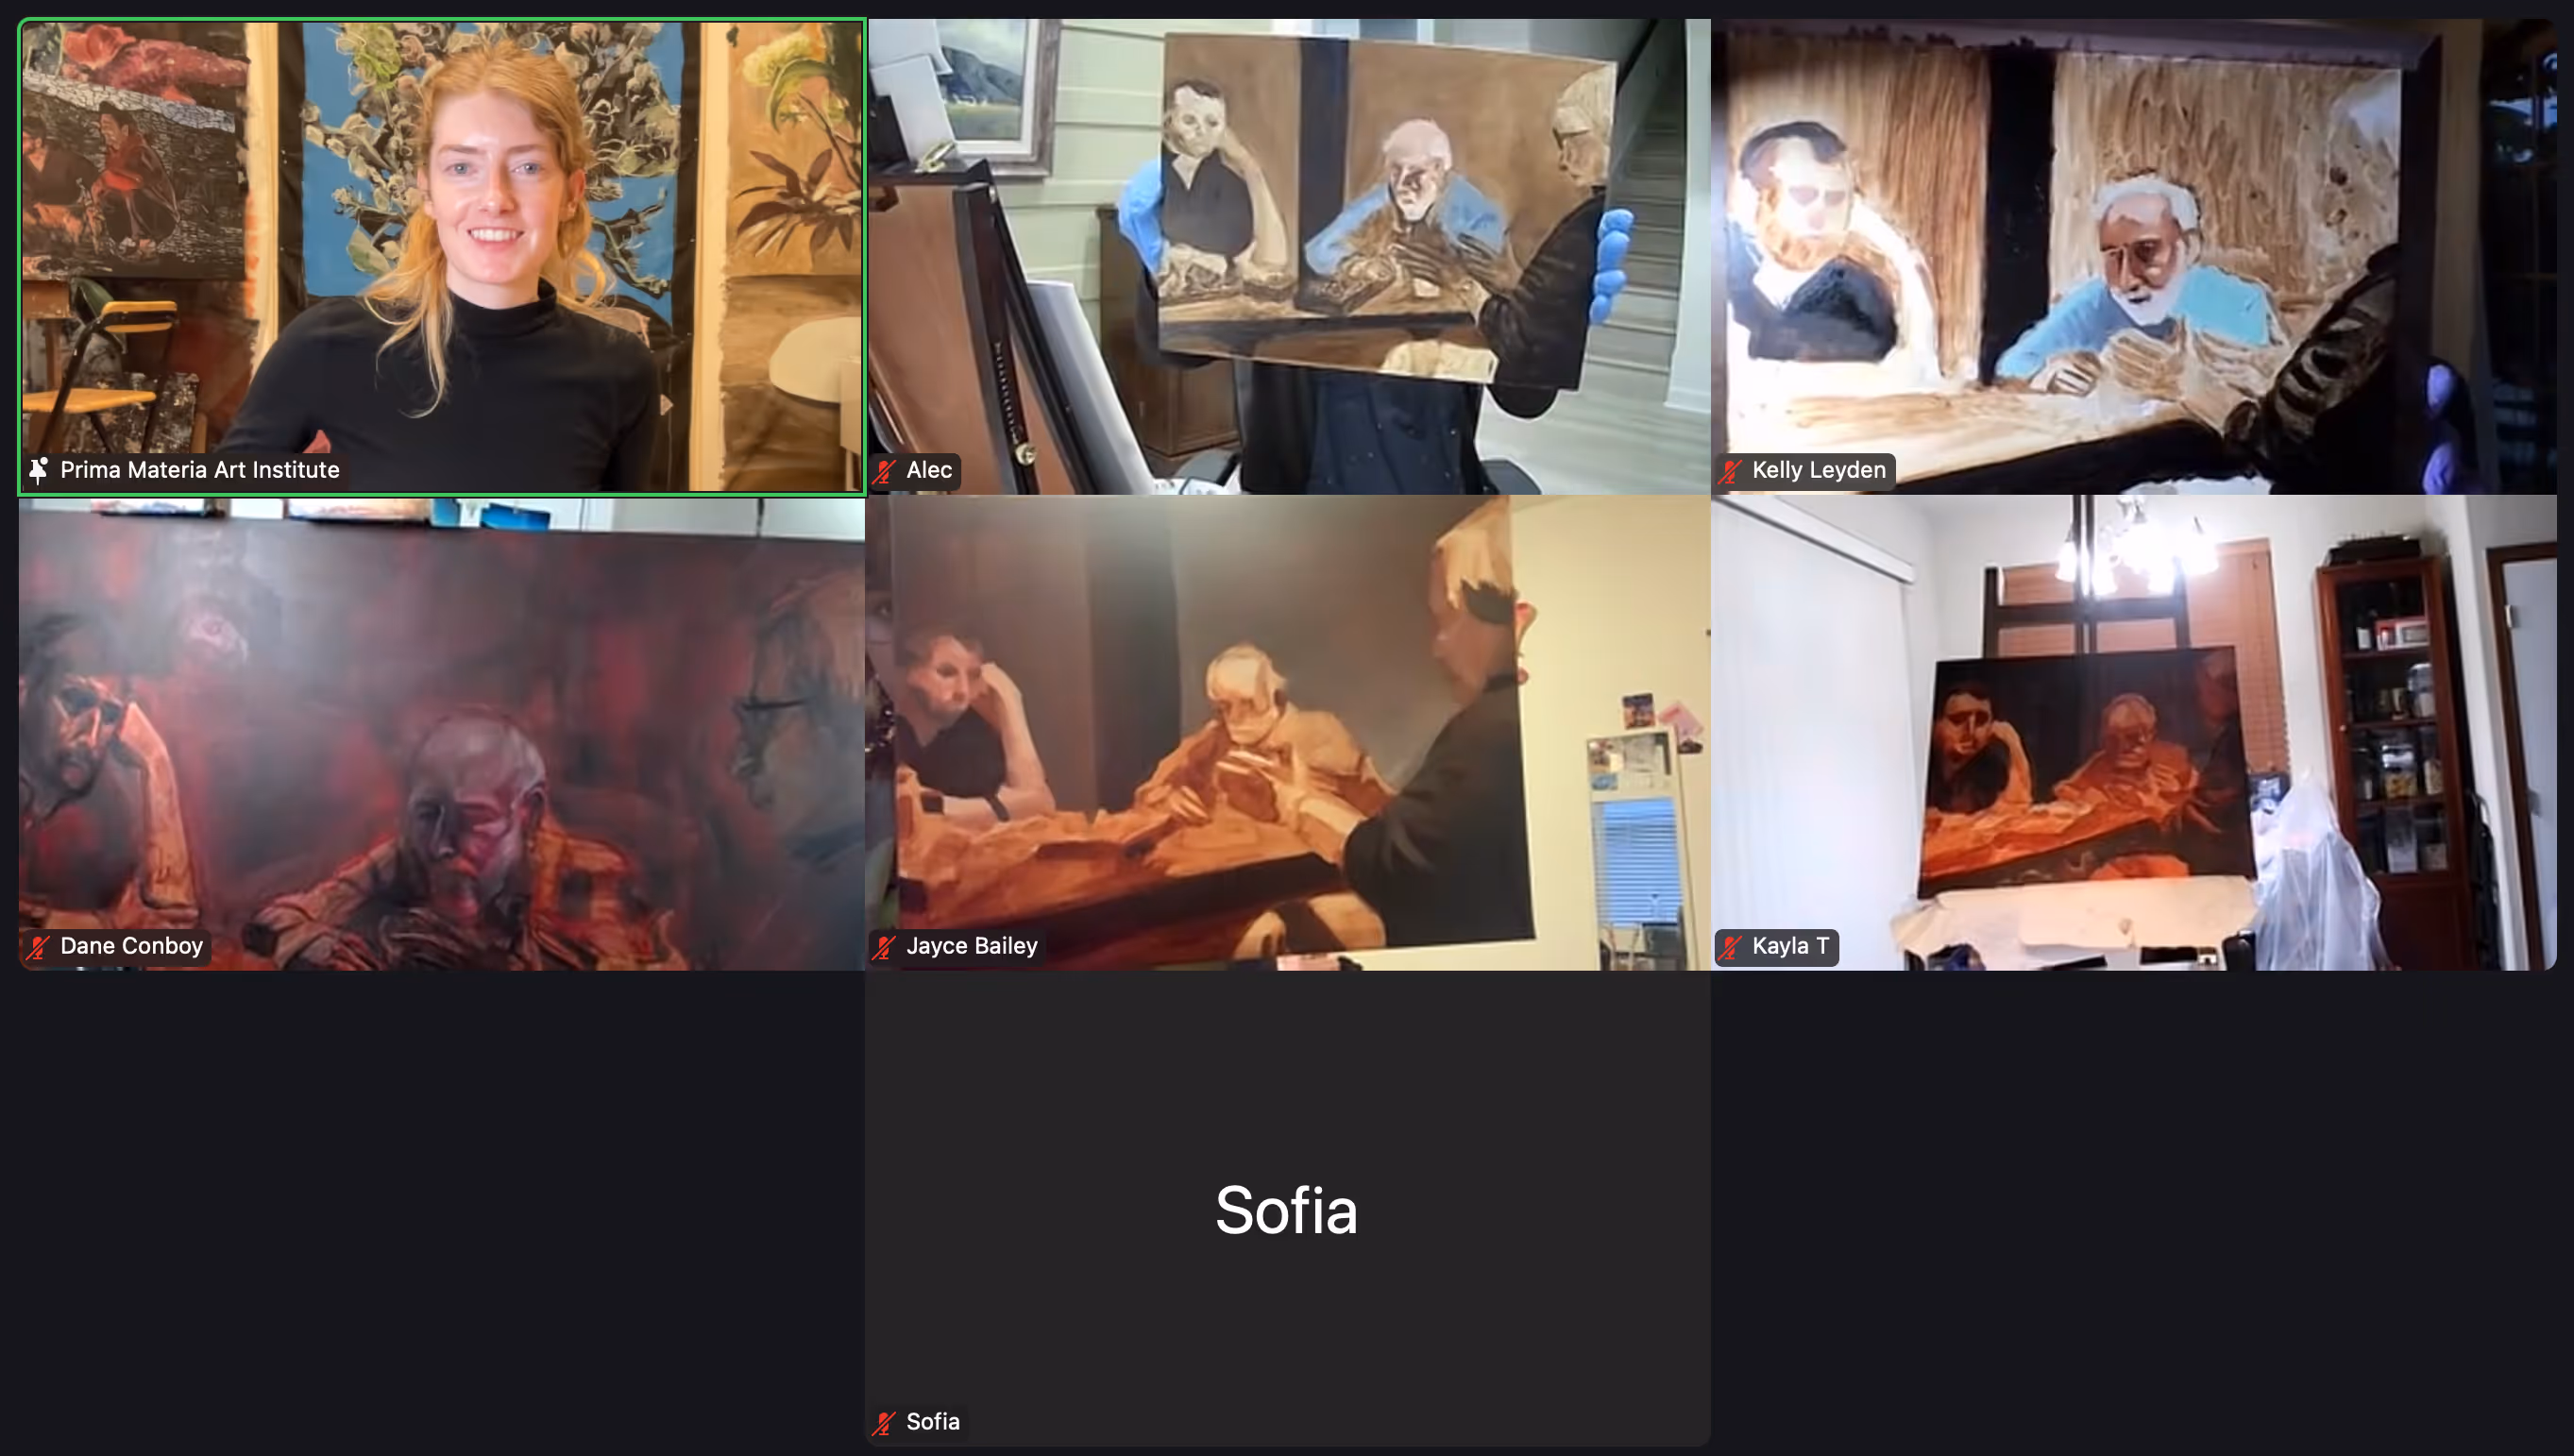
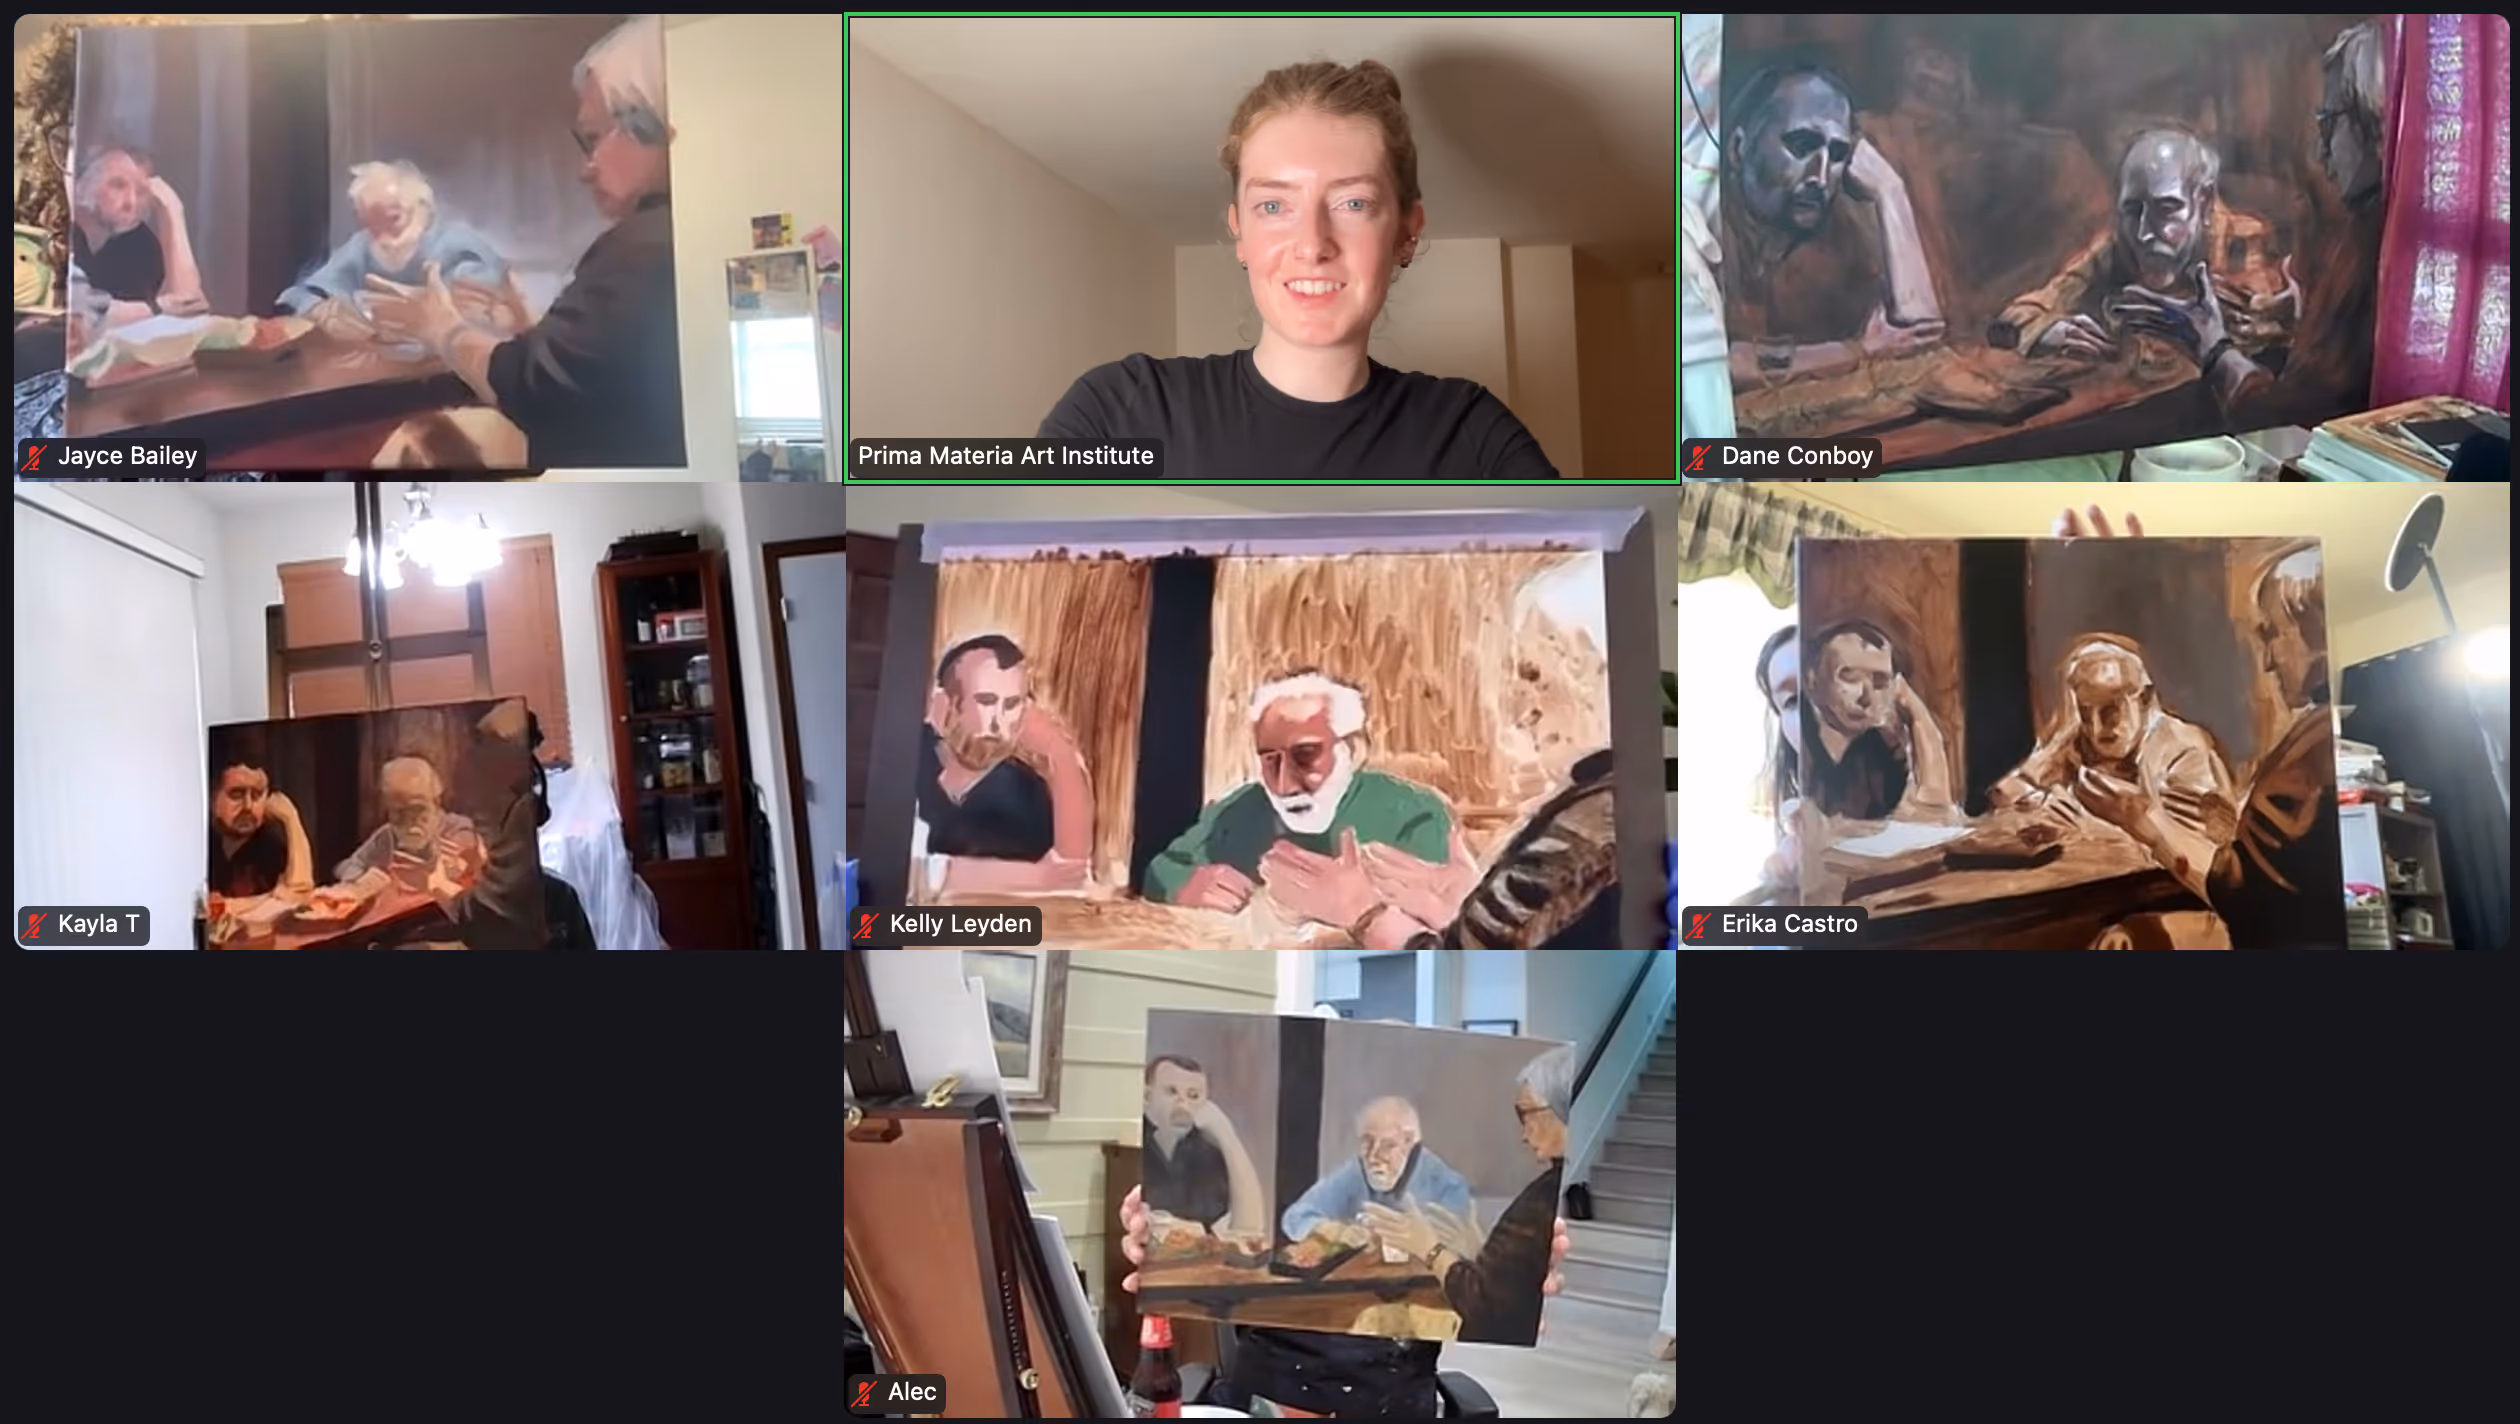
Member's schedule
Log In
Right-click and open in a new tab to enlarge and print.
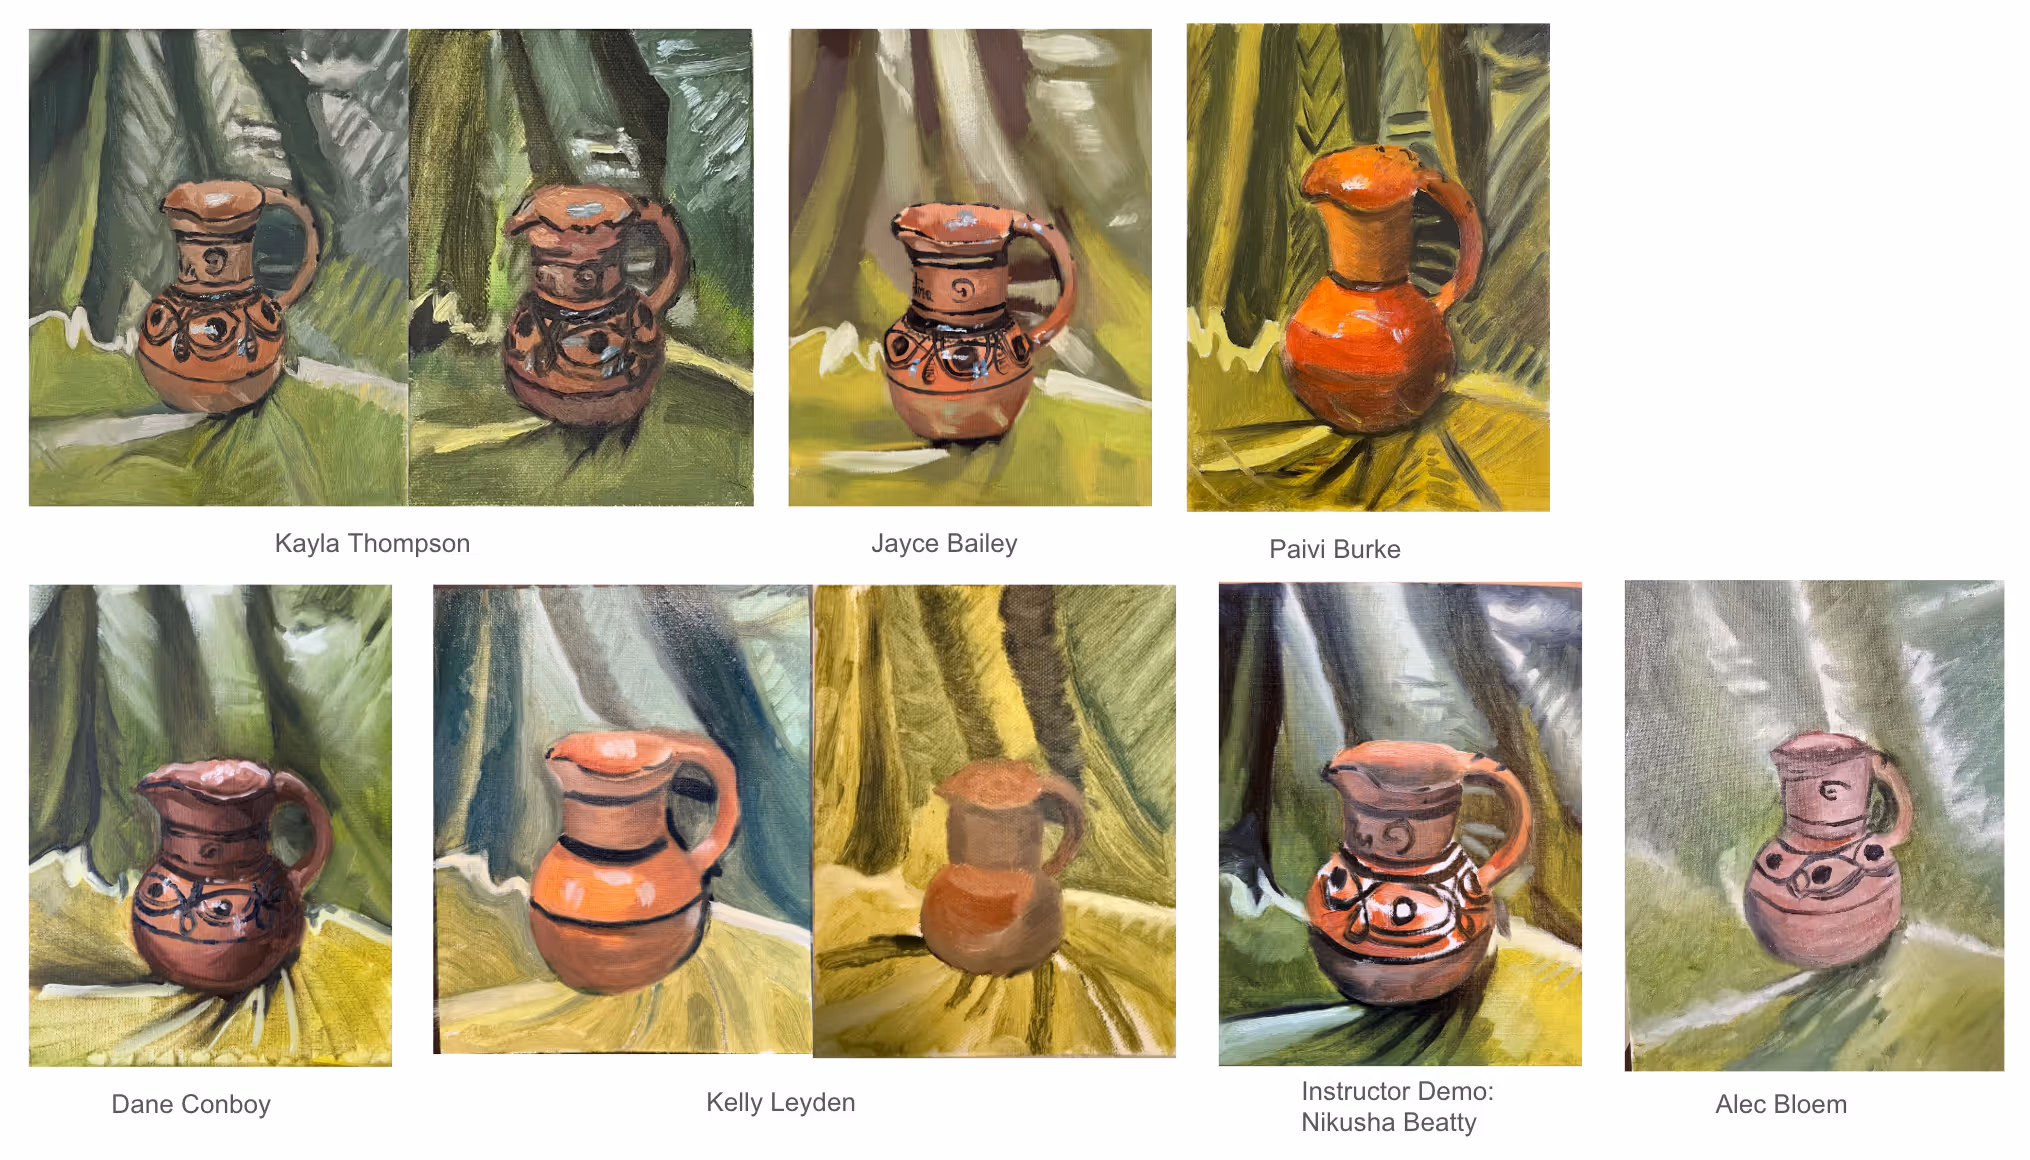
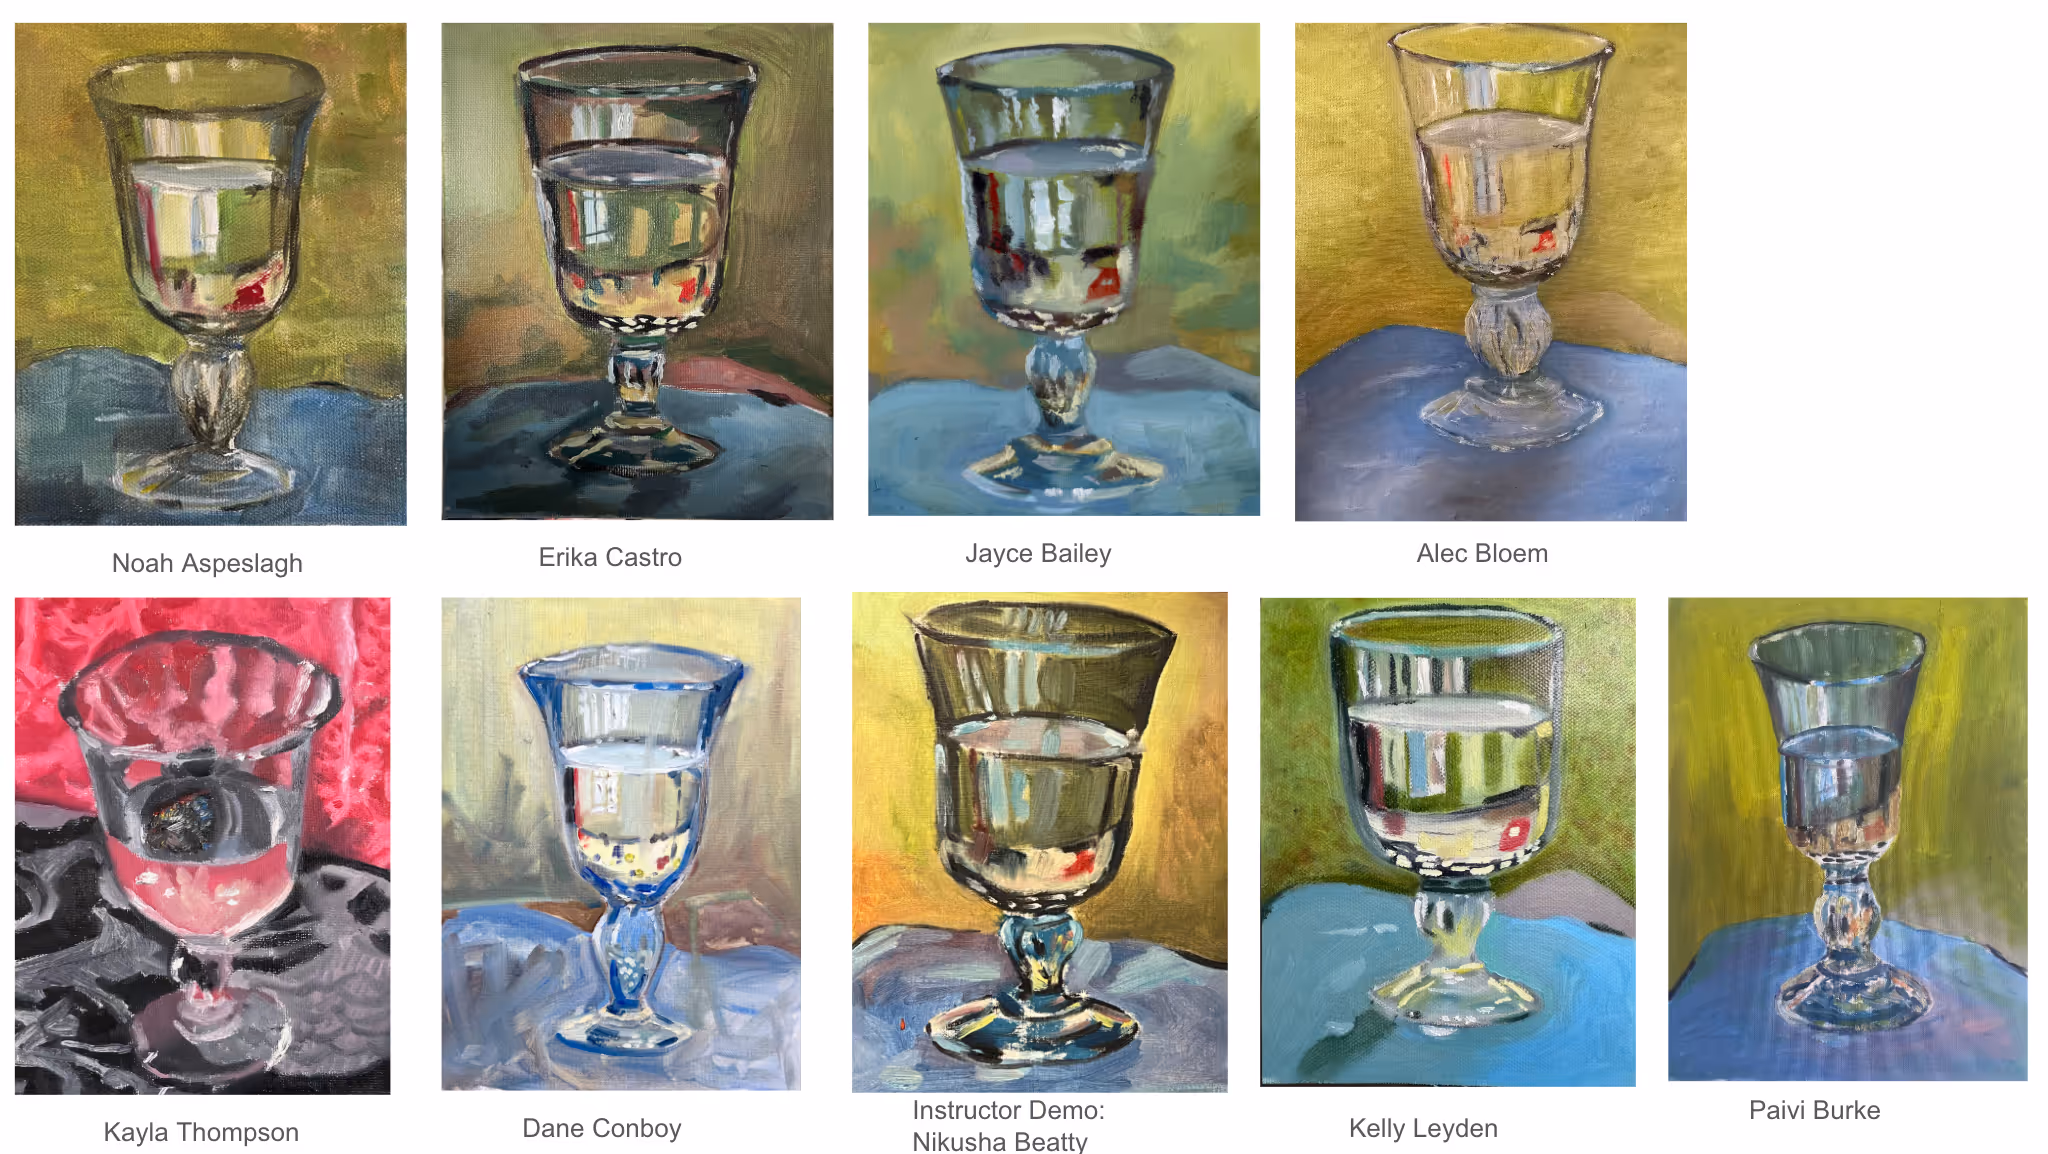
Add finishing touches: highlights, nuance of color / shadow, and texture. Highlights are very important. Be attentive to the placement, size, and tone. In other words, highlights add life. That’s the key.
Colorize your piece based on the tonal underpainting. When you add color to your tonal underpainting (and if your tonal underpainting is accurate), your brushstrokes will not stand out - this is a good thing. It means your color has the correct tone. If your brushstroke is very visible, it means the tone of the color is different than the tone of the underpainting.
Finish your tonal underpainting. It needs to be completed and dry by next week.
An underpainting can be done with practically any color, as long as it allows you the full tonal range, from very dark to very light. It may help to convert the photo to a black and white version, but paint from the colored version: this will strengthen your ability to convert color to tone. Focus on proportions and tone more than anything else, and remember that this is your first painted layer, so it doesn't need to be perfect.
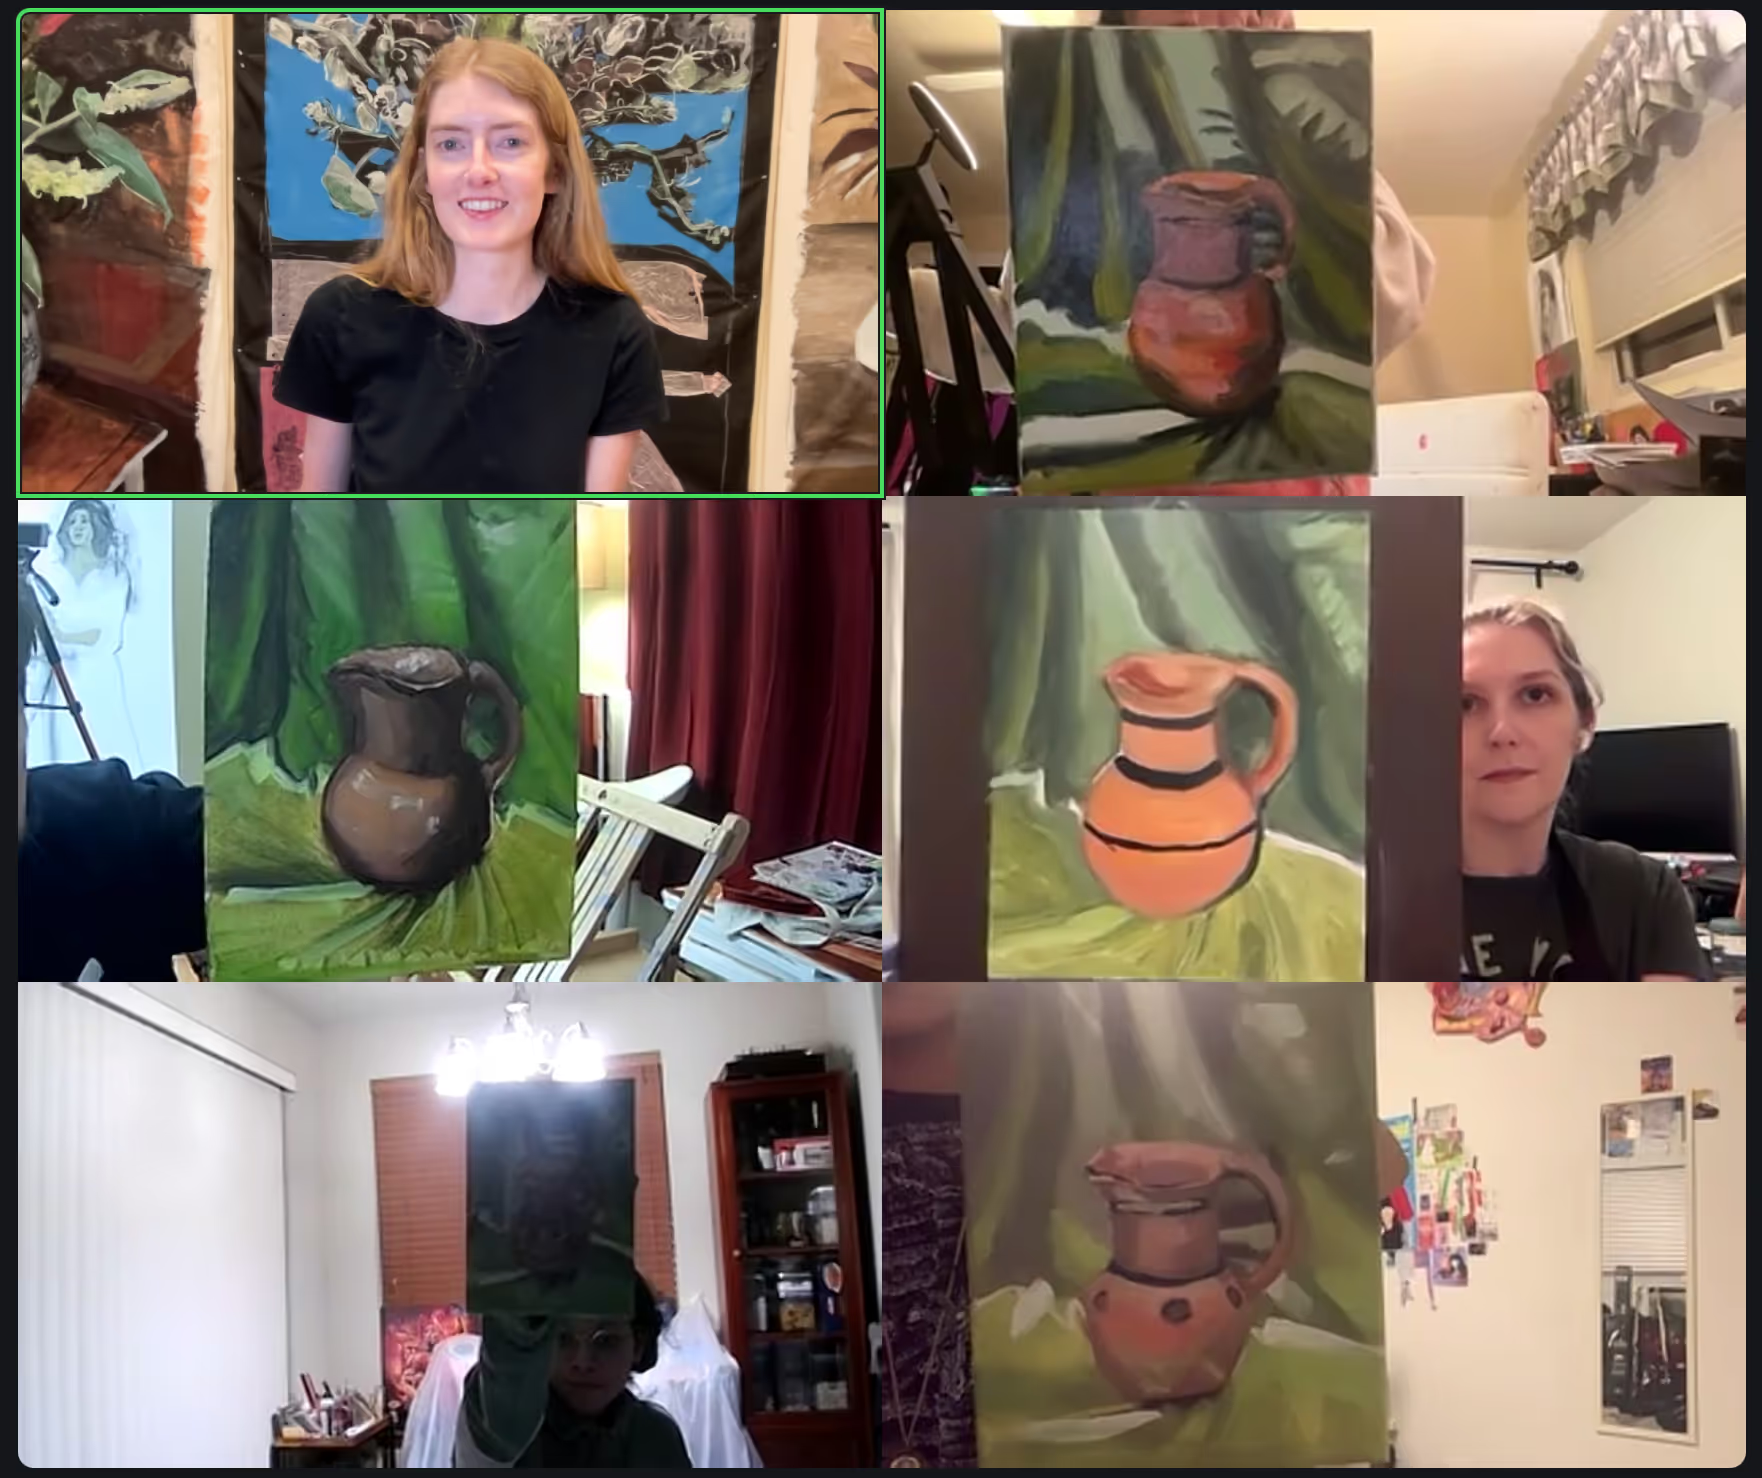
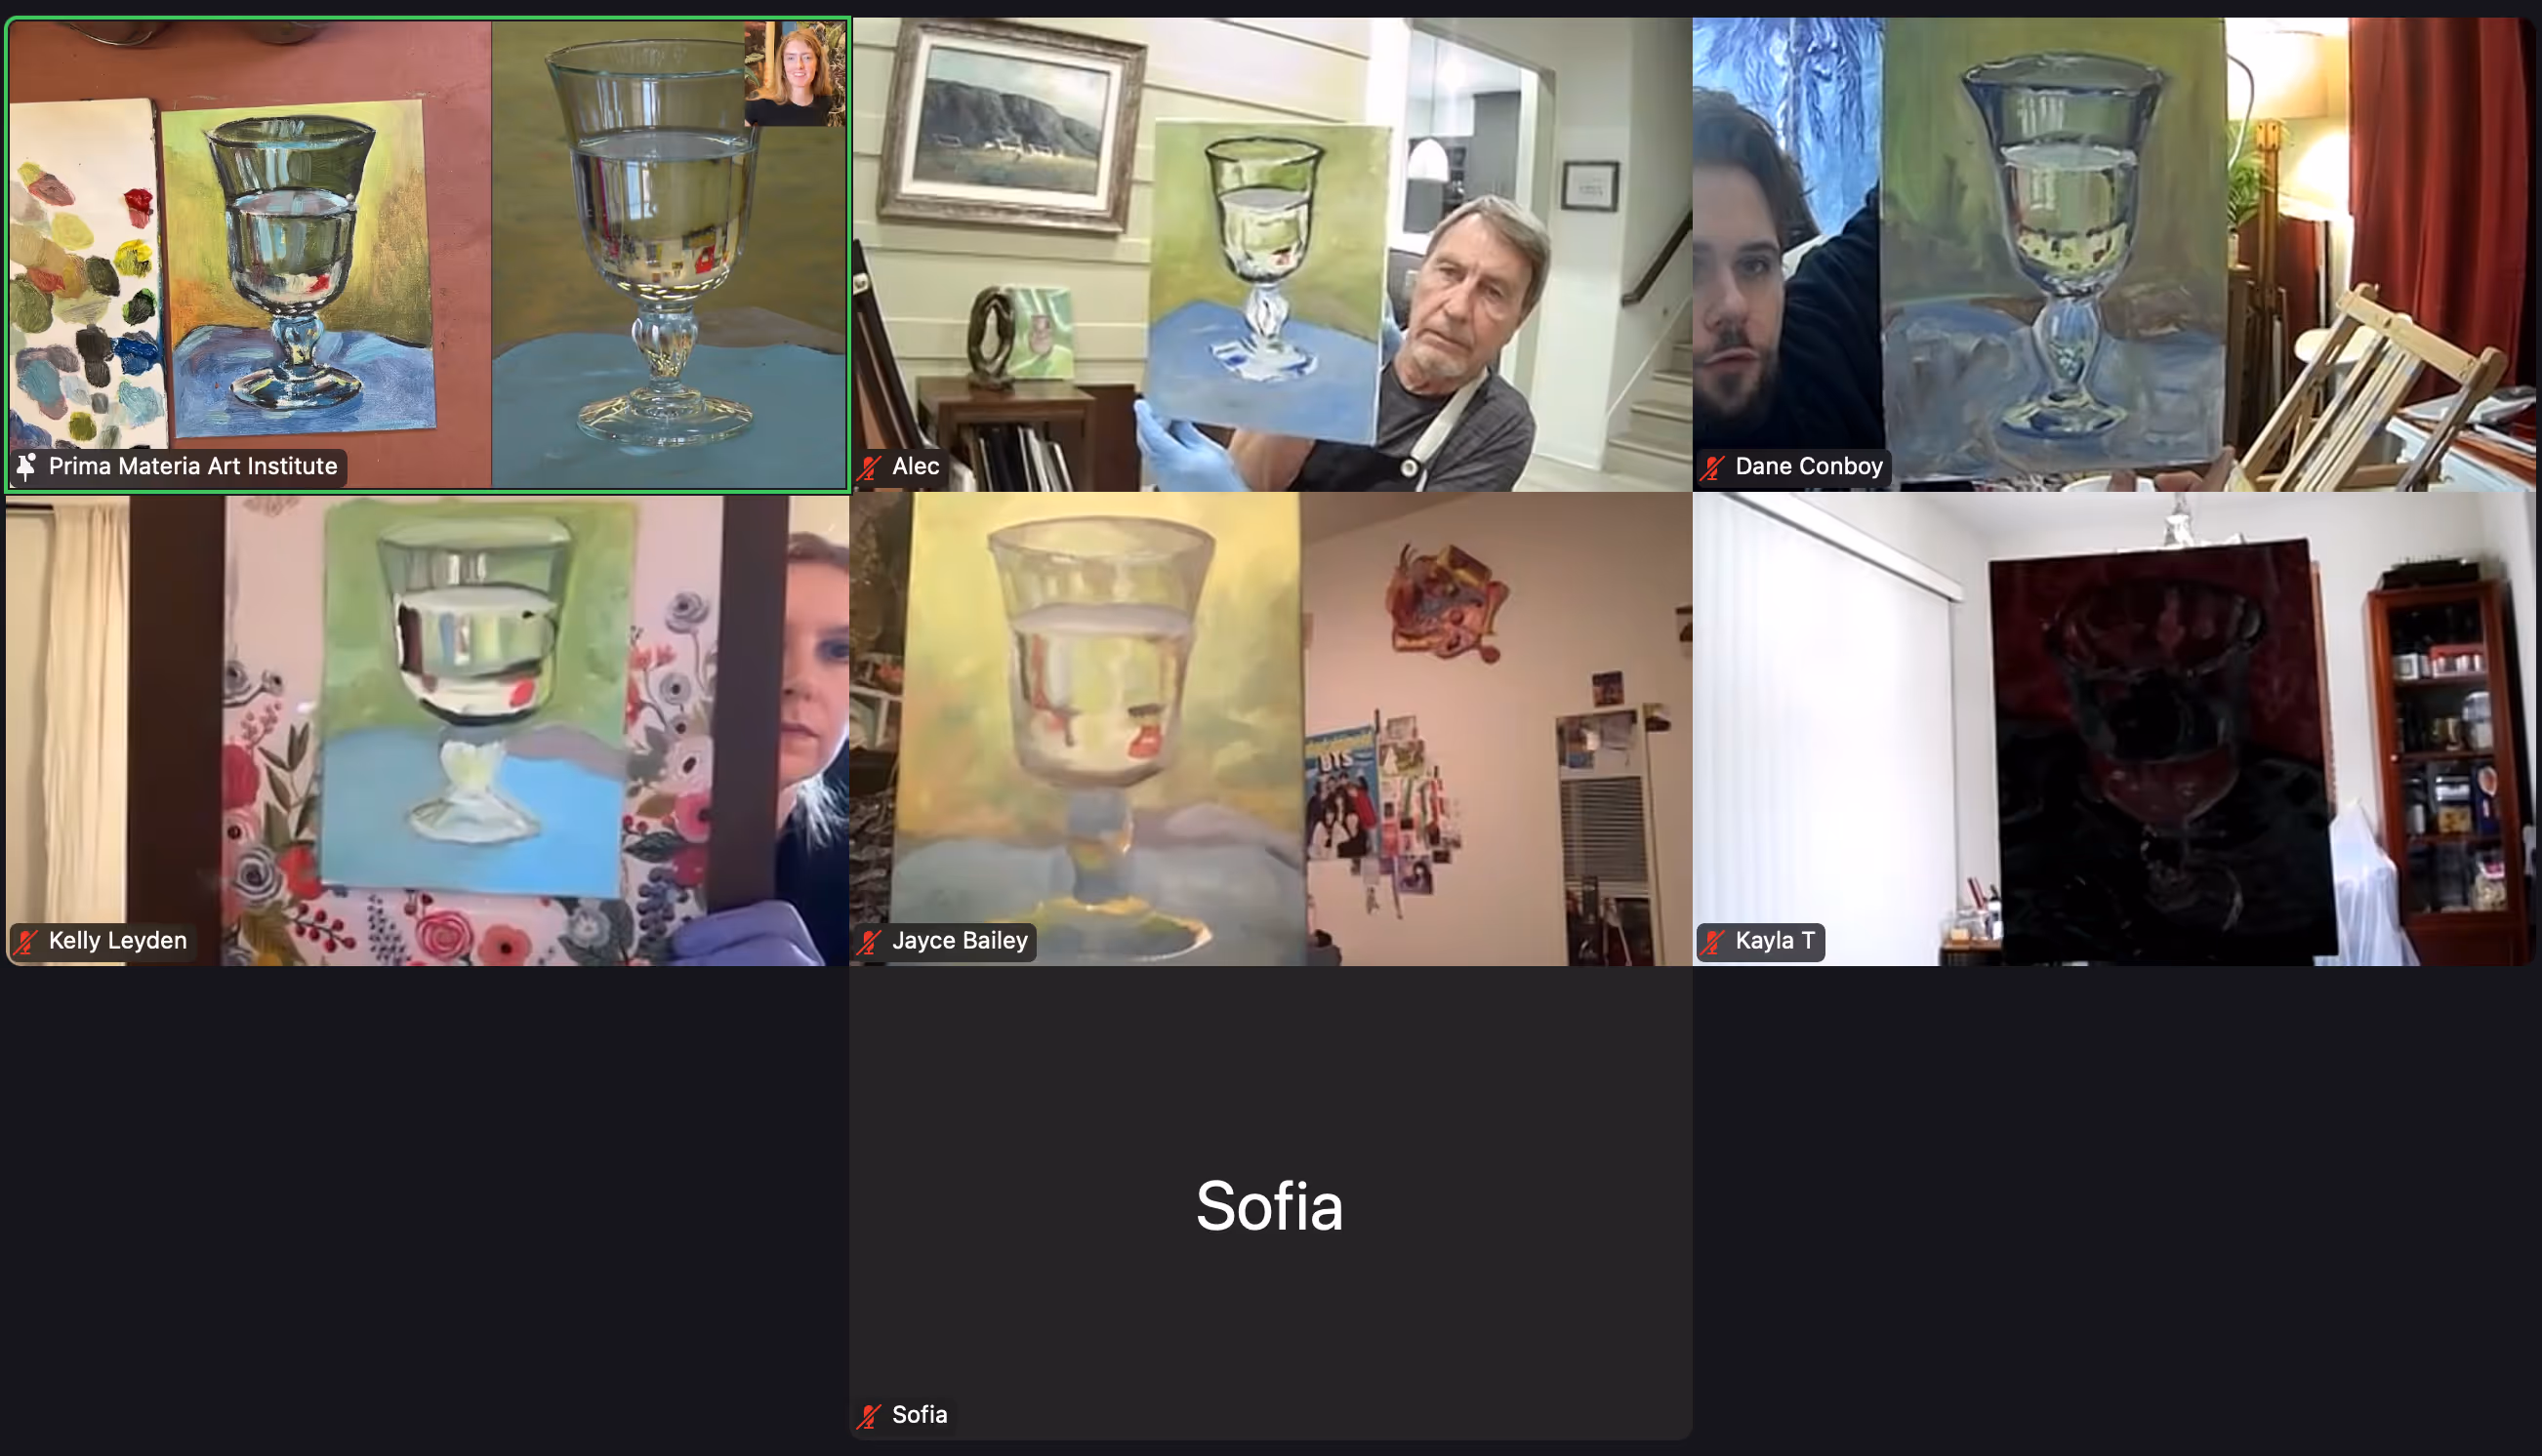
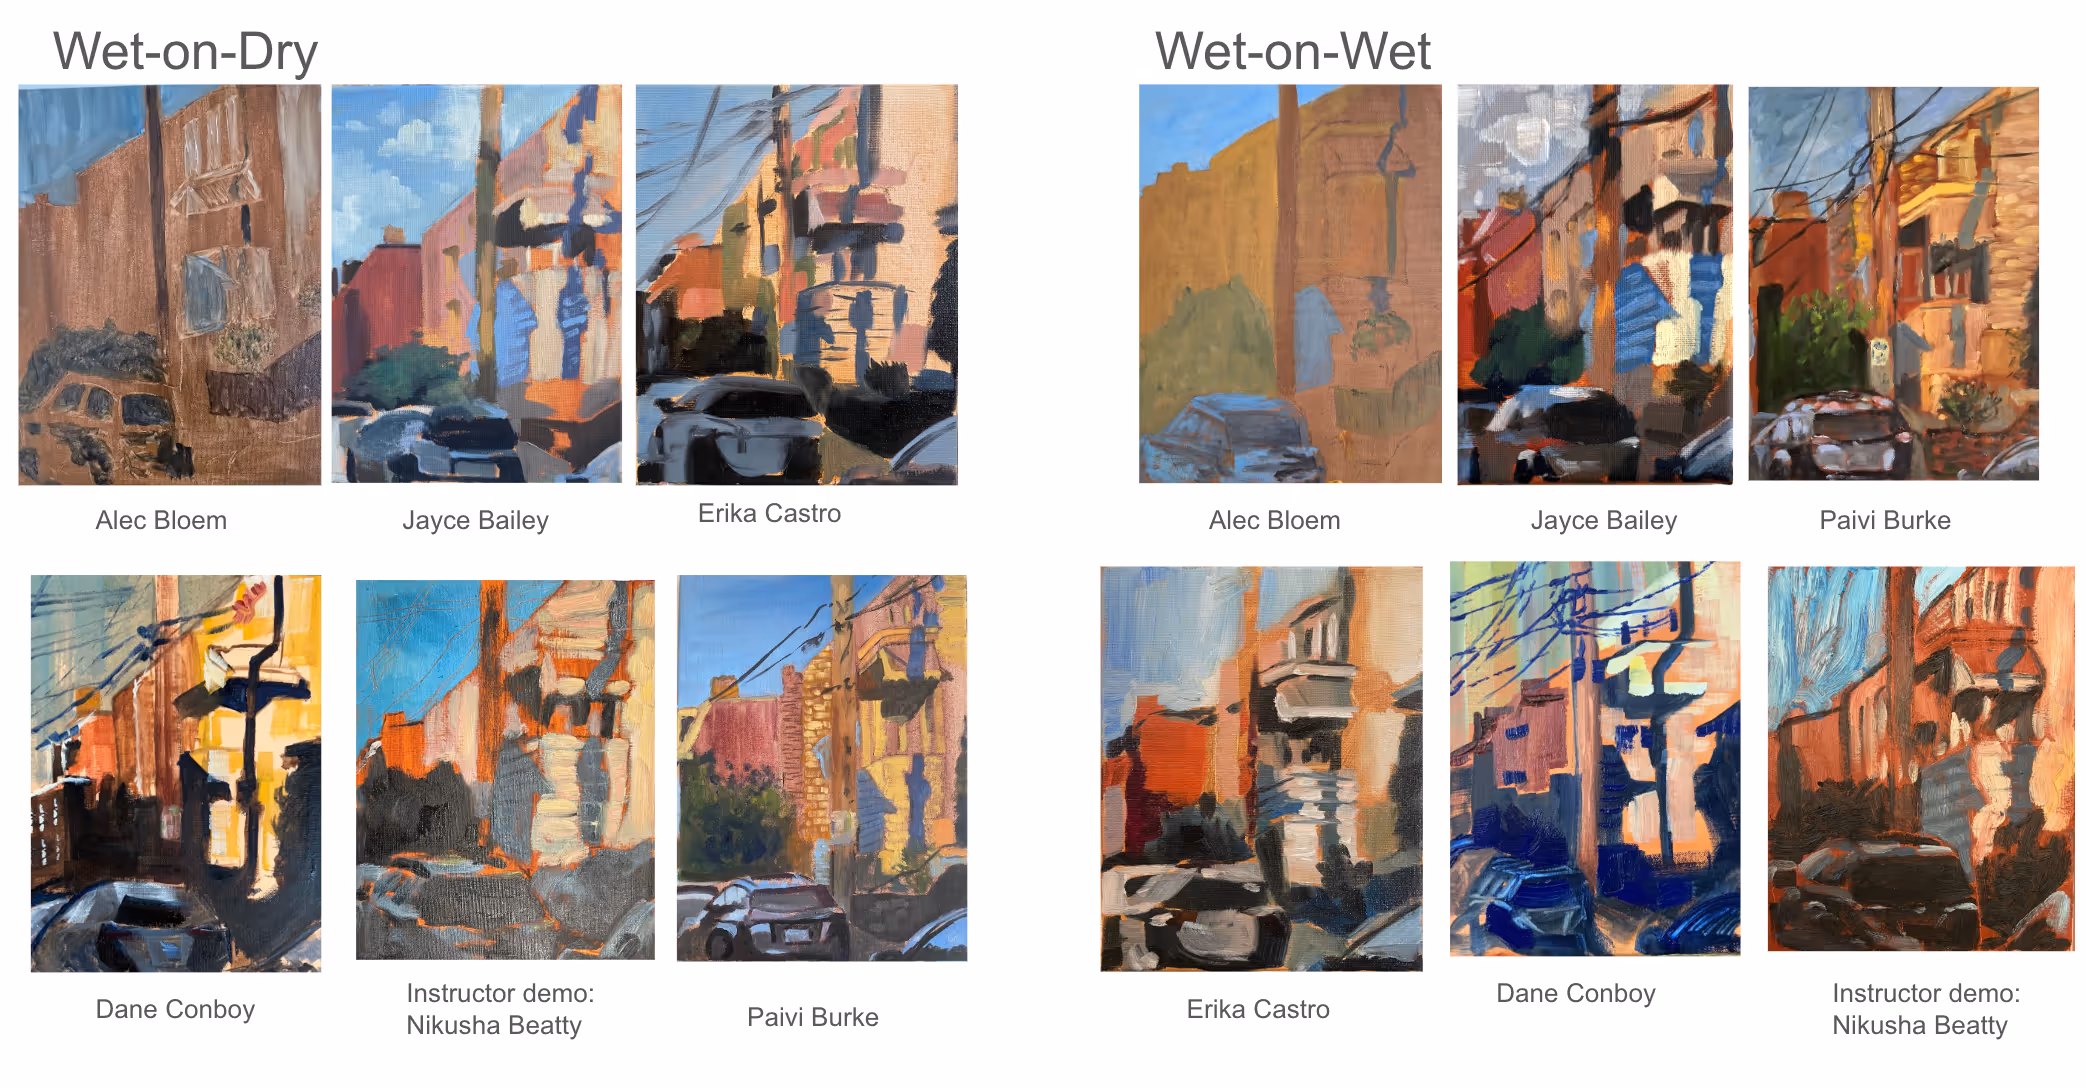
Finish your paintings on imprimatura if you haven't yet. Imprimatura means a colored ground on a canvas, traditionally with browns. We practiced painting wet-on-dry (painting on a dry surface) and wet-on-wet (painting on top of a wet surface). When you finish both studies, compare them to one another. Take notes of the similarities and differences of the experience when you were painting, and when you look at the finished pieces.
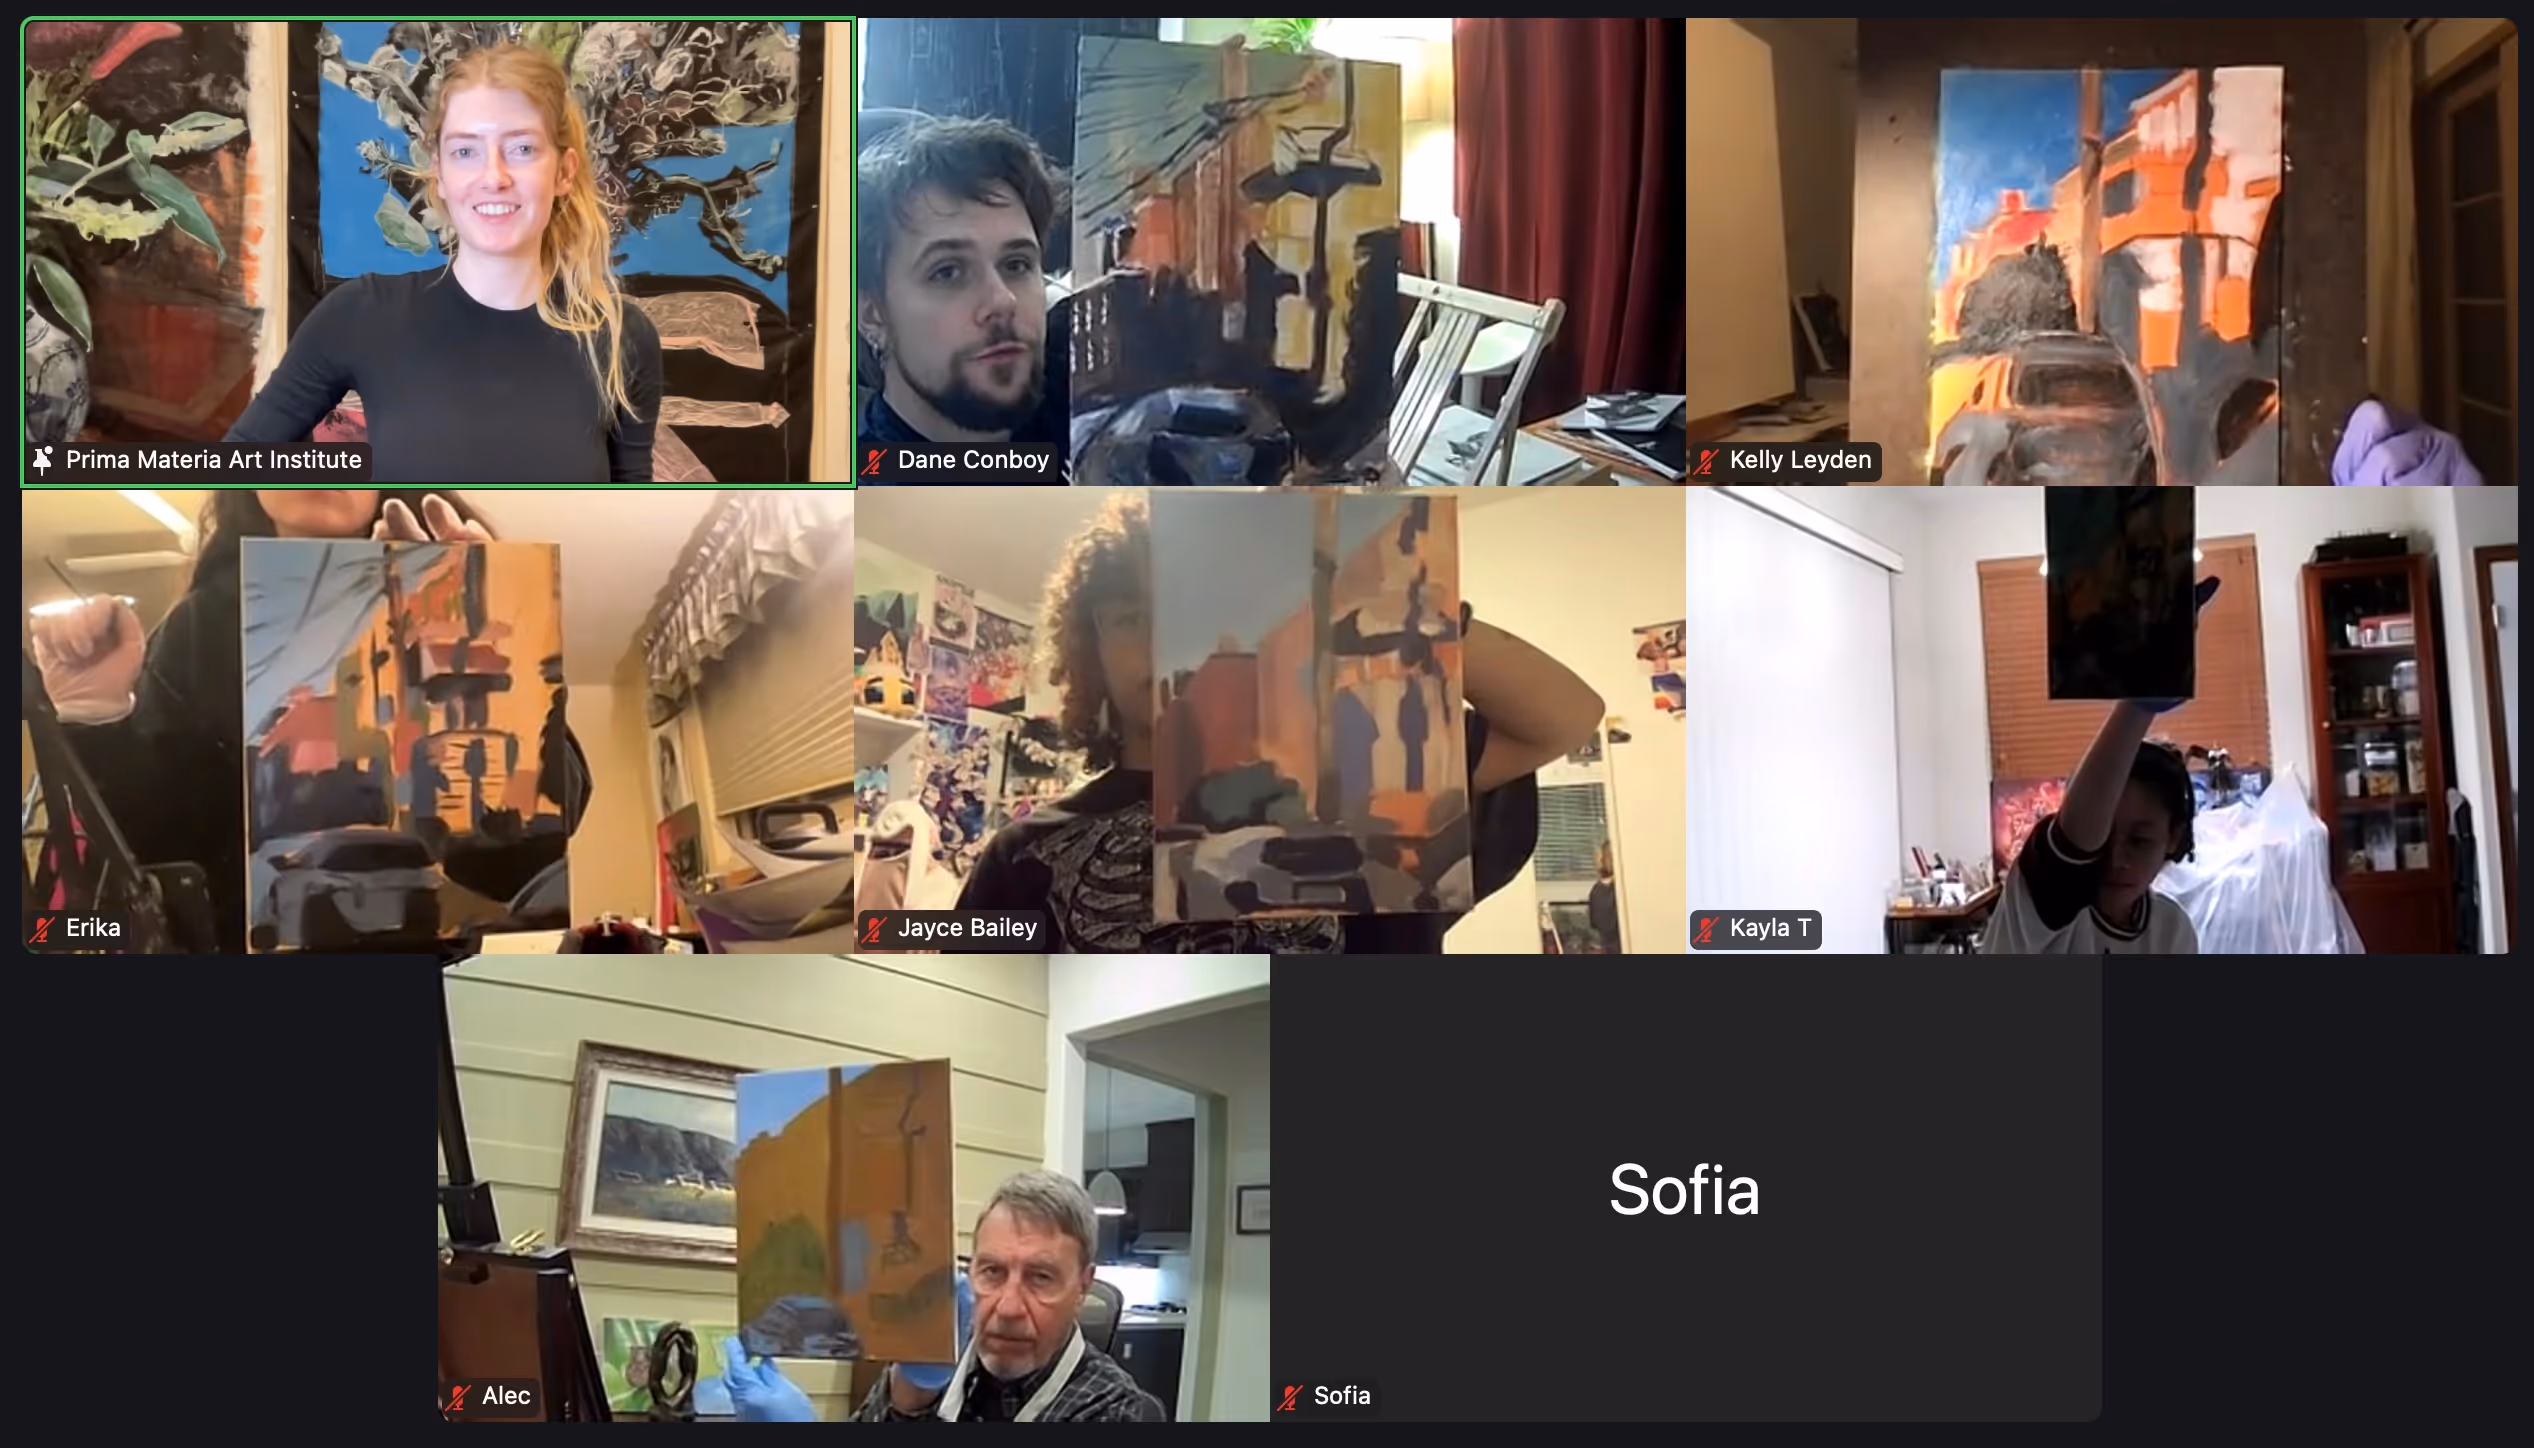
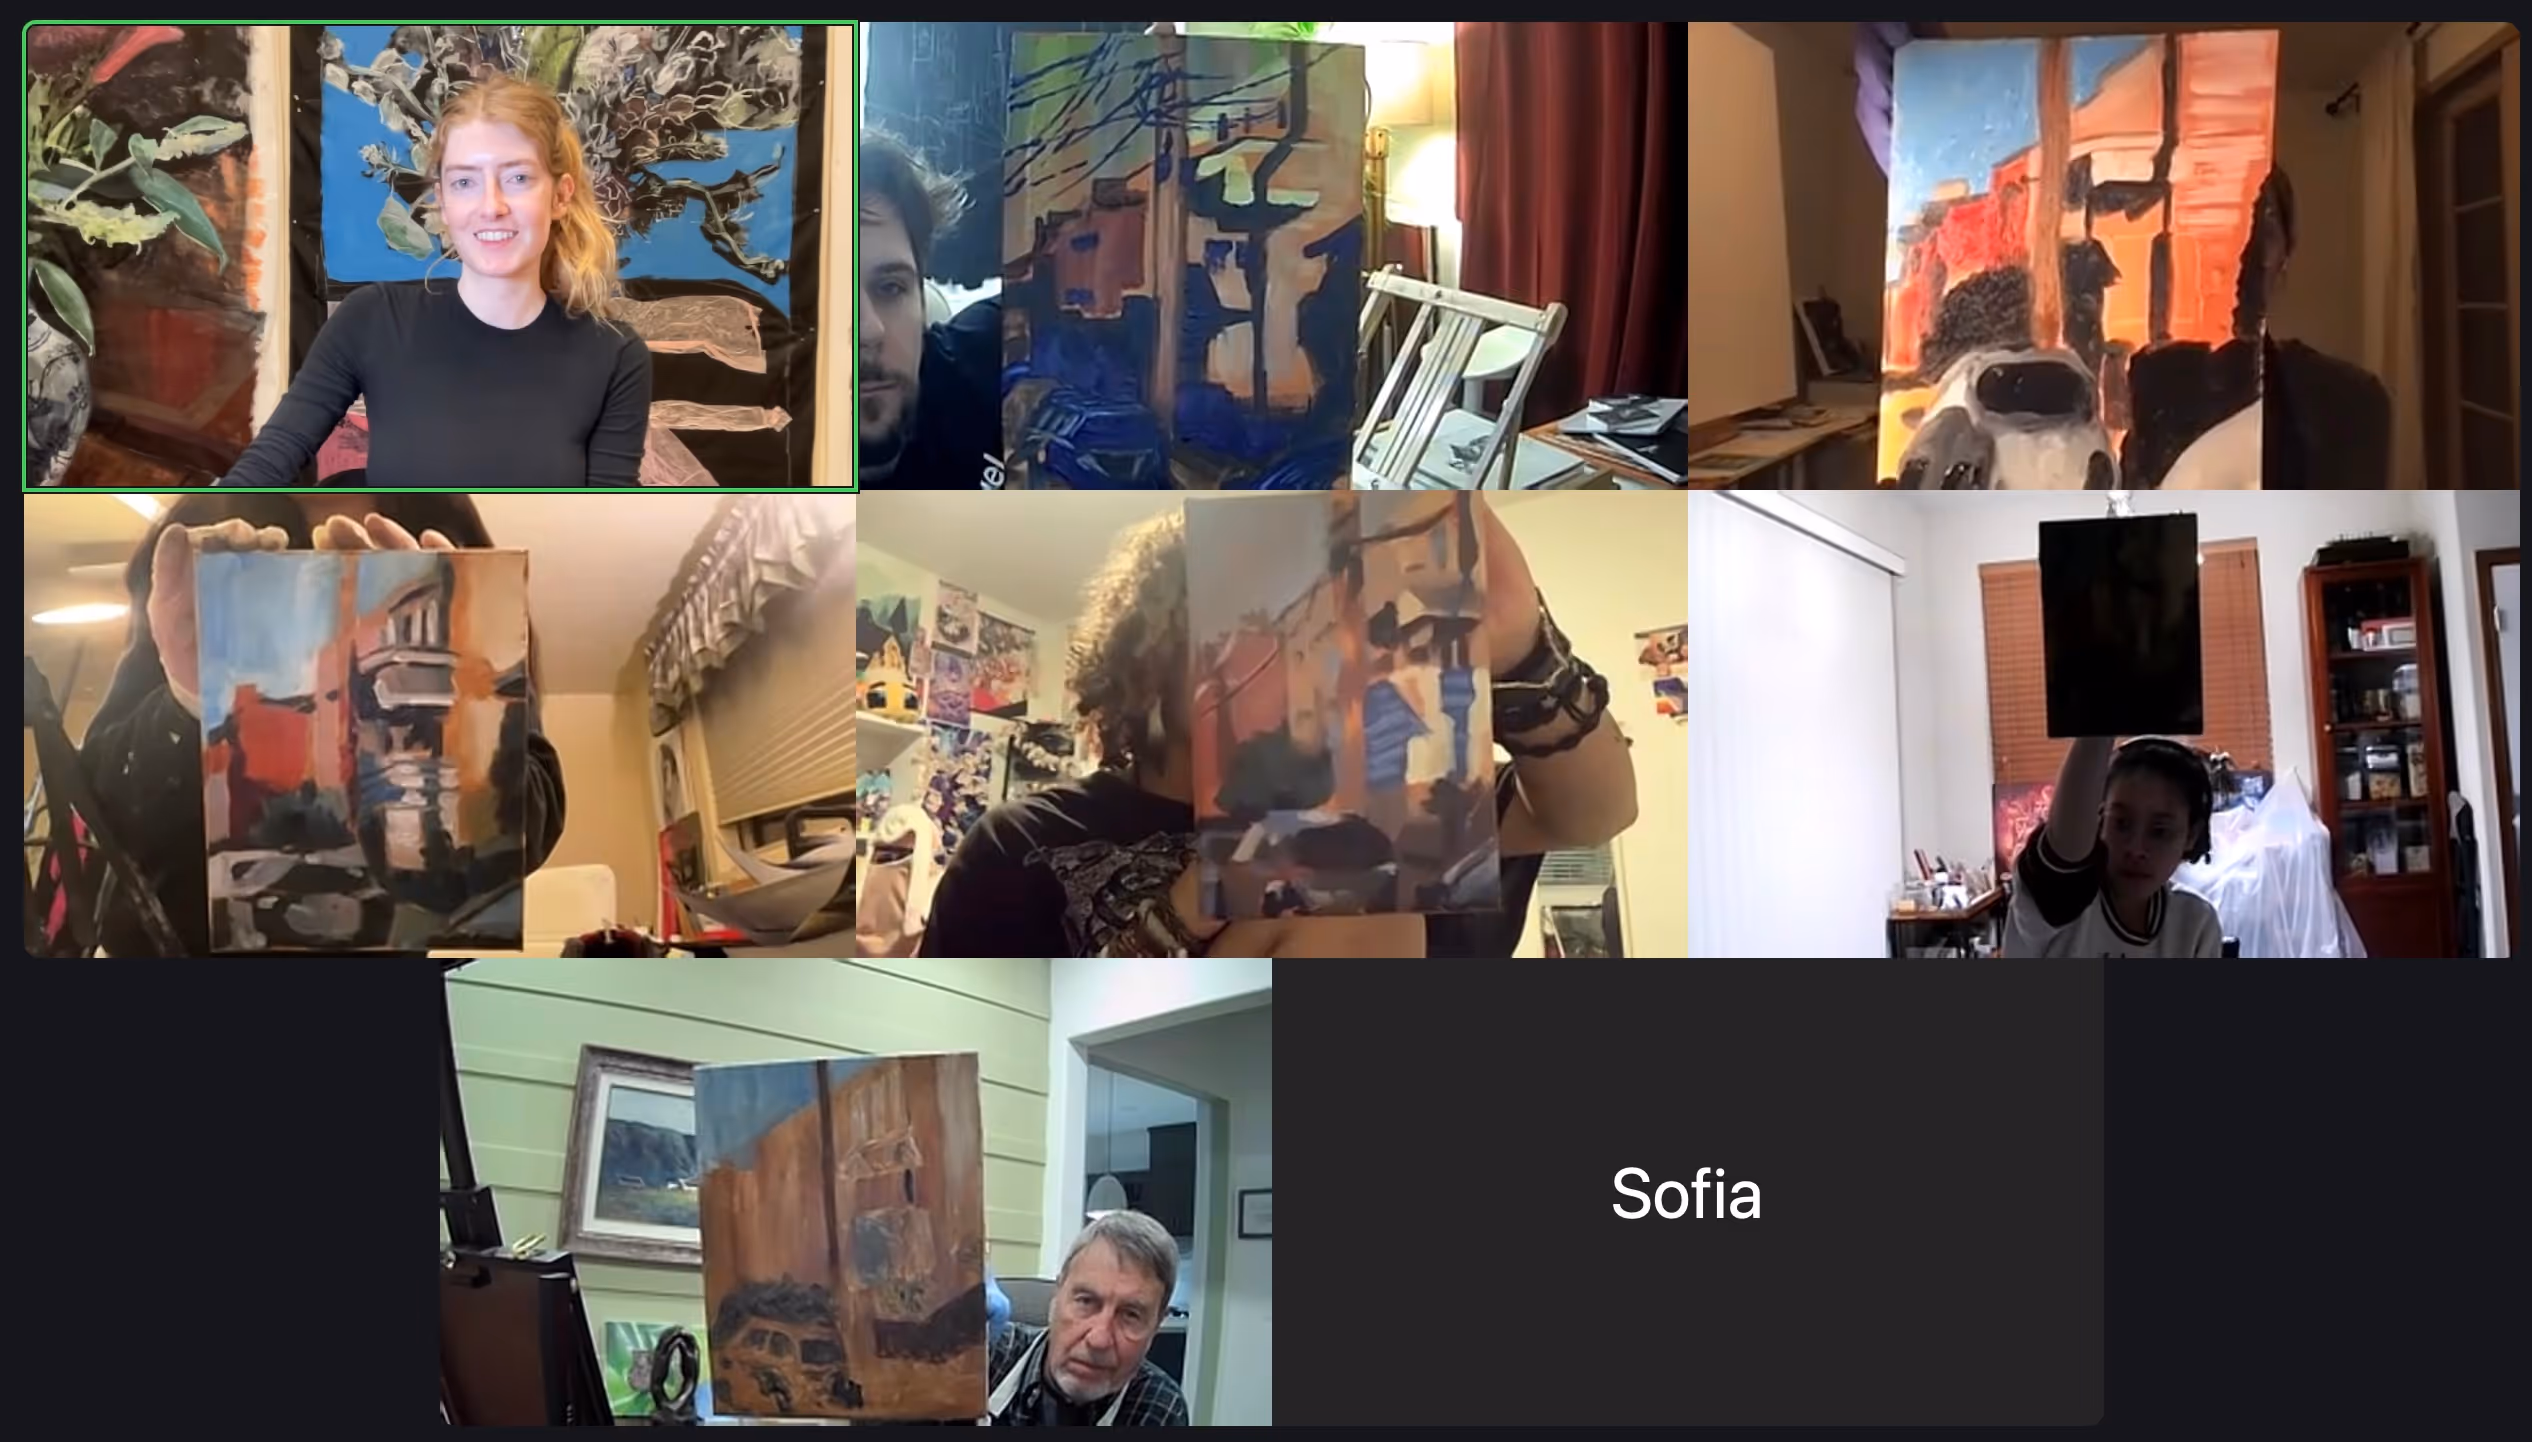
Finish your alla prima painting if you haven't already. Alla prima means "first attempt" in Italian - it's when you paint without an underpainting; the artist immediately mentions lights, shadows, and nuance from the very beginning. You go from nothing, to everything.
Use the hugging gaze to see each area compared to one another, to notice the tonal relationships and differences in hue. Are areas warmer, colder, darker, or lighter? In order to answer that, you have to compare that area to everything else because color and tone is based on context.
How to prepare for week 3:
Get two canvases. Tone one canvas with brown (you can use Burnt Sienna, Raw Sienna, or make your own brown). It needs to be completely dry by the next class. You can thin your first layer with turpentine (this will also help the paint dry faster). Leave the other canvas pure white.
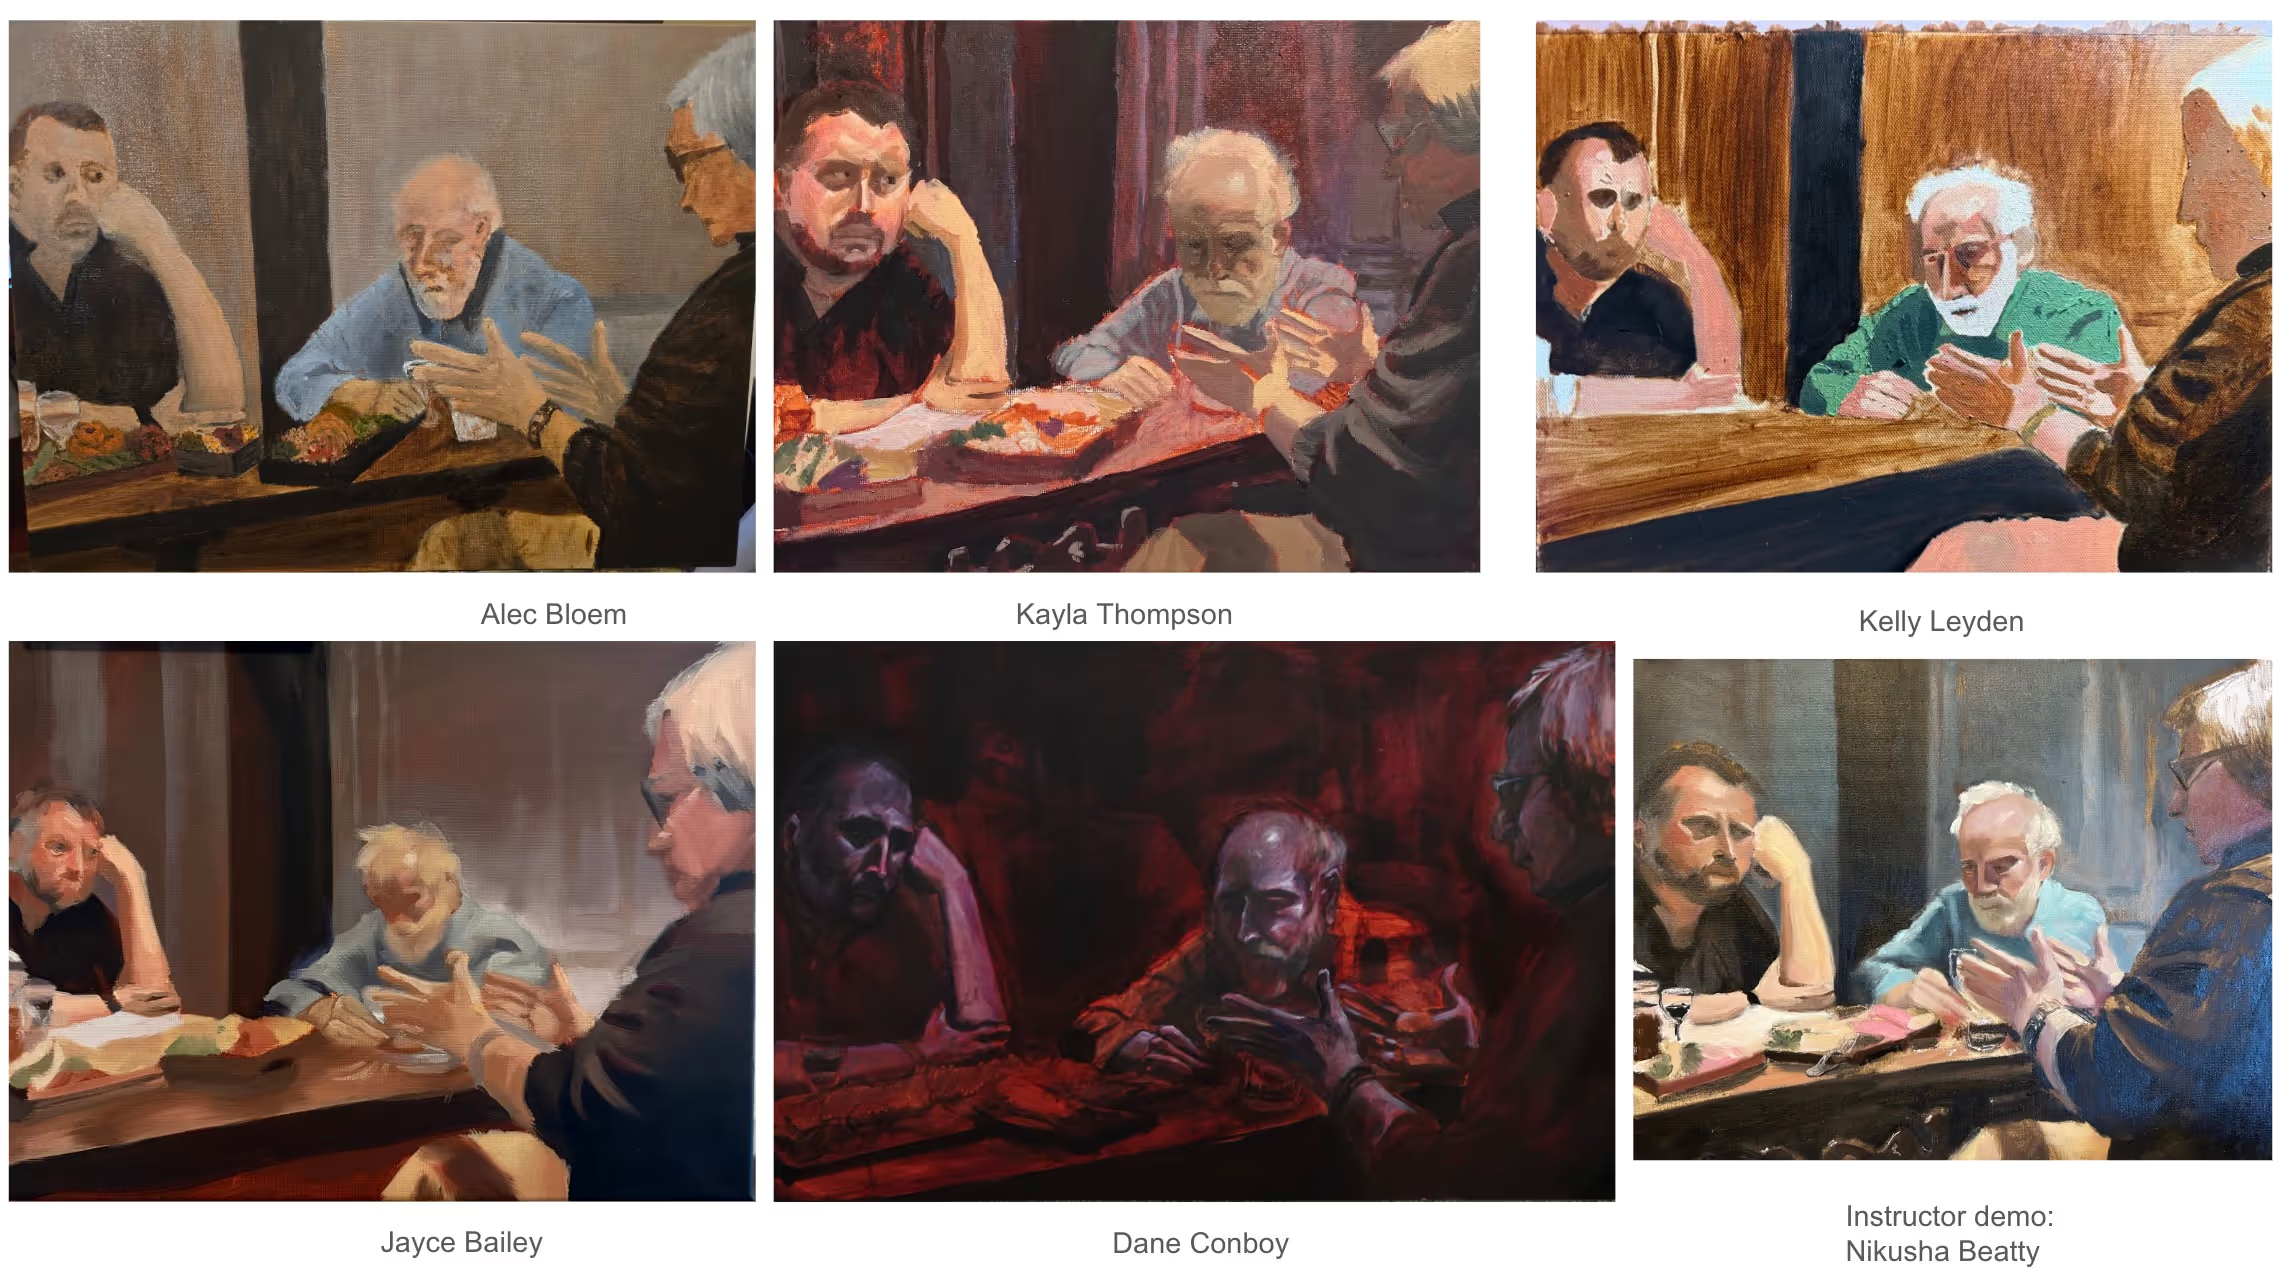
Complete your blended painting if you haven't already.
How to blend:
Remember that realism is not created by how well blended an area is, but how tonally accurate is. Constantly squint to see tone.
Want a closer look? Right-click and open in a new tab to view.