Important: Read the instructions to the end before you start drawing. This exercise is one of the most MOST powerful for liberating beginner artists from the constraints of perfectionism, attachment, and self-judgment.
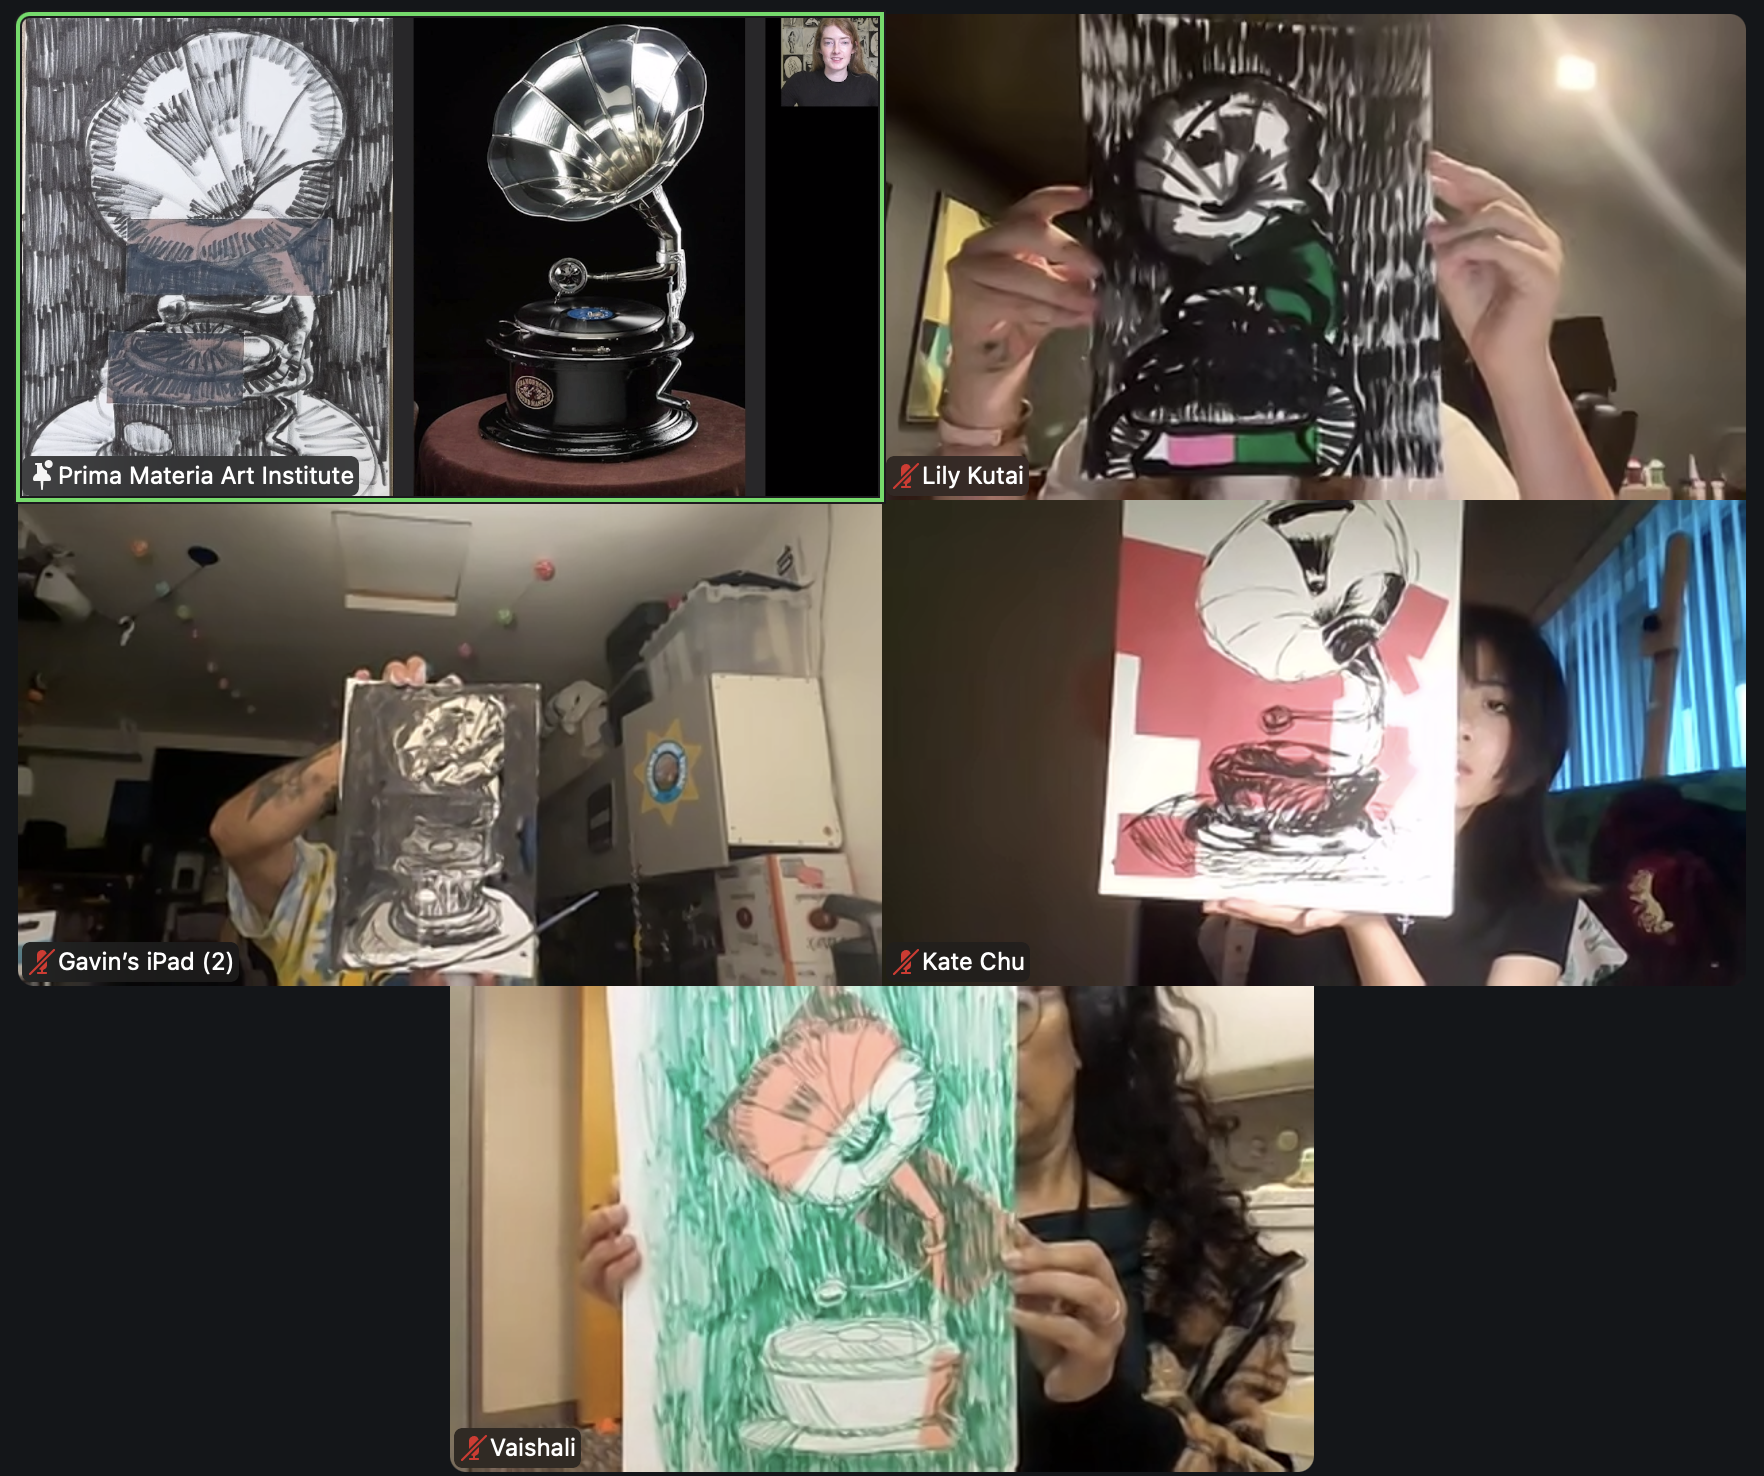
- Place an object - such as a teapot, electric fan, woven basket, bowl of fruit, etc. on an ornate background (which can be a colorful wrapping paper or a page from a magazine or newspaper with colored letters and pictures).
- Draw the setup fast, with either pen-and-ink or brush-marker, trying to make as many mistakes as possible. This is a very unusual request - to make mistakes instead of avoiding them - opposite to what our ego wants us to do! Take a snapshot of that imperfect drawing.
- If you want to get further ahead in your ability to draw, make two drawings and compose each slightly differently, and take a snapshot of each.
- Place your drawing at a distance and look at these “mistakes” from far away: are they really mistakes or are you willing to keep some of them, because from a distance they may actually appear surprisingly pleasing. Determine which areas you would like to redraw. You will glue patches and redraw these areas. Every drawing can be improved with this method.
- For the patches, if you used white paper in class, choose colored papers other than white: gray or beige, or other subtle colors. Within one drawing, you can have patches of several colors. If you used colorful paper in class, try using patches of different colors or of white paper. Basically, do something new compared to what you've already done.
- Attention: the difference between this and in-class assignment can be how you make patches: with or without scissors: tearing paper instead of cutting. Each patch can be of random shape; for example, it can be much larger than the area you want to redraw, or vice versa, in a size that barely covers the mistake.
- Glue these patches. Restore the missing details. Add shading and background.
- Take a snapshot and place it at a distance again. You can add more corrections if you want, including the areas that you already had patches over. This is a really liberating process that will help you recognize that anything can be easily corrected!
- When finished (which can only be determined from a distance), sign your piece. Please bring your drawing (or both if you’ve created two) to class next week. You have created a mixed-media!
NOTE: There is no limit to the number of patches you can add to your drawing! You can overlap colored patches and redraw certain areas again and again. You can have fun exploring making more patches than necessary (even placing them intentionally over the areas of no mistakes). You be the judge, whether to play with your drawing, or to restrict it to only the necessary corrections.