🎉 BOGO Summer Sale: Buy Any Eligible Course, Choose Another FREE!
Your free course will be added to your account within 24 hours. Contact us after purchase to choose your complimentary course.
Member's schedule
Log In
Right-click and open in a new tab to enlarge and print.
Please read through the entire assignment before starting the assignment.
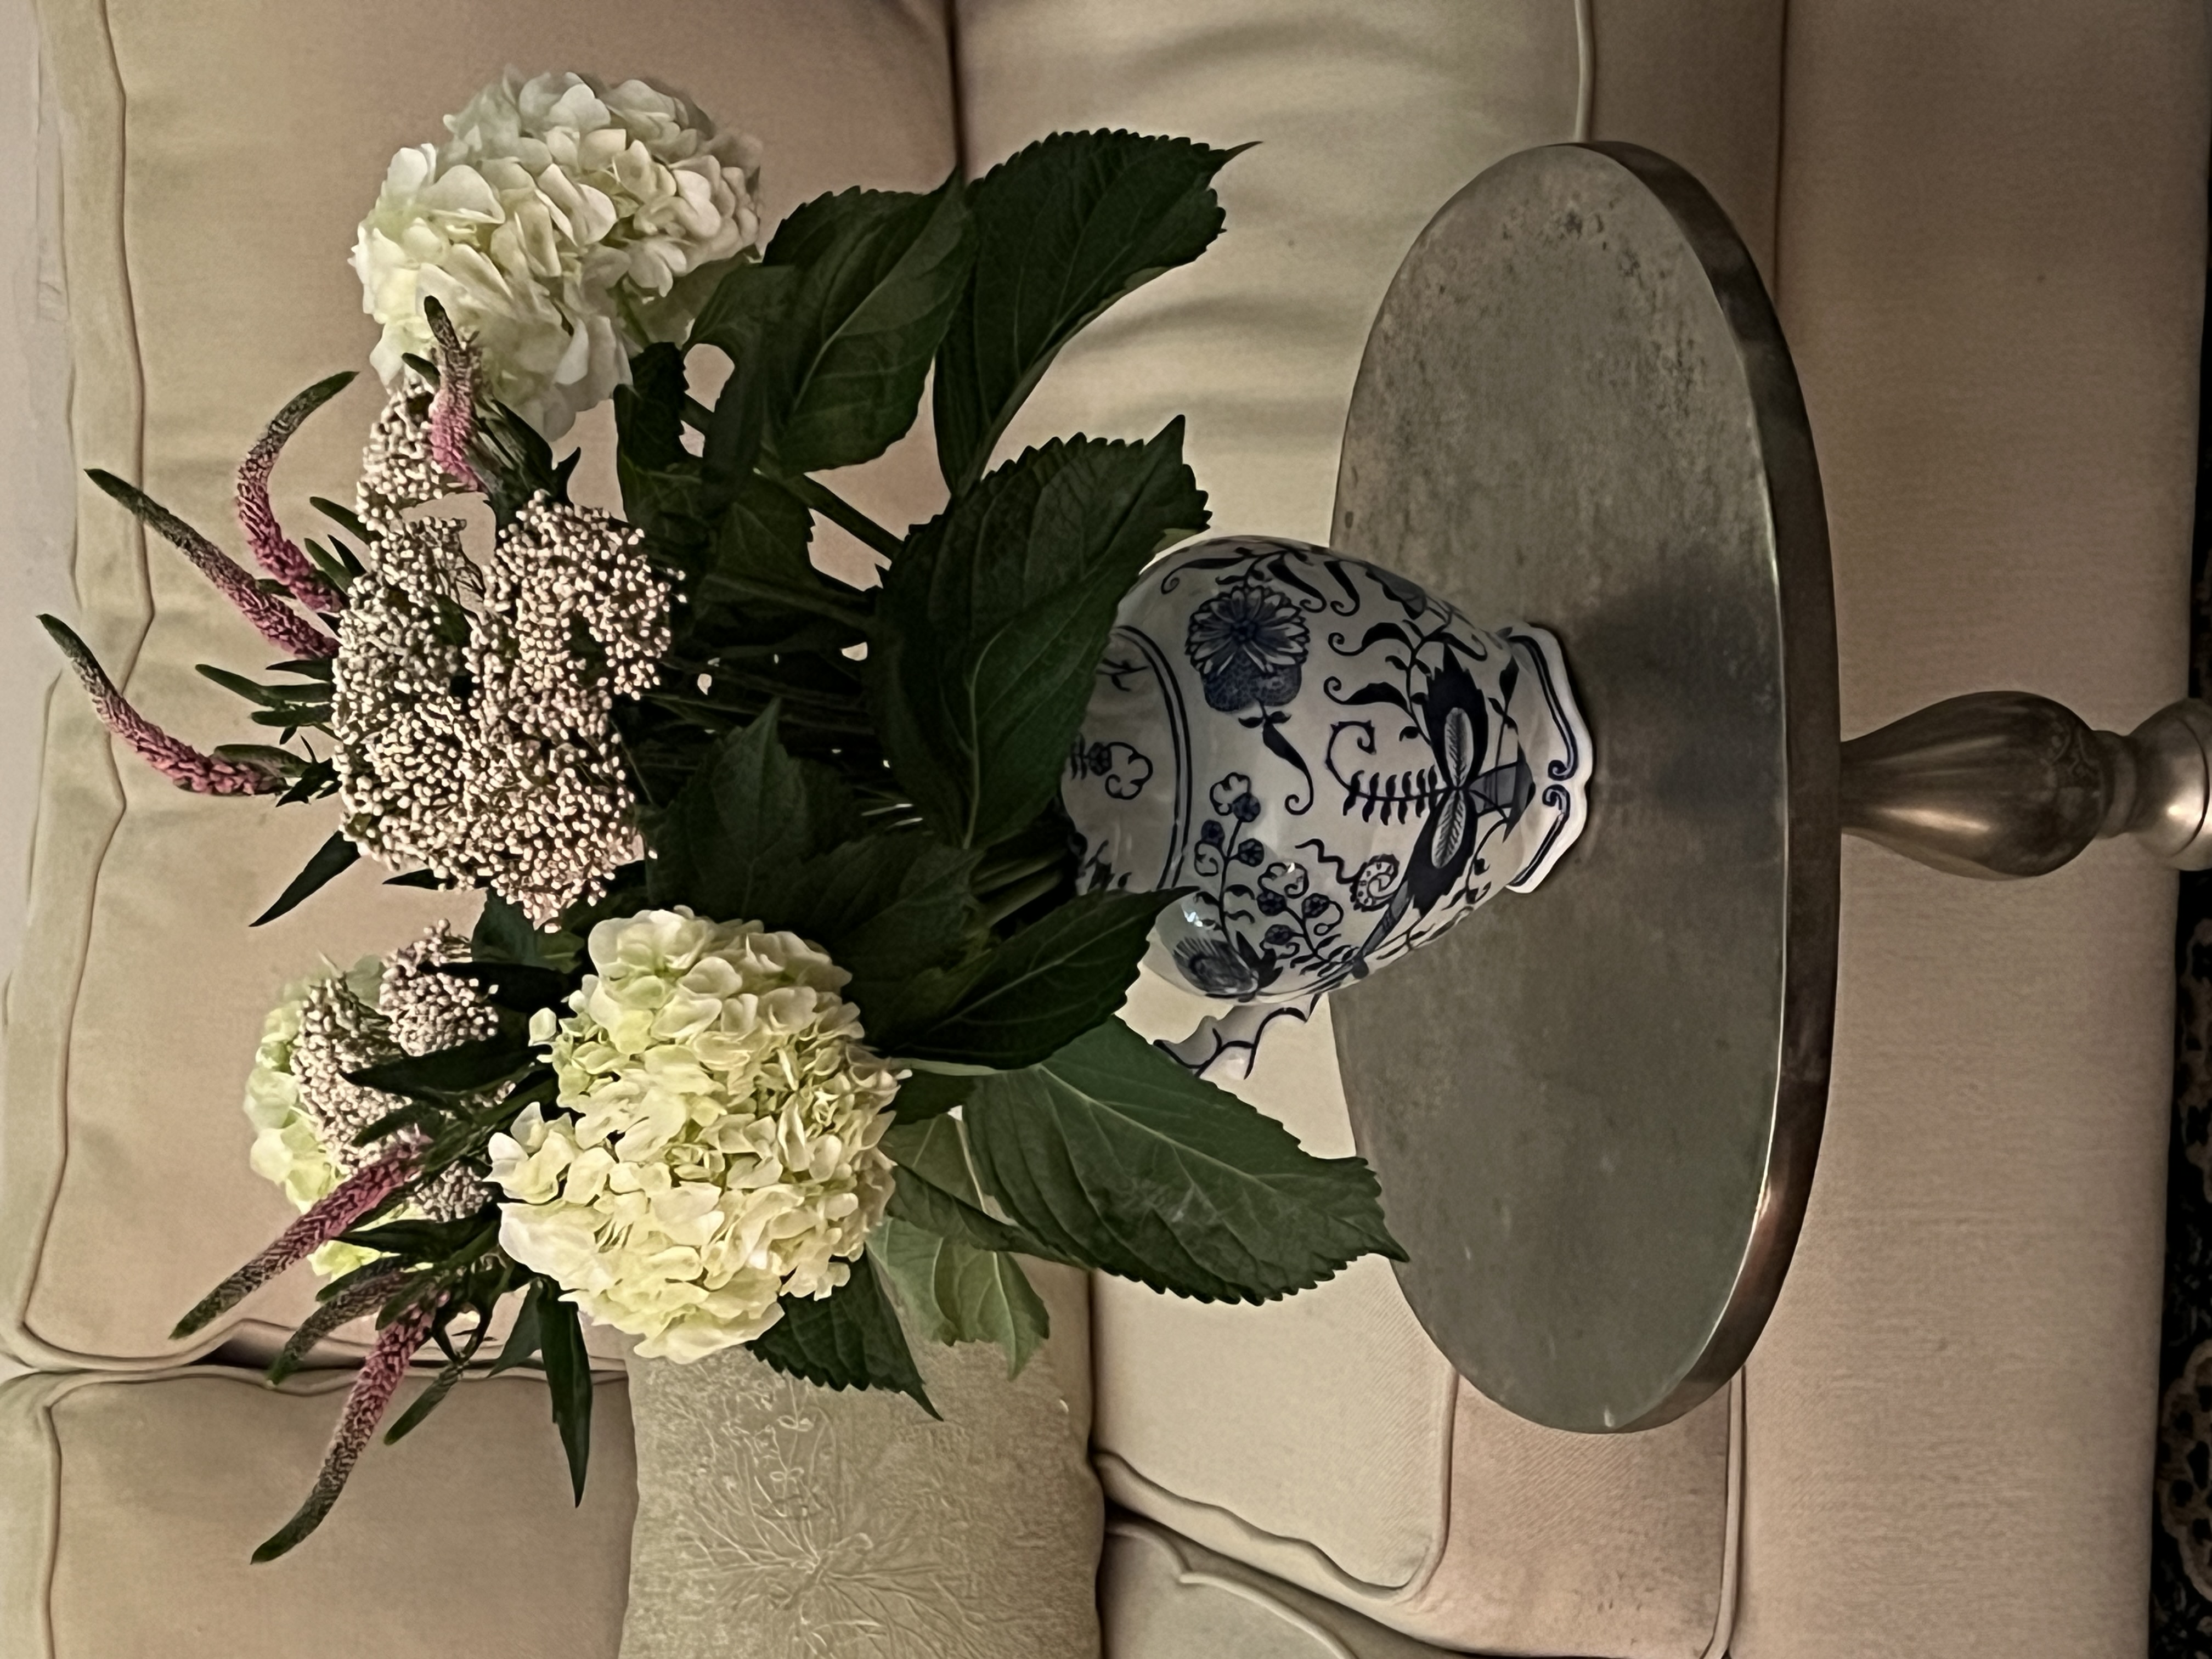
Your Home Assignment is to create a drawing from the same photo reference you used in class, applying the Negative Shape Technique, on white or black paper (ambitions artists can do both!). The difference from your class project is that instead of keeping the positive shape as a blank silhouette, you will add the details and outlines to the flowers.
Assignment:
Repeat the same steps as you did in class: start with drawing the simplified silhouette to “map” your composition. Draw the subject by not drawing the subject, but by looking at the spaces around it. Focus on the negative spaces around the flowers - and the silhouette of the flowers will appear by itself. Color only the negative spaces, leaving the flowers the color of your paper.
IF YOU ARE DRAWING ON WHITE PAPER:
IF YOU ARE DRAWING ON BLACK PAPER:
Take a snapshot of your finished (and signed!) drawing. You will find that it is easier to appreciate it through a photo!
Want a closer look? Right-click and open in a new tab to view.
If using charcoal, soft pastel, or conté, you will need fixative spray. You do not need to spray drawings done with oil pastel. Click here to learn how to spray your drawings. We also made a short video on our Instagram.