🎉 BOGO Summer Sale: Buy Any Eligible Course, Choose Another FREE!
Your free course will be added to your account within 24 hours. Contact us after purchase to choose your complimentary course.
Member's schedule
Log In
Right-click and open in a new tab to enlarge and print.
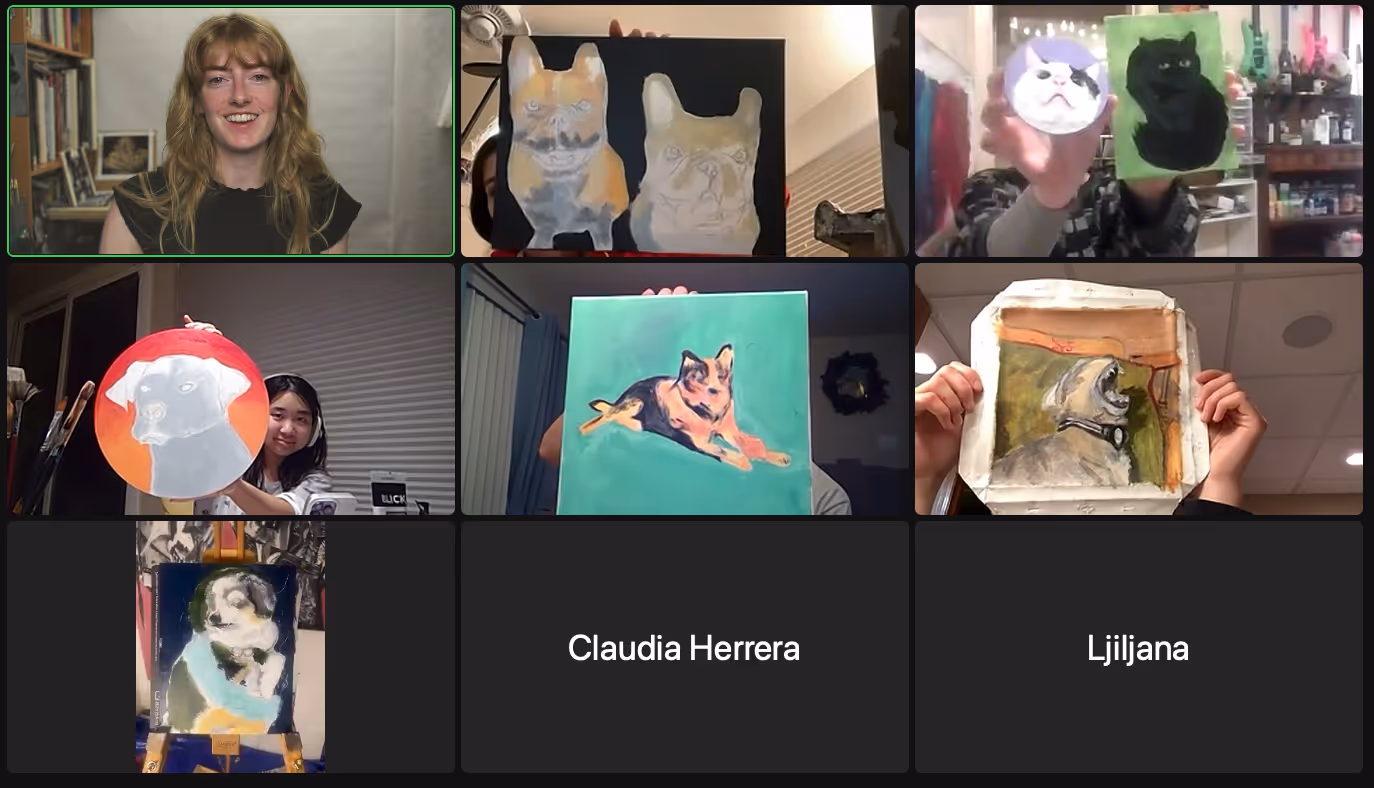
Add fur texture with the tips of your paint brush. Pay attention to the direction that the fur is growing and move your brush in the same direction.
Add finishing touches such as highlights, whiskers, and more with a small brush. This will give you more precise, singular lines.
If you're painting on stretched canvas, decide what you'll do with the edges - will you paint it the same color as your background, change the color, put a design on it? It's your choice!
Don't forget to sign it and send me a photo. Bonus points if the model (your pet) is in the photo too. :)
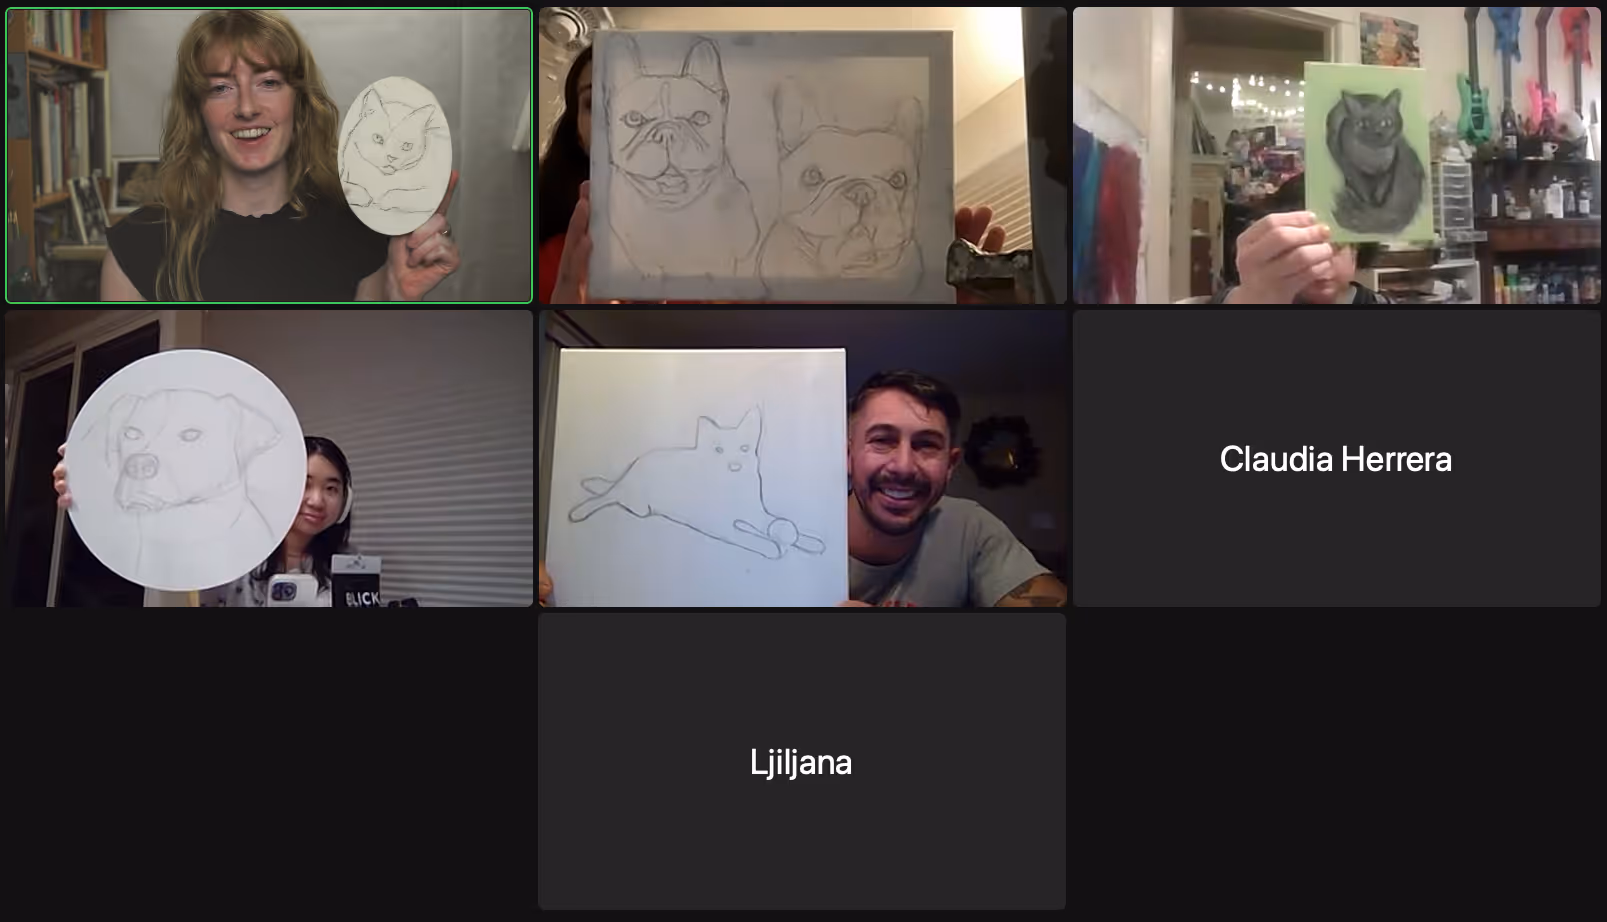
Continue painting the lights and shadows with the paper towel. The paper towel doesn't offer as much control as a paint brush and that's the point! It forces you to focus on the big picture, which is what this phase is all about. You'll be able to add the finishing touches with the brush next week, but for now, stick with the paper towel. If you need to paint smaller areas with the paper towel, squish it to get a smaller surface area. You'll find your way with it.
Remember: Squint to see tonal values! Be sure to take photos of your painting as you go.
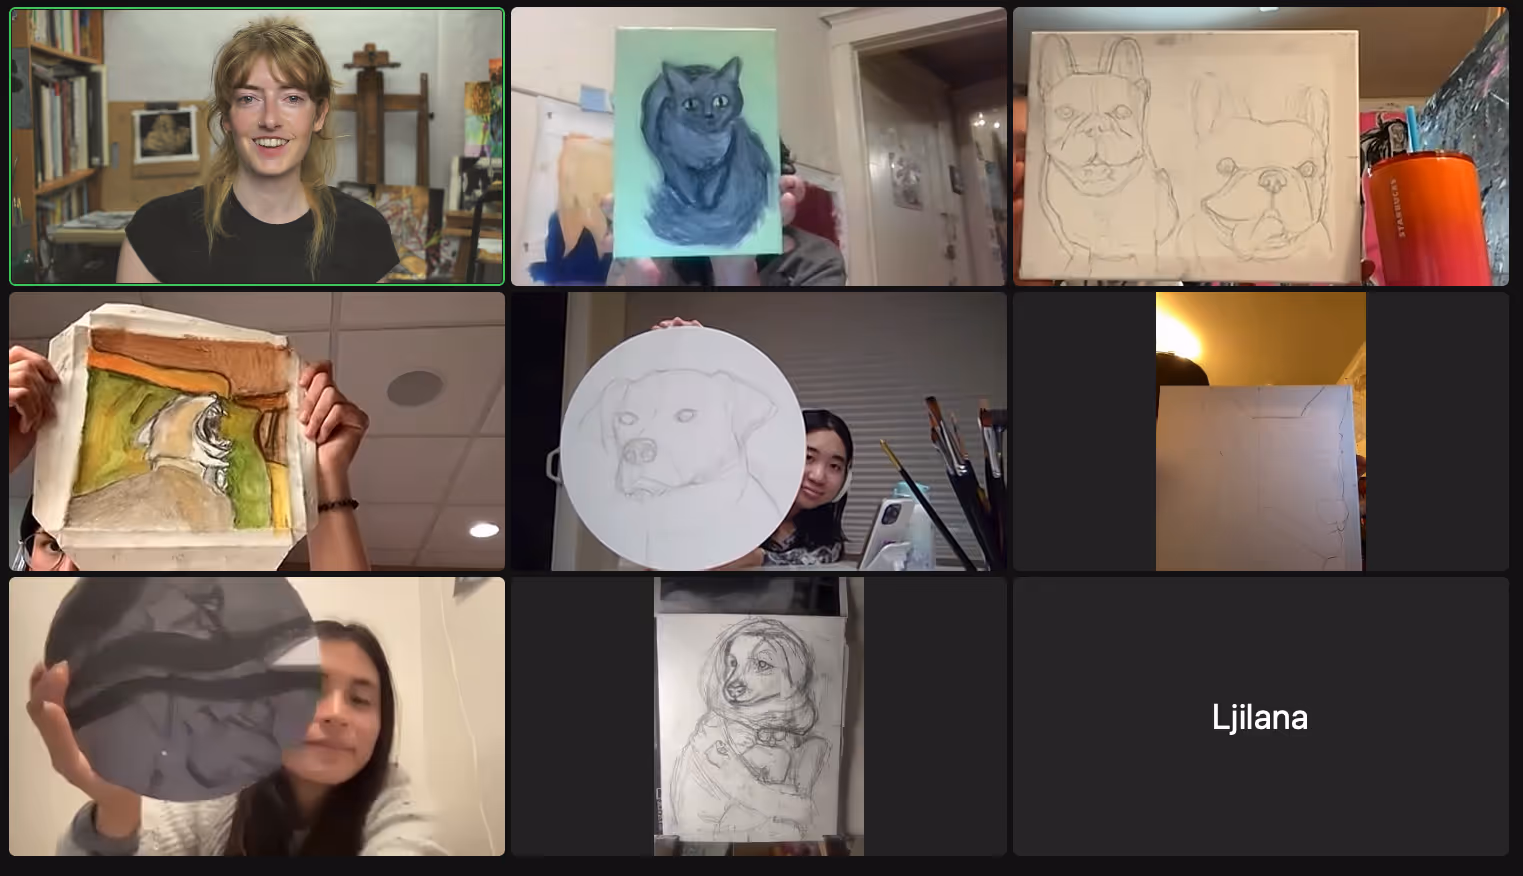
Finish your pencil or charcoal sketch before next week's class. Ignore the details and textures and focus only on the big picture: silhouette and placement of facial features. Use the tools we discussed in class to help you see: negative shapes, plumb lines, cross hairs (finding the center of the top, bottom, left, and right sides of your image AND drawing), stepping back, taking photos, etc.
Want a closer look? Right-click and open in a new tab to view.