🎉 BOGO Summer Sale: Buy Any Eligible Course, Choose Another FREE!
Your free course will be added to your account within 24 hours. Contact us after purchase to choose your complimentary course.
Member's schedule
Log In
Right-click and open in a new tab to enlarge and print.
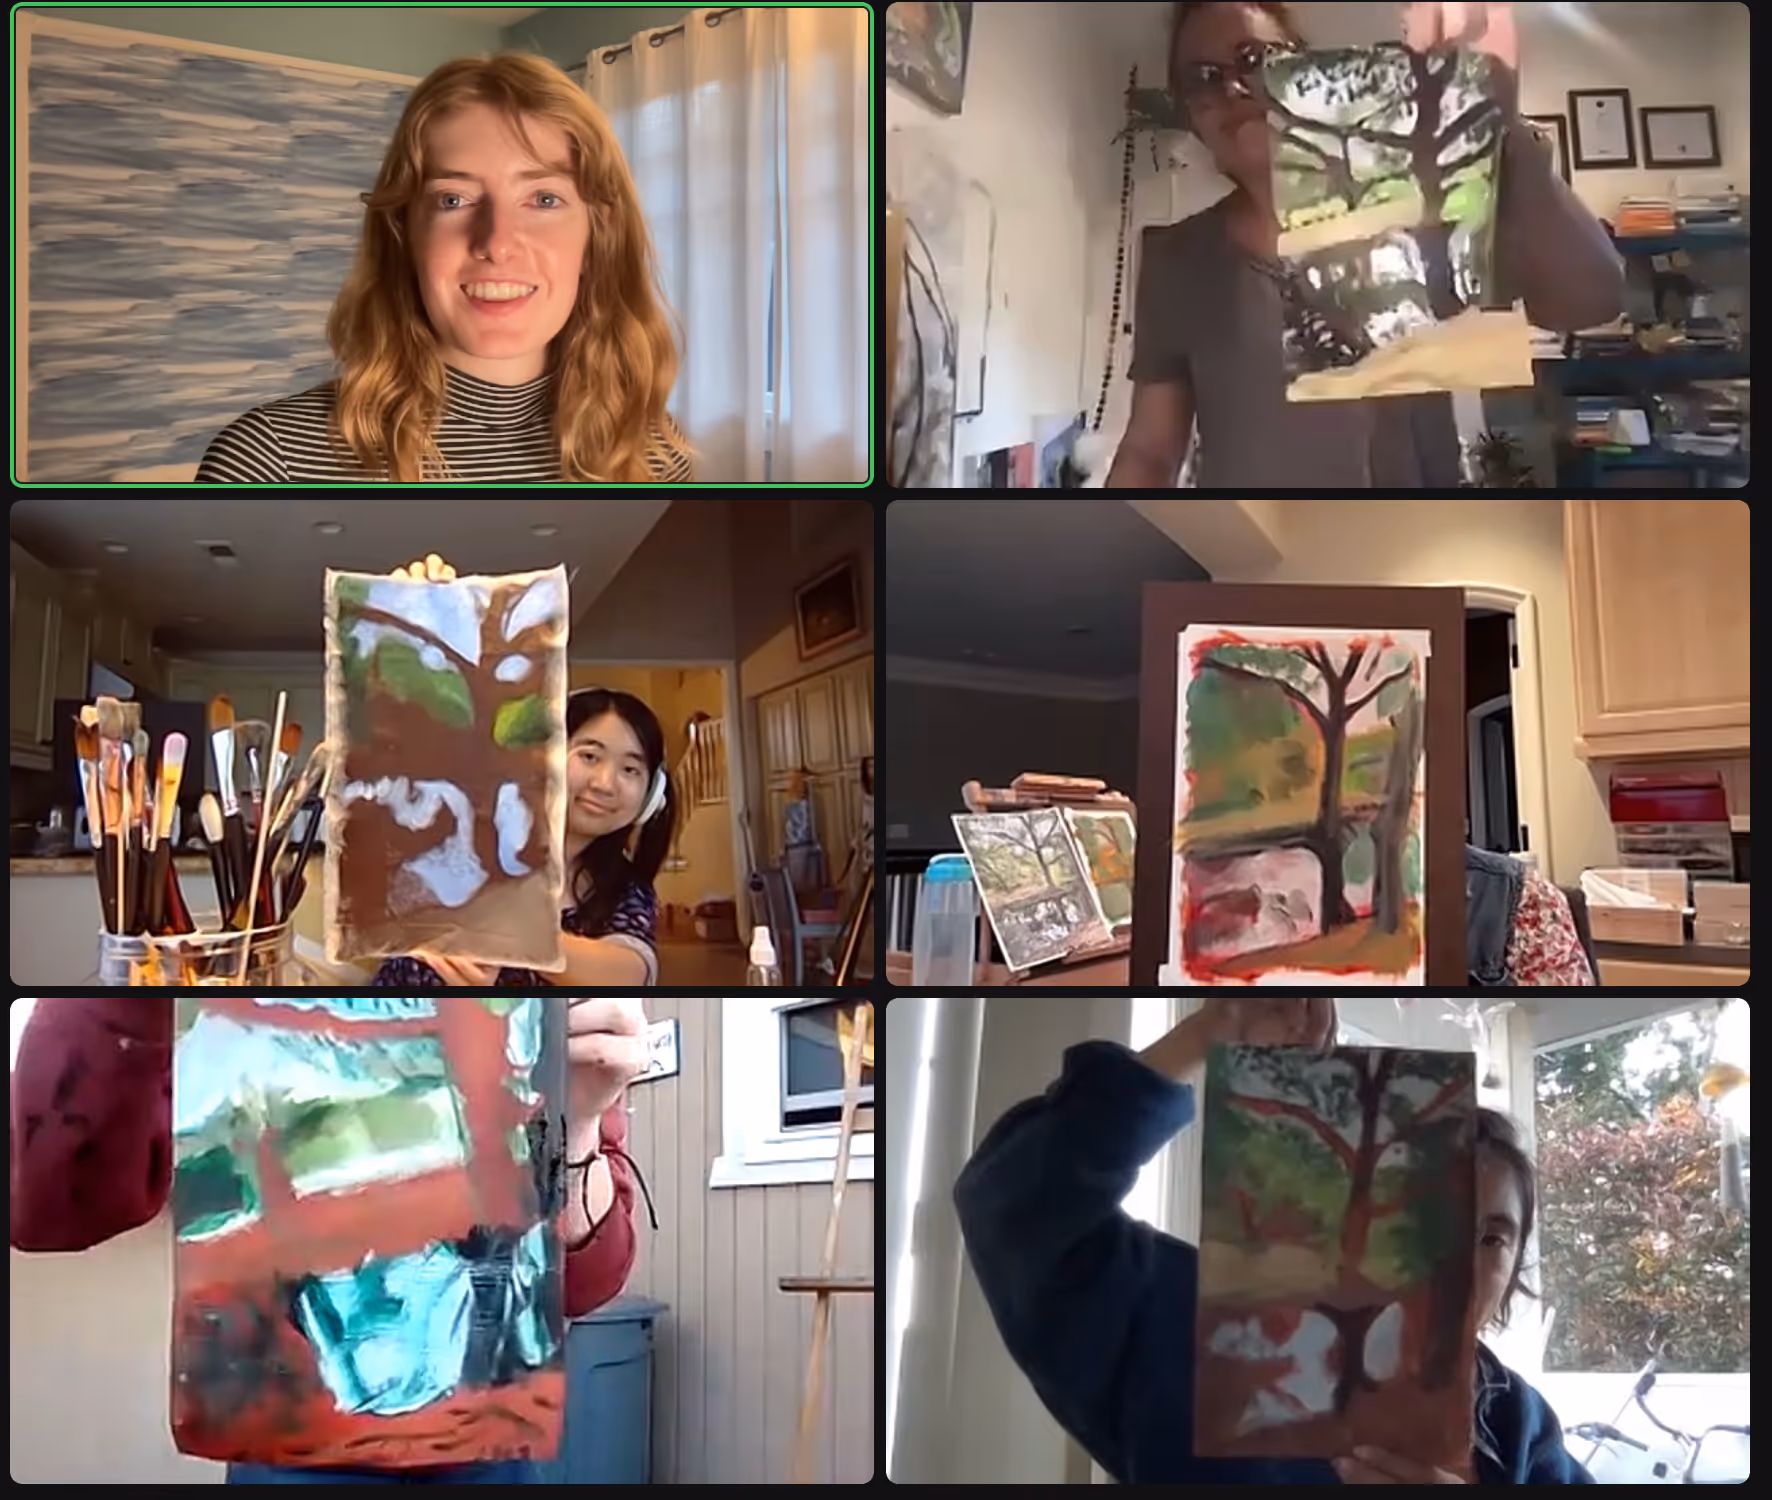
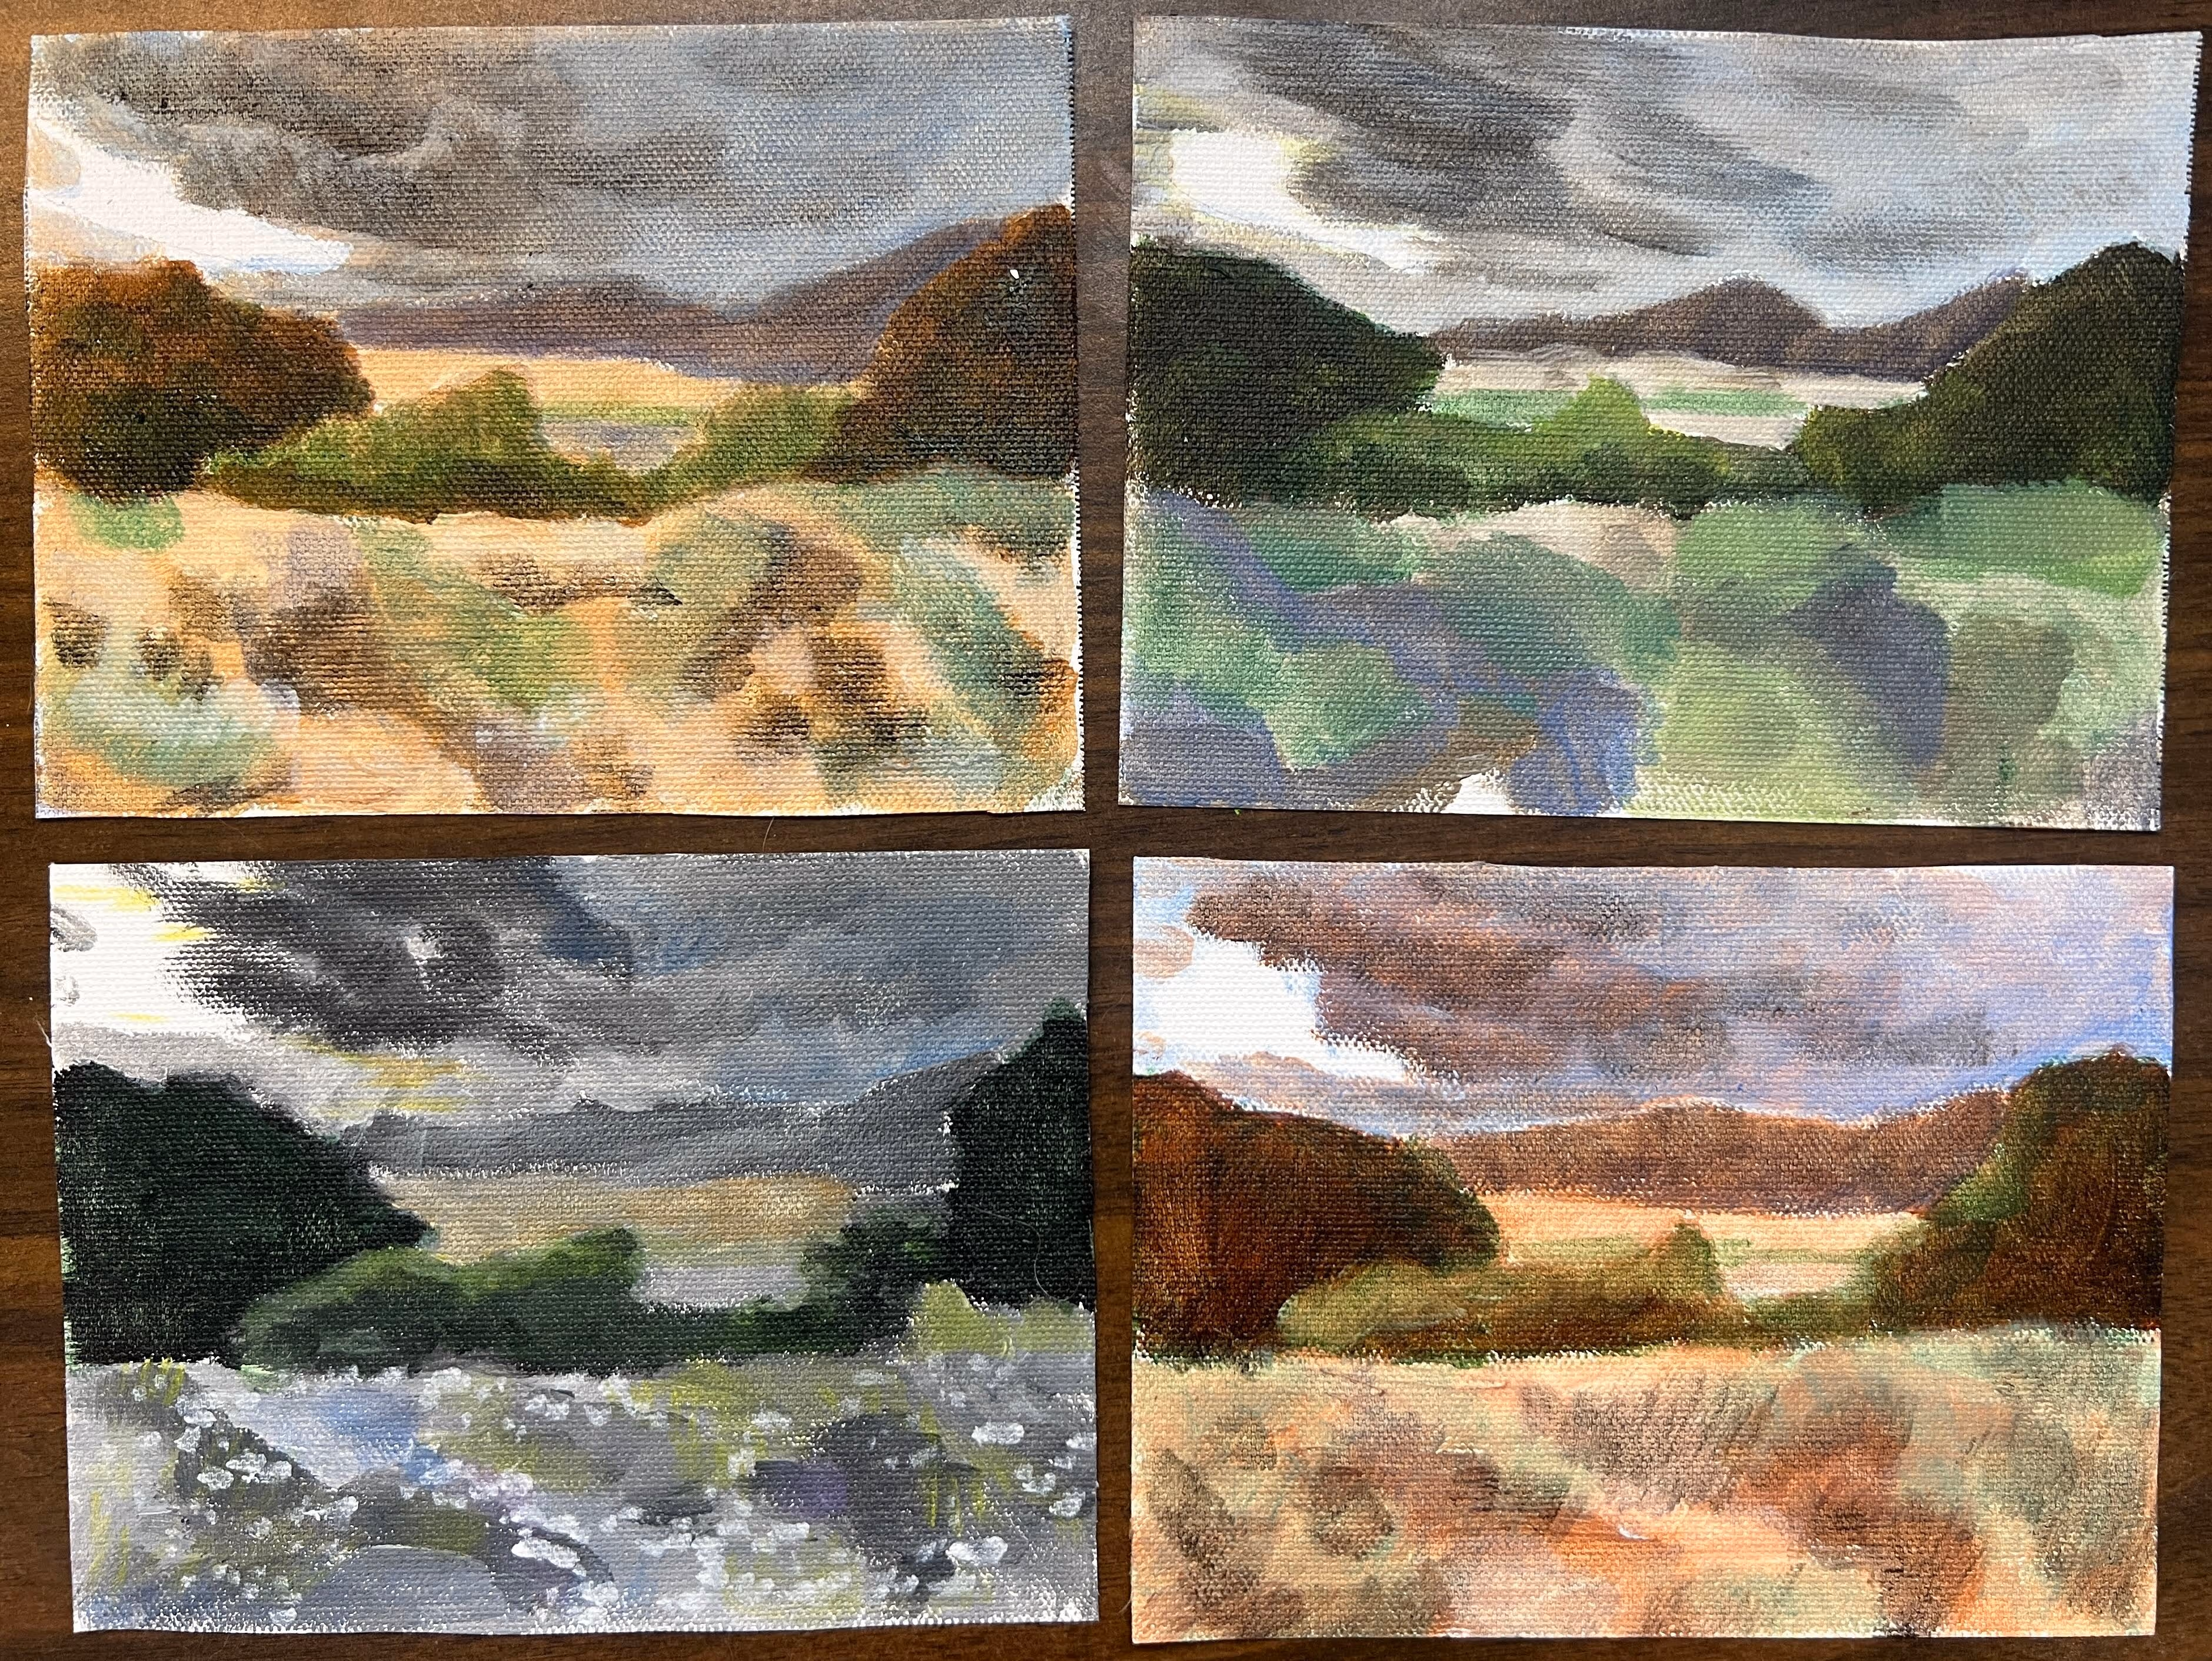
In order to be ready for the final class of the course, paint the colors of the lights and shadows in every area. Try to forget about local color and trust your eyes. Paint it as colorful as it is in your photo reference.
Paint everything except for the details (tiny branches, leaves, blades of grass, small rocks, etc), we'll save that for next week.
Finish your alla prima studies from today if you didn't finish yet.
To prepare for next week, you'll want to grab a larger canvas for your more refined painting. You can use your own photo reference if you'd like. I'll still be sending an image out in case you can't find your own or you'd prefer to use the one I send.
If you take your own image, pay attention to planes (foreground, middle ground, background), with texture and tonal contrast. If you have your own image and want to send it to me to make sure it works for class, you can email it to me or bring it to next week's class.
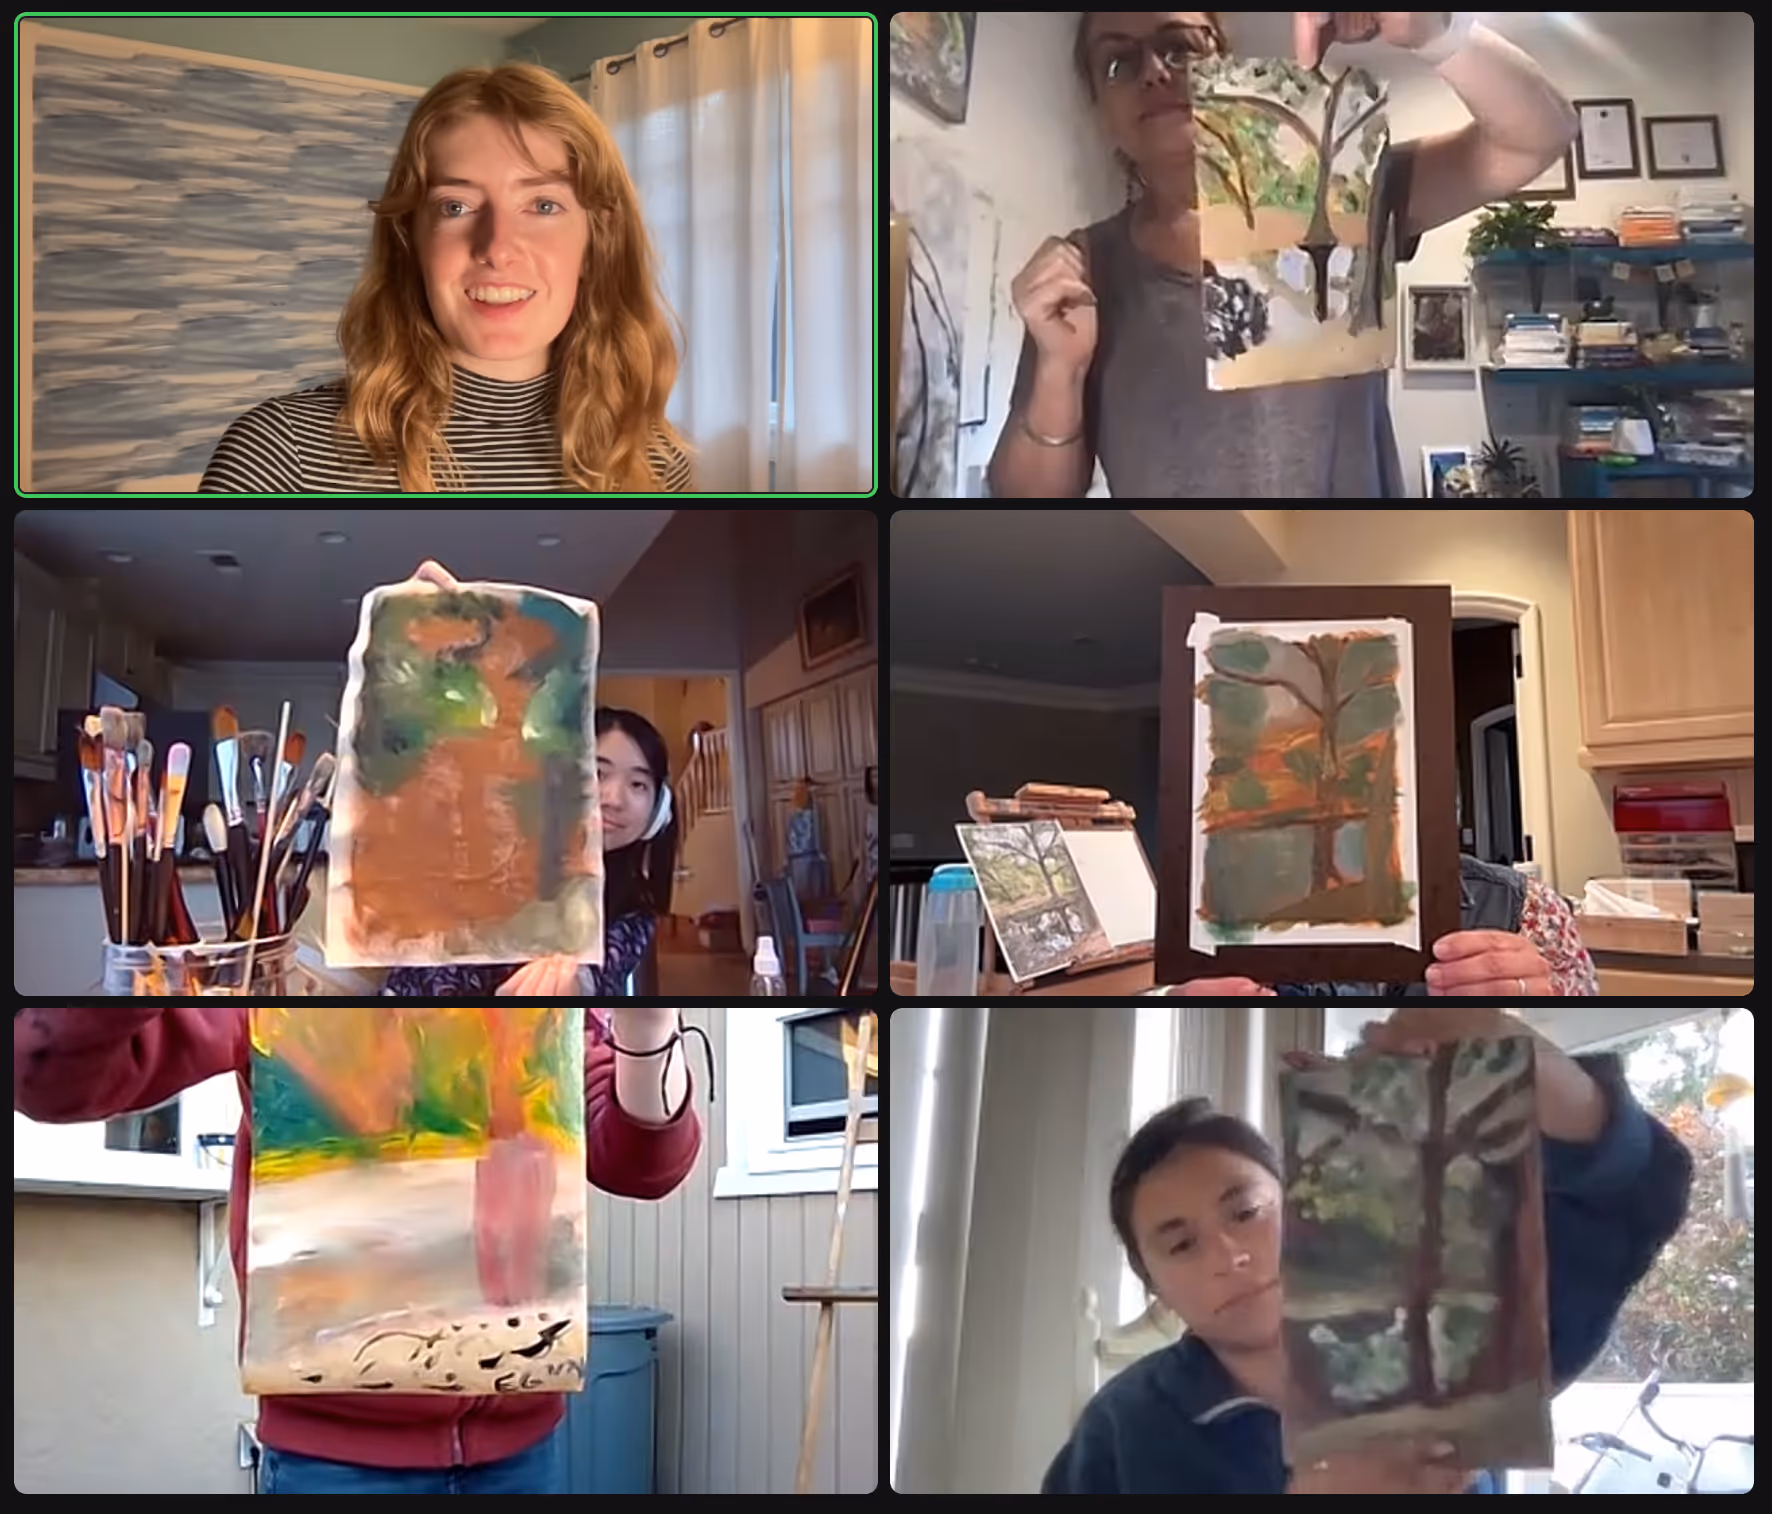
Finish glazing all four studies. Remember that a glaze is a very thin, transparent layer of paint. You will use an unexpectedly small amount of paint. Keep in mind the tone and color of your glaze, as that will affect the end result.
Tips:
To prepare for week 3:
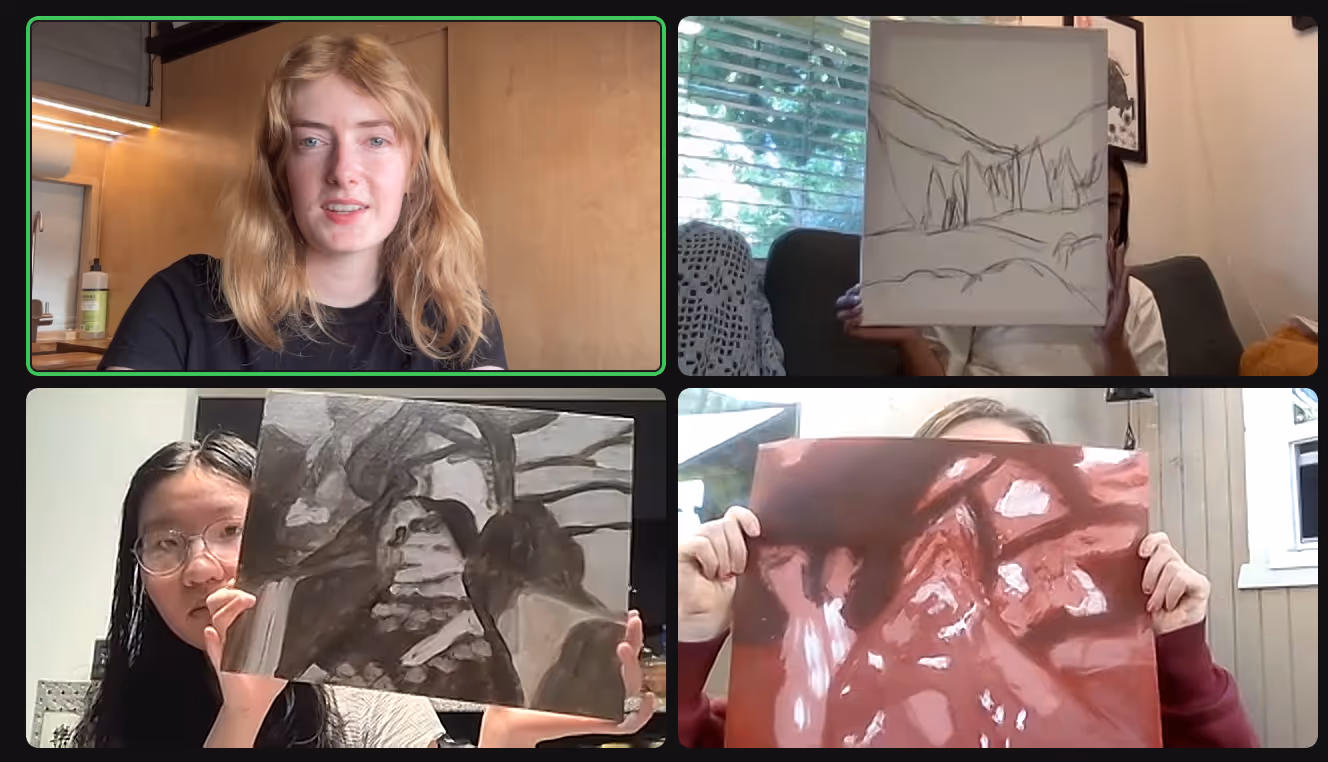
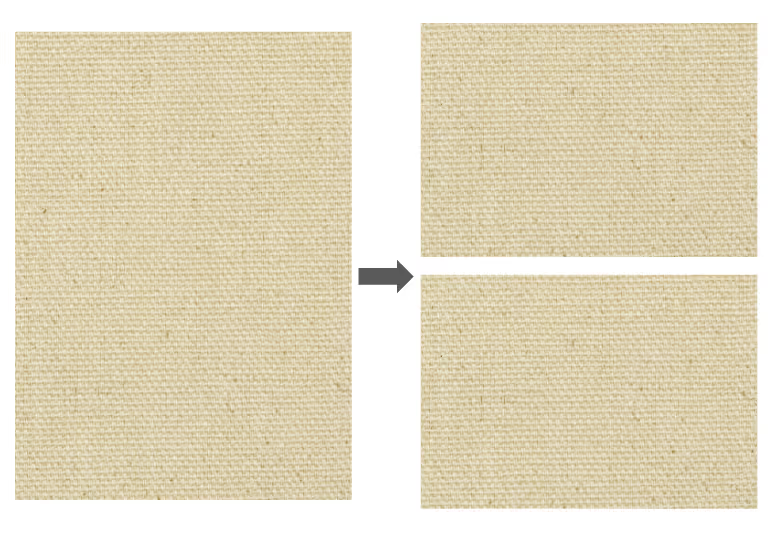
Cut one piece of canvas paper in half (place your canvas pad vertically and cut horizontally in the middle, shown below). Paint one canvas in solid burnt sienna. Leave the other canvas unpainted.
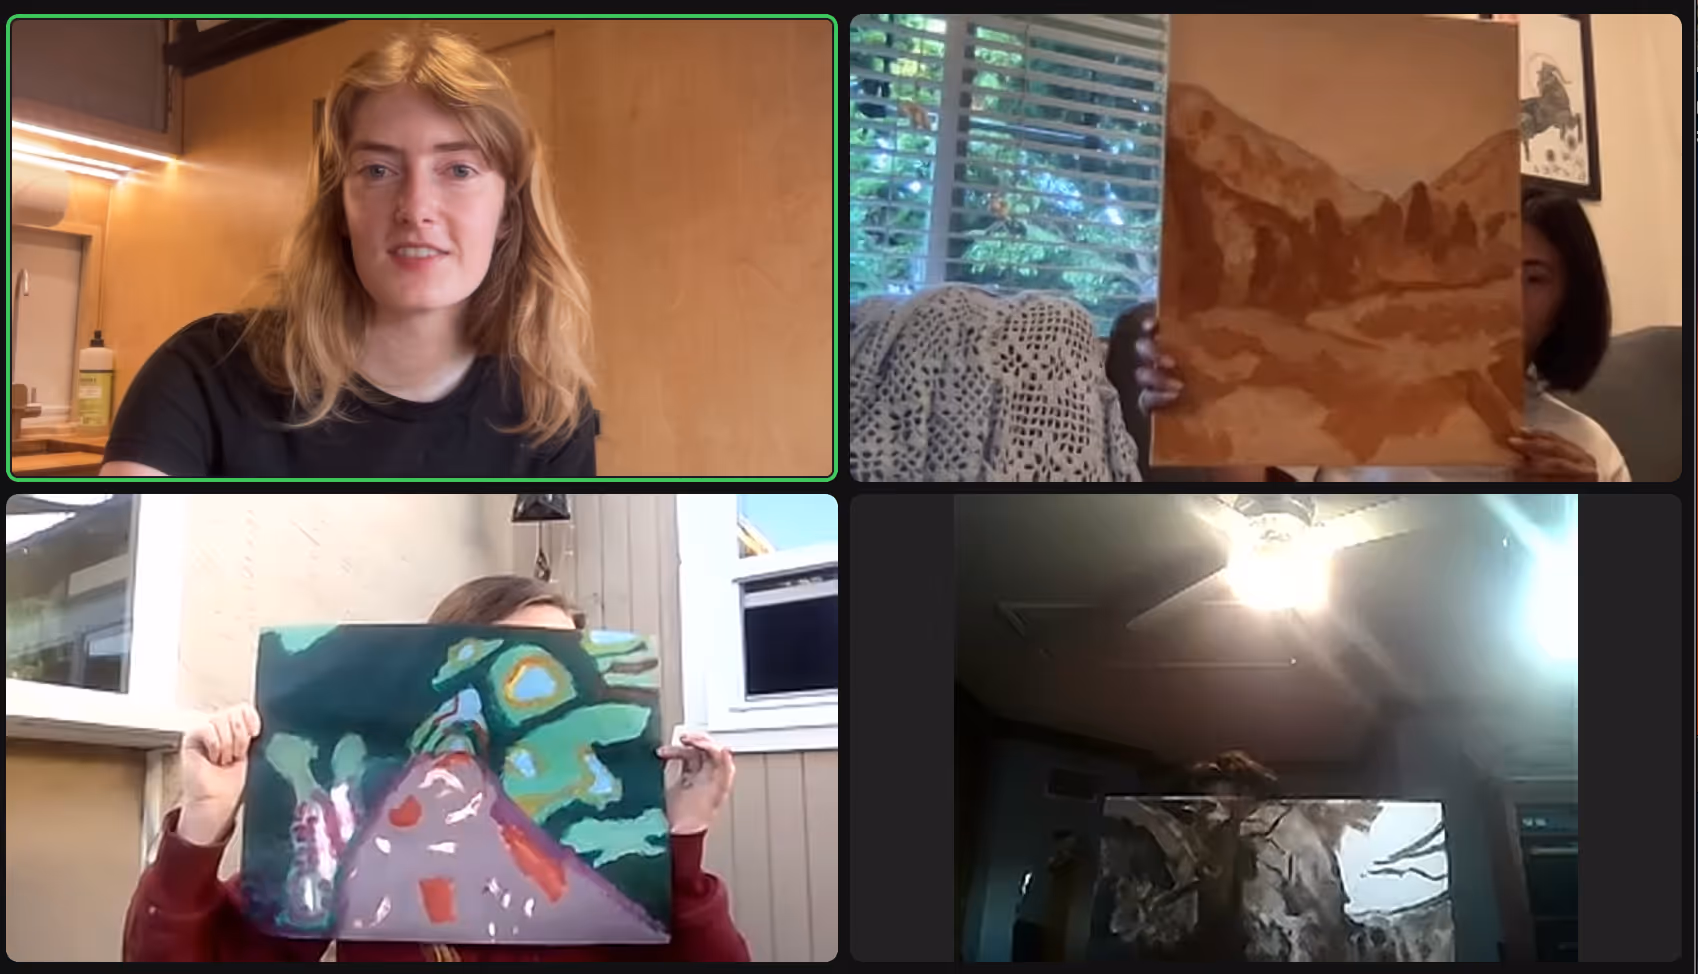
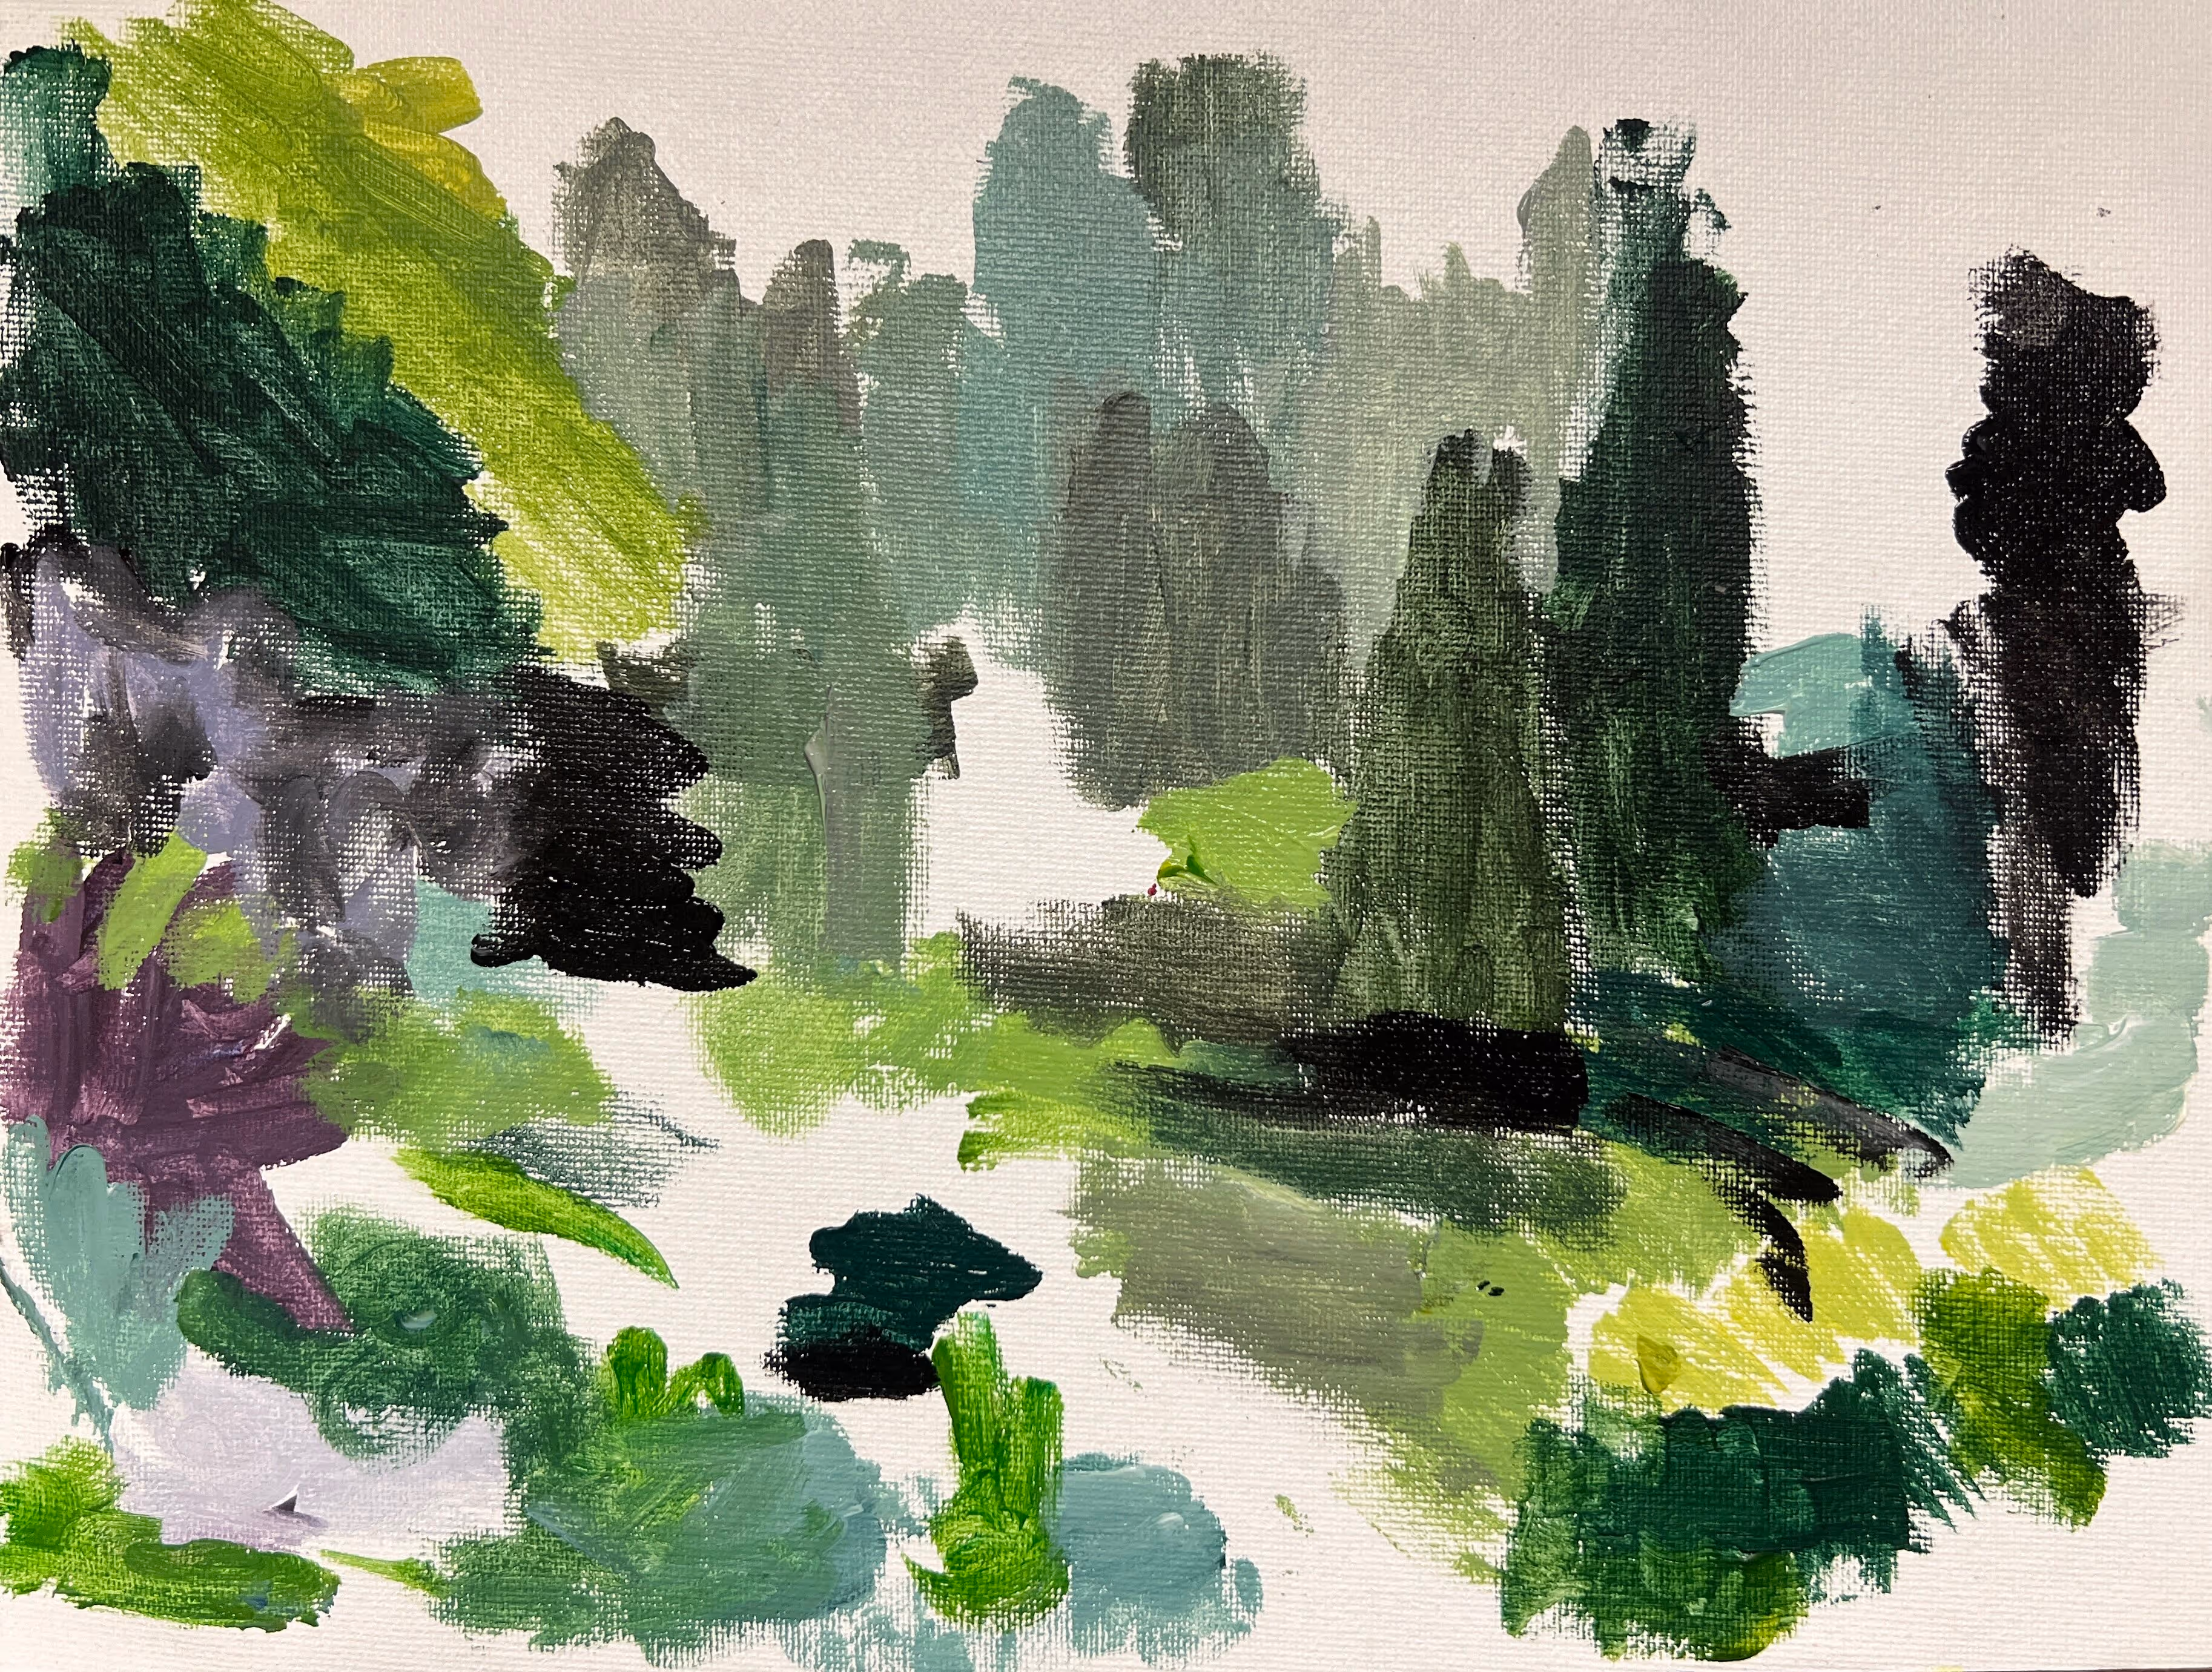
Continue color matching based on the reference image if you didn't finish during class. This is what my finished color matching study looks like.
Prepare for week 2 by cutting one canvas sheet into 4 pieces. We will be glazing next week which means you'll need transparent pigments (refer to the handout). If you do not have transparent pigments, you can use an acrylic glazing liquid like this and add it to your opaque pigments to glaze with.
Want a closer look? Right-click and open in a new tab to view.