🎉 Labor Day Sale: Save 20% on eligible live courses! Click here to learn more
Member's schedule
Log In
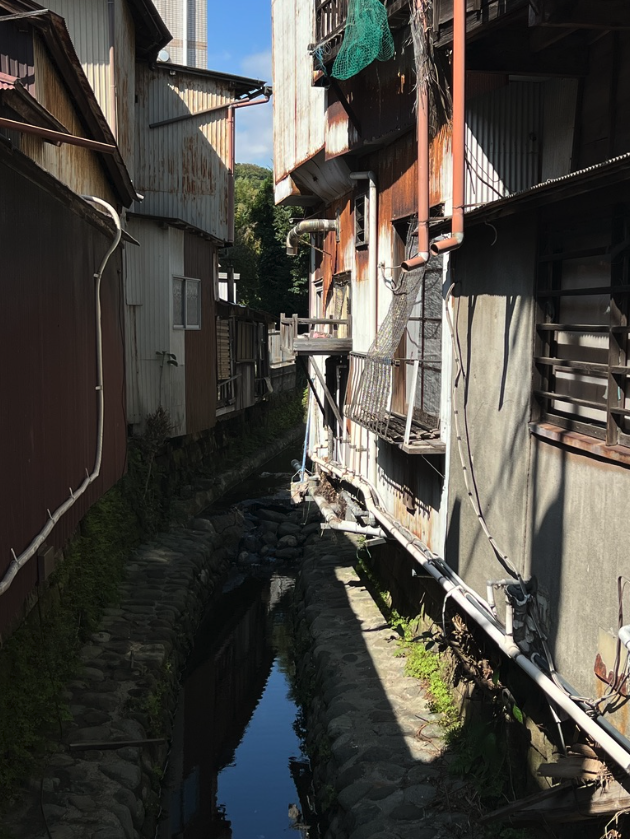

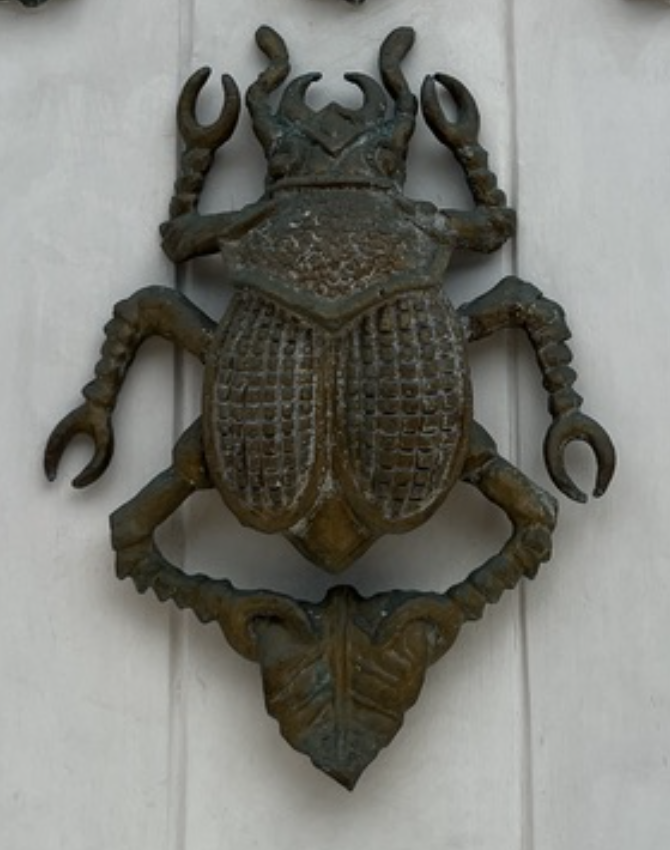
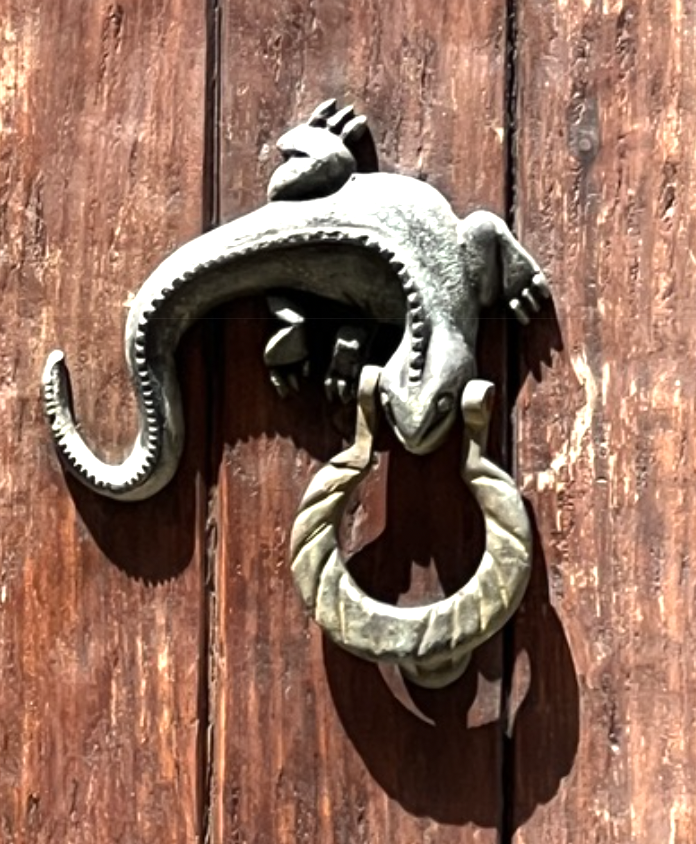
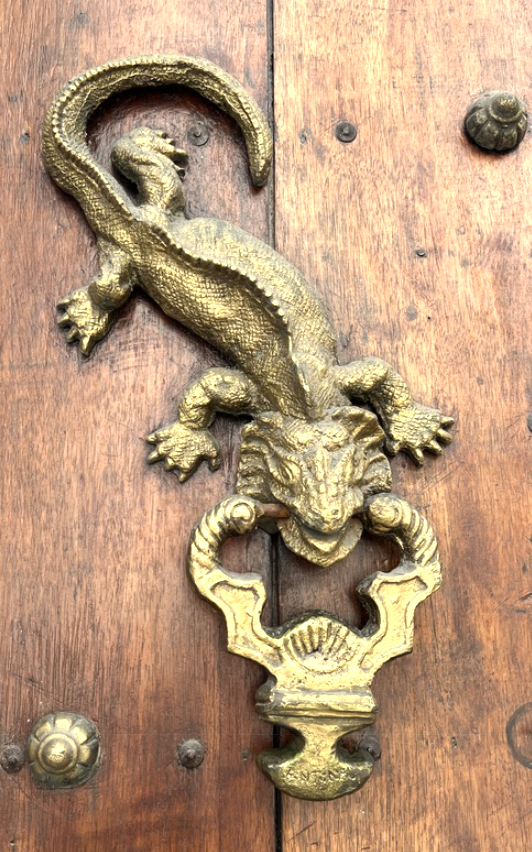
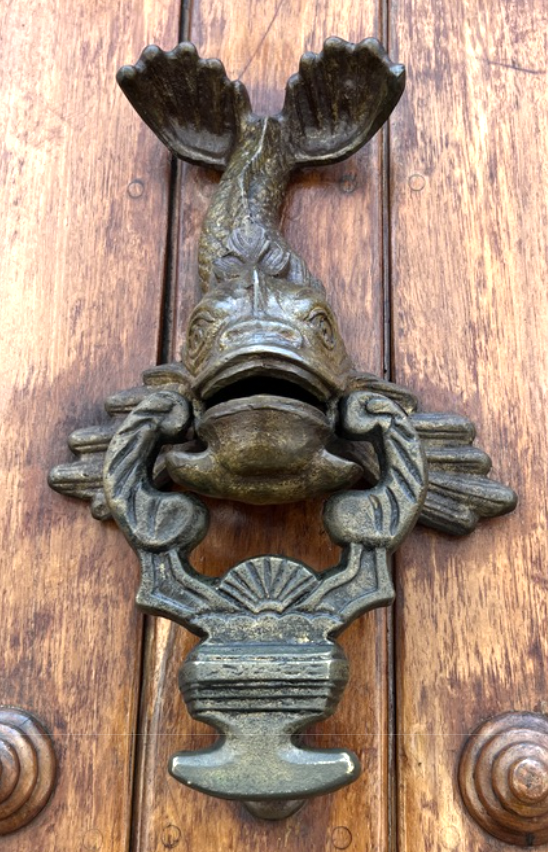
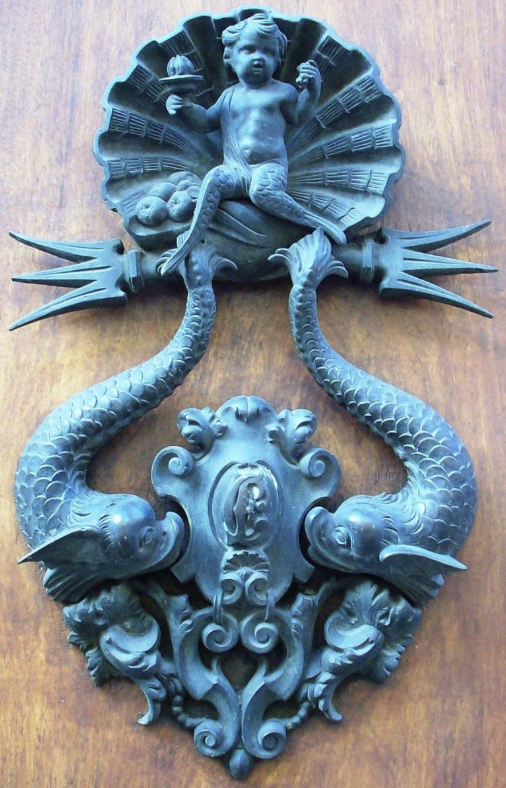
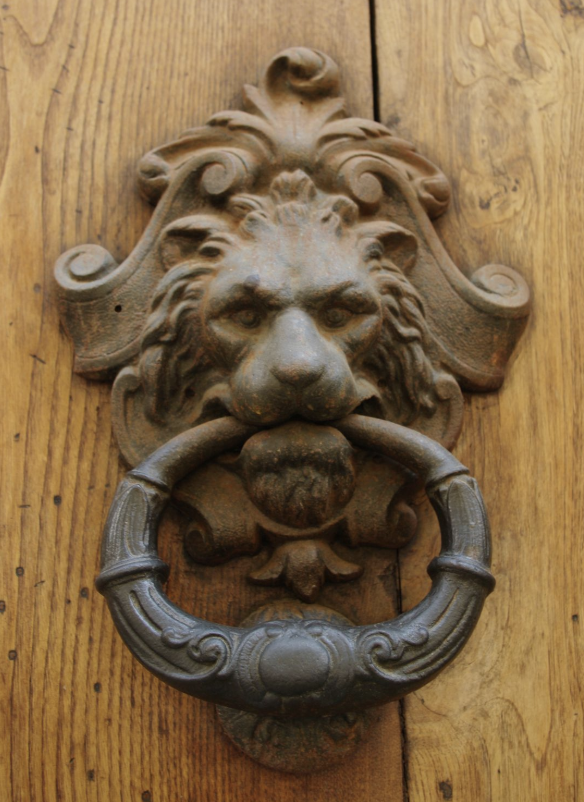
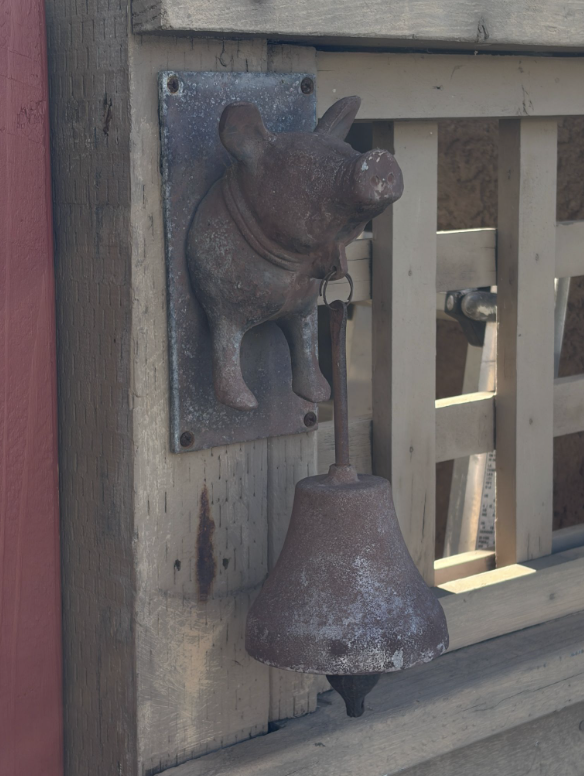
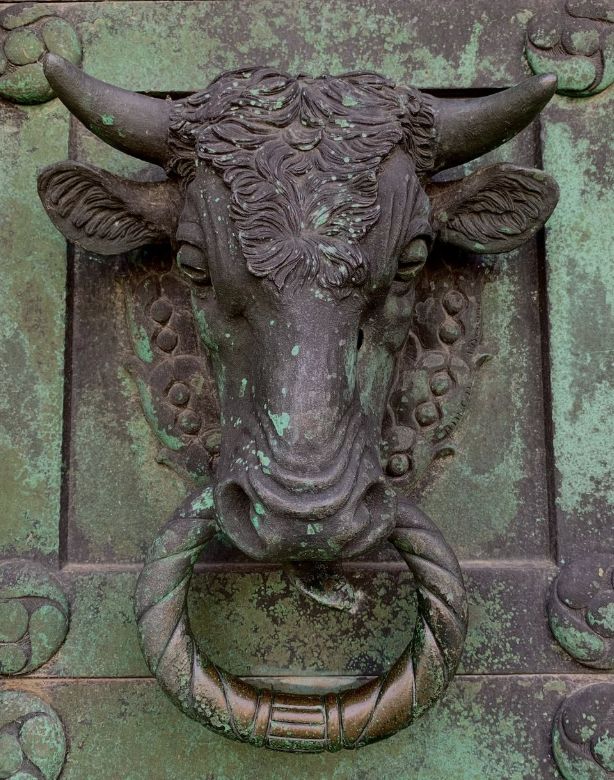
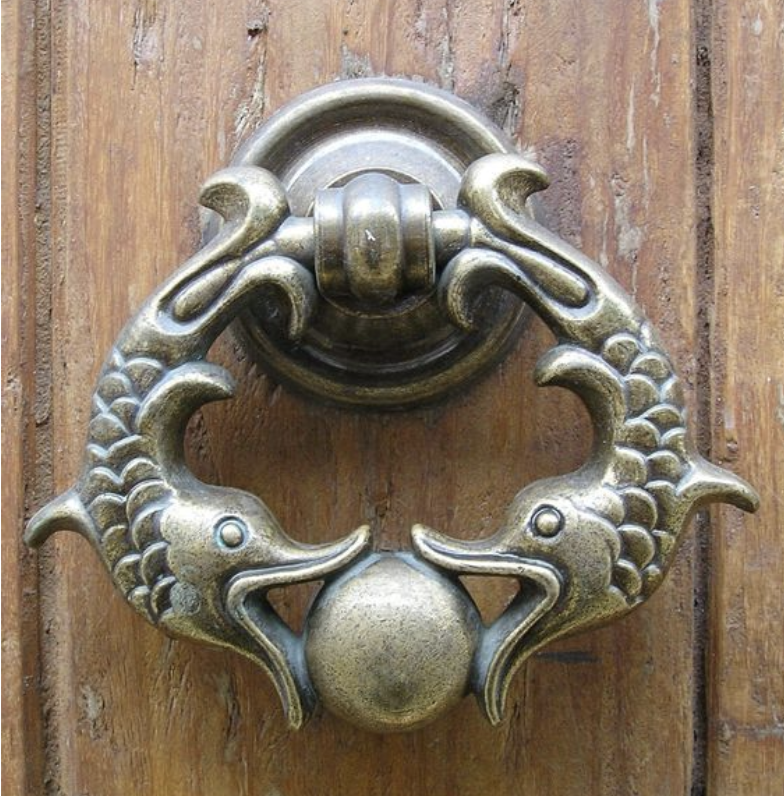
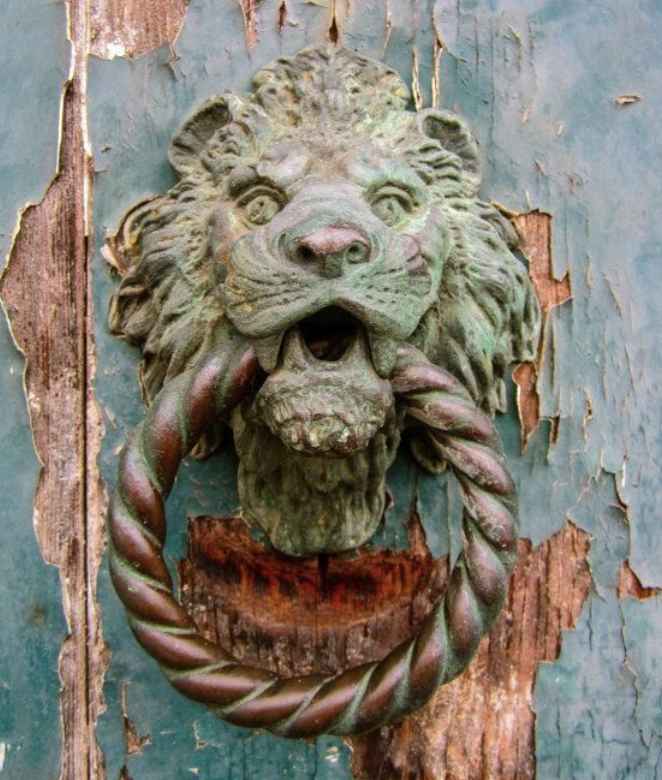
Right-click and open in a new tab to enlarge and print.
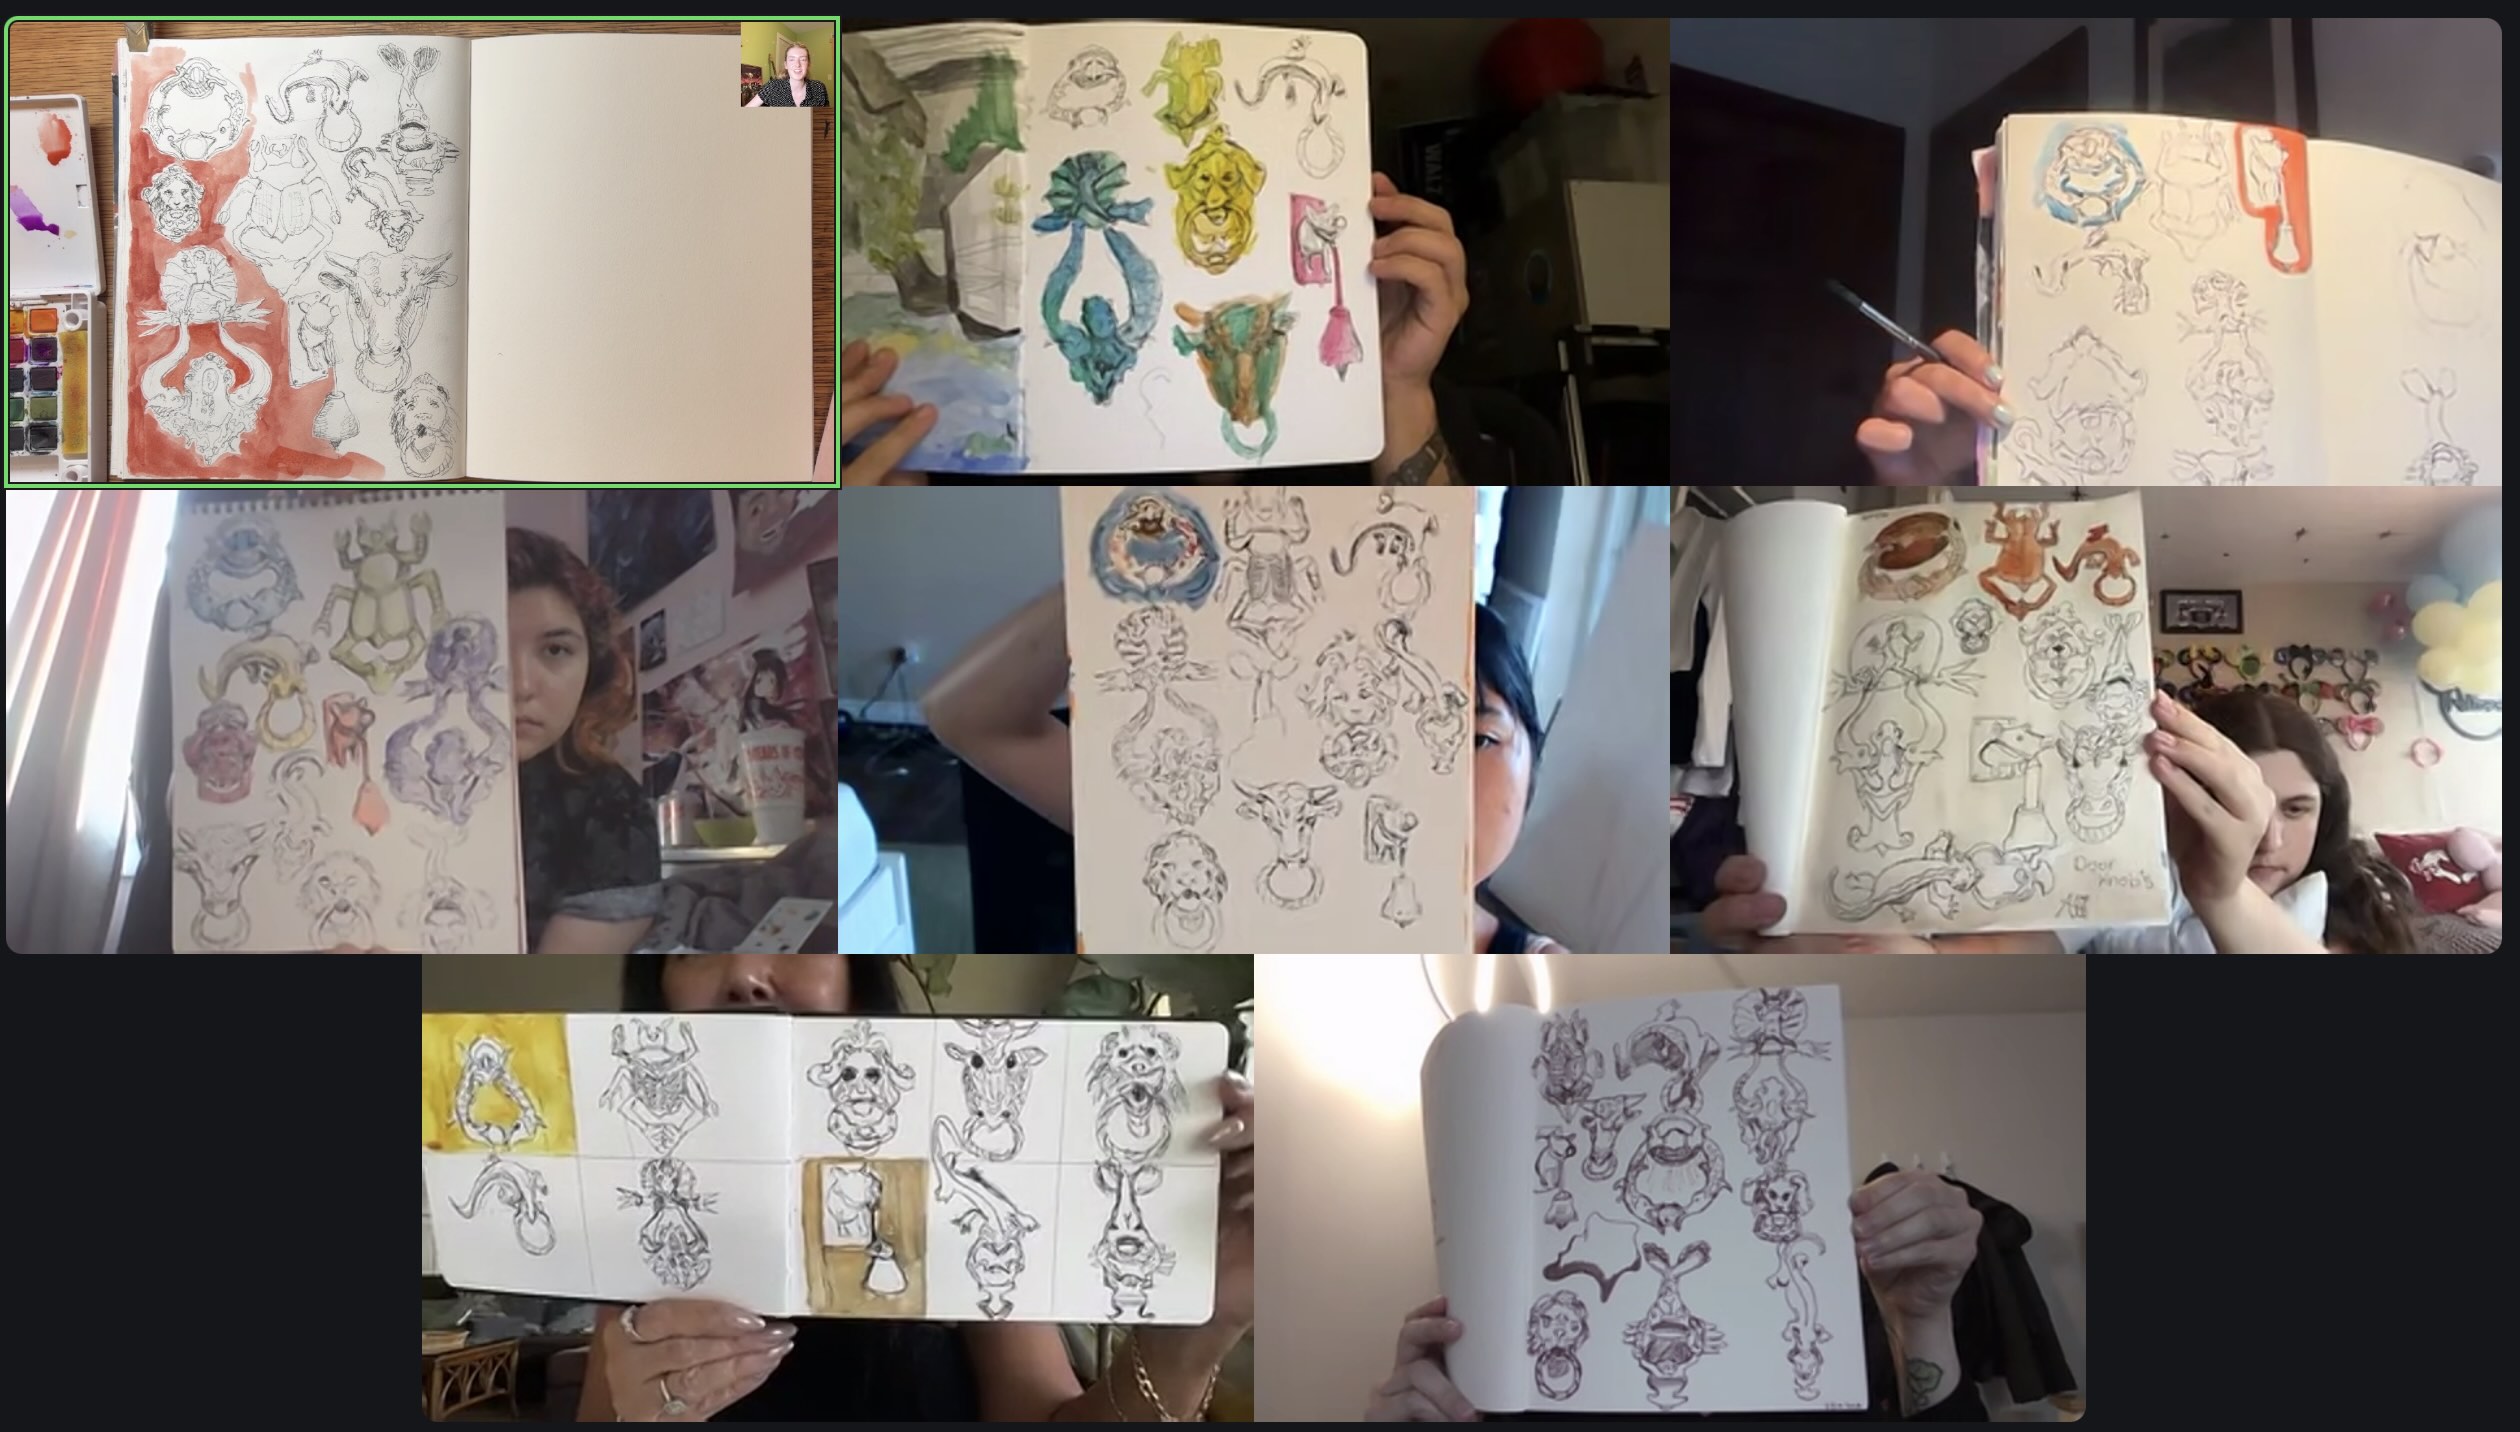
Play a game on your travels called a visual scavenger hunt - set out to sketch multiple items in the same family (doors, windows, and other architectural elements), and compose them on the same page.
Perfect for when you don't have a lot of time to sketch but want to take a moment for it.
Now that you know you can make your substrate larger and span multiple pages, this allows you to be able to sketch on "large-scale" - even when traveling! This exercise is ideal for when you can spend a good amount of time in one spot.
The approach we used in class is called alla prima, a painting approach where you paint the colors you see right away by means of direct mixing (mixing on your palette before applying it to your substrate.)
Leave your sketch from class as it. Instead of trying to make one piece "perfect", continue to practice, now with different subject matter. This time, go outside and sketch on location. Use the same materials, the same steps, the same technique - allow this to be the familiar aspect, and the only thing that changes is where you're sitting. You've already done it once, so that means you can definitely do it again!
Choices for washes:
Ways to find the eye level in real life:
Practice finding the eye level in a photography. Follow the same steps we did in class. Find an inspiring photo of an area by your home, it could be the local coffee shop, a beautiful architectural facade, or the street view from your door step.
Ways to find the eye level in a photo reference (you could also use these methods in real life)
Tips, and the most important perspective-related things to remember when Urban Sketching:
Find your eye level with architectural elements: using the facets of buildings that are receding away from you.
Want a closer look? Right-click and open in a new tab to view.