Right-click and open in a new tab to enlarge and print.
Instructions
Week 4:
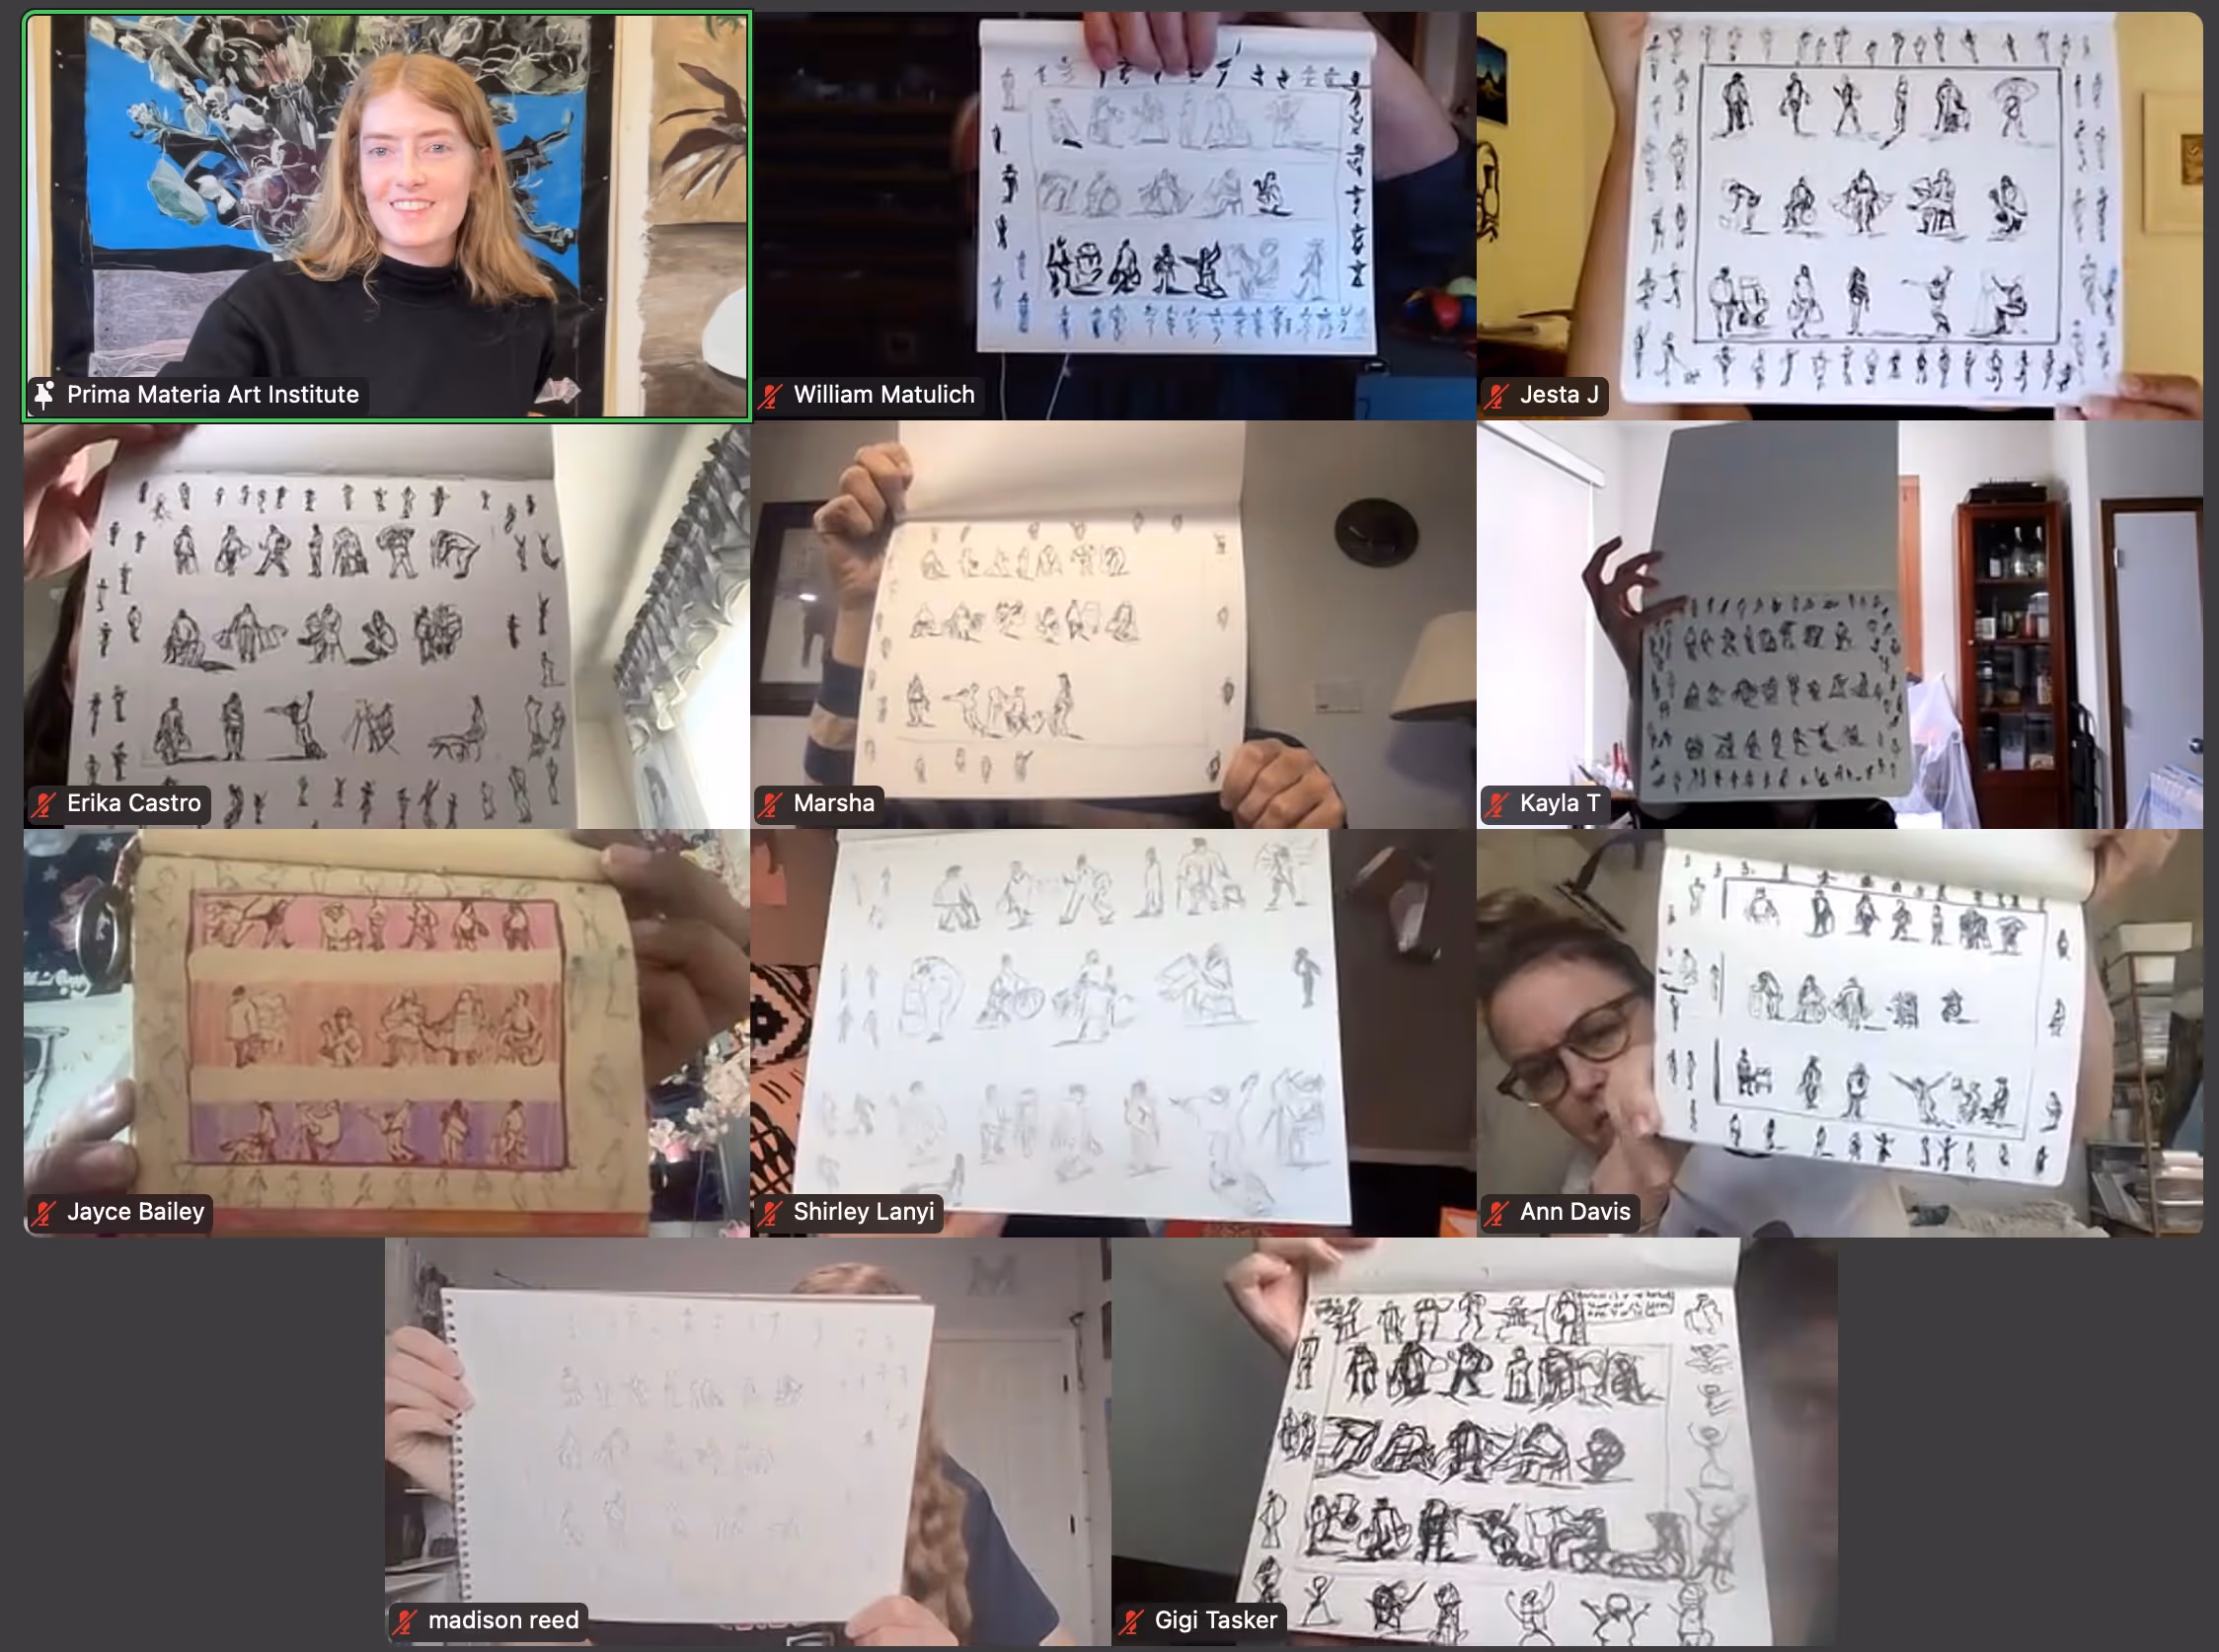
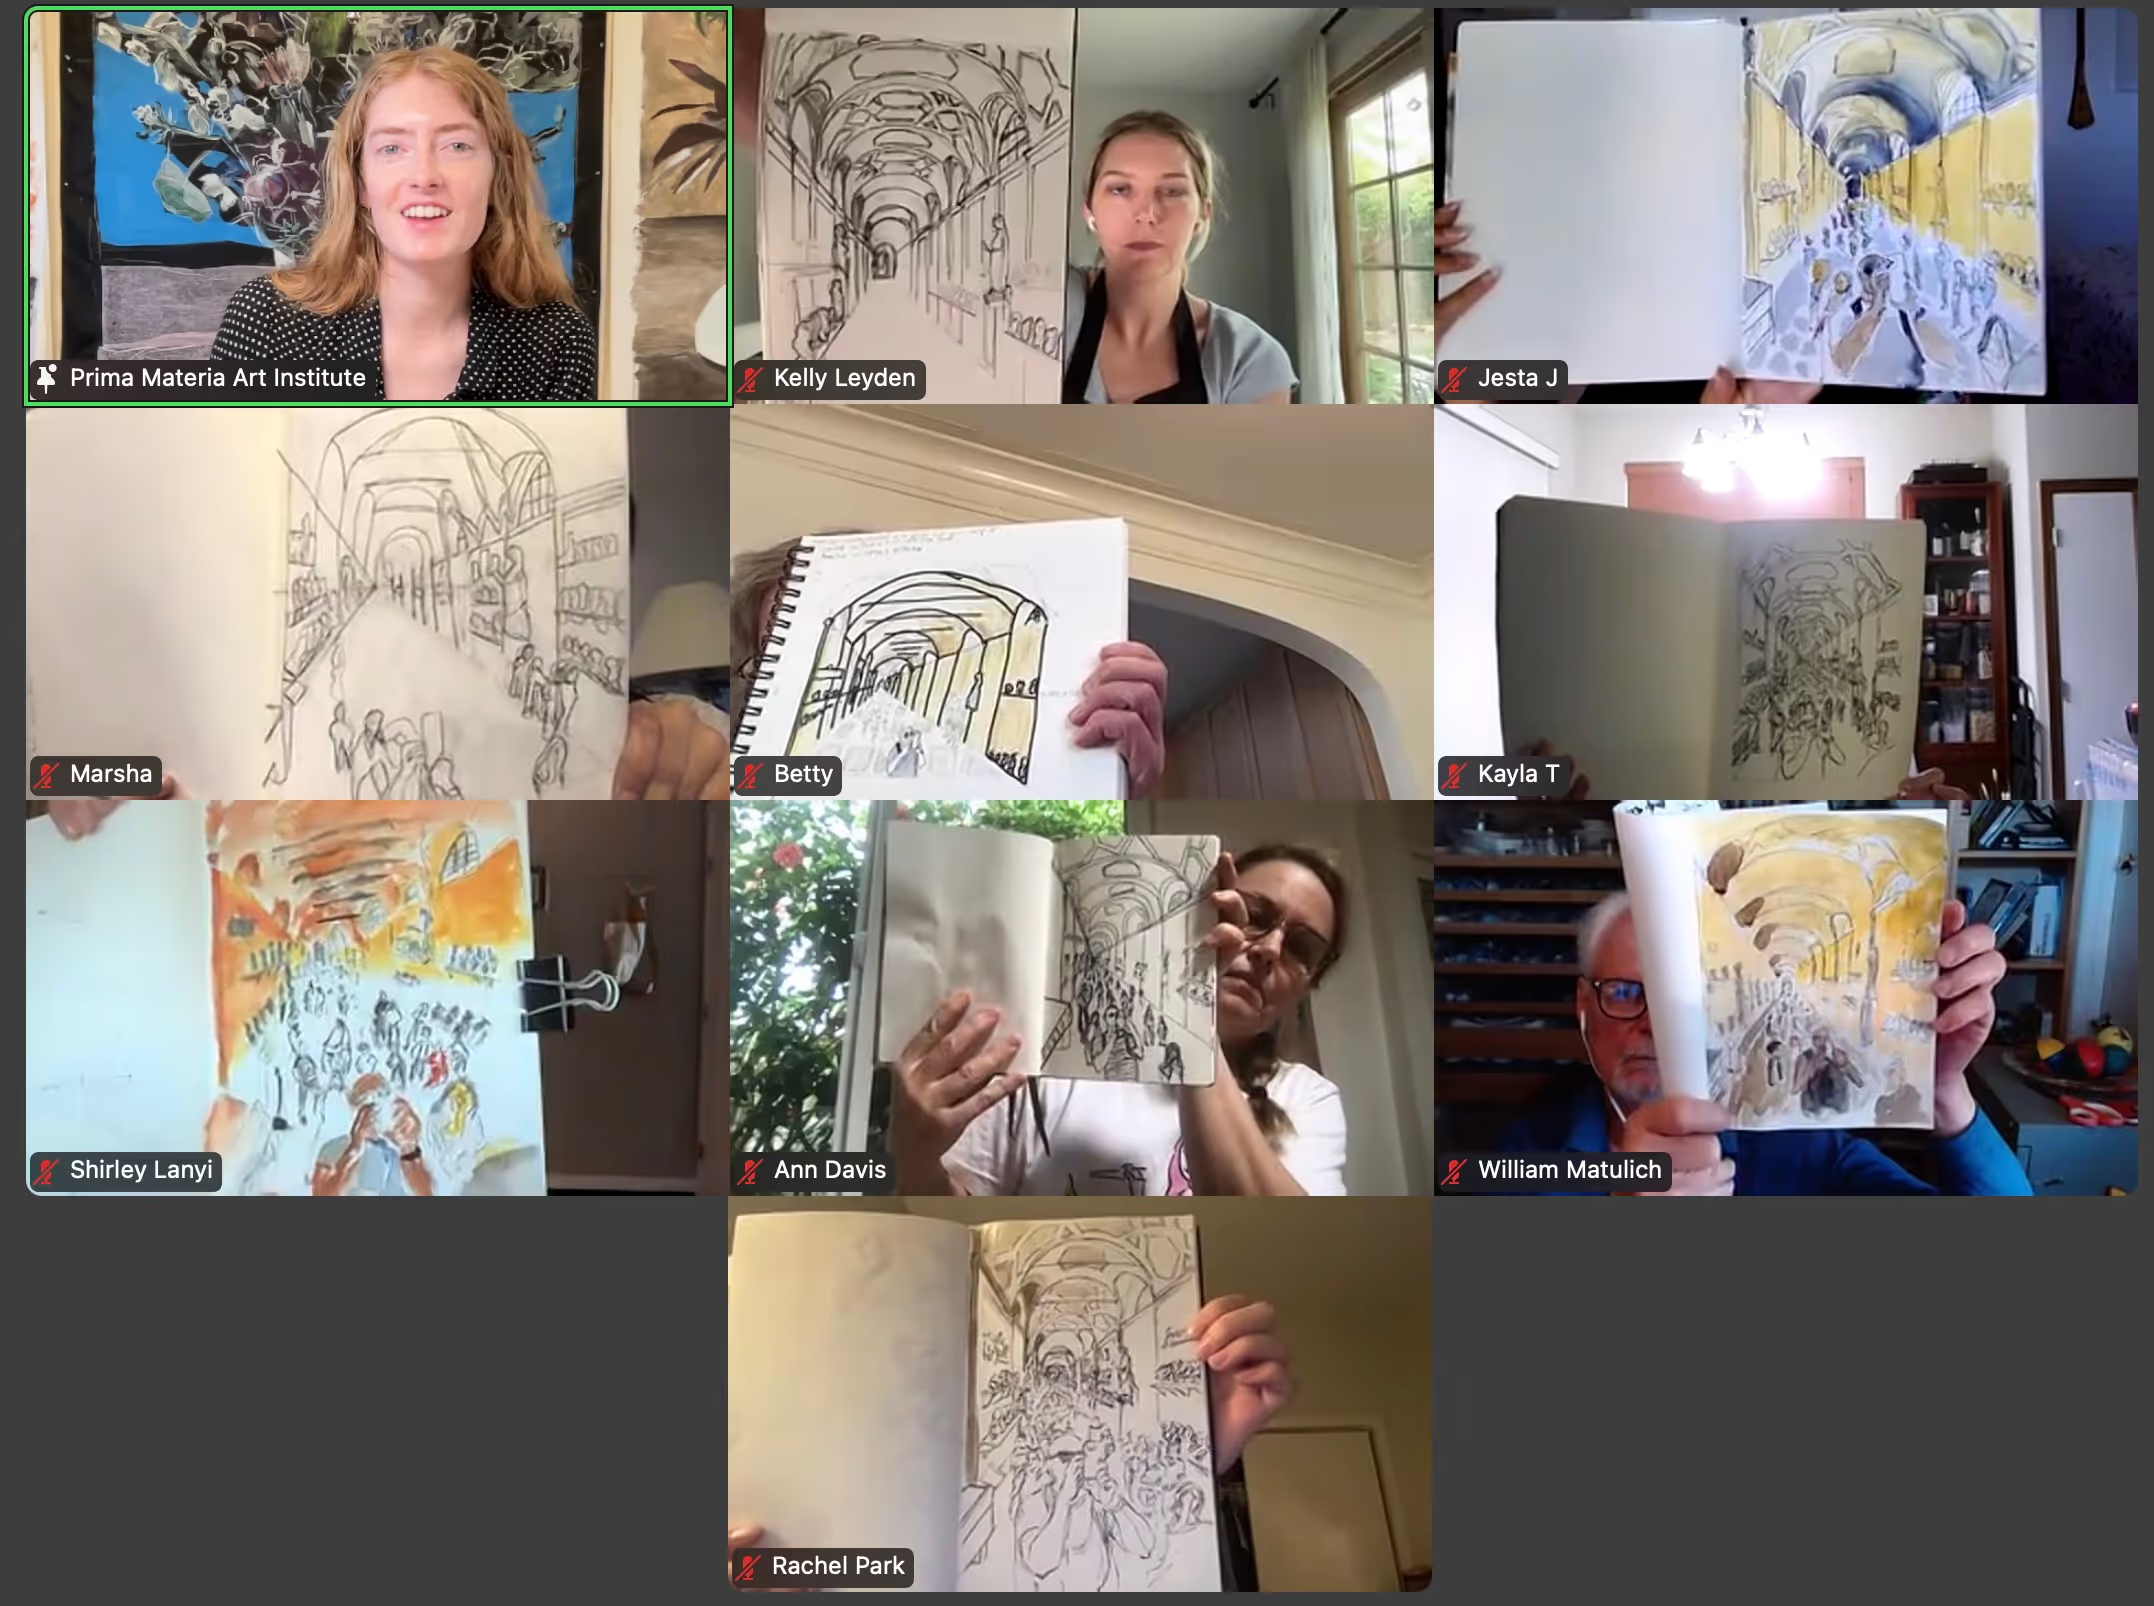
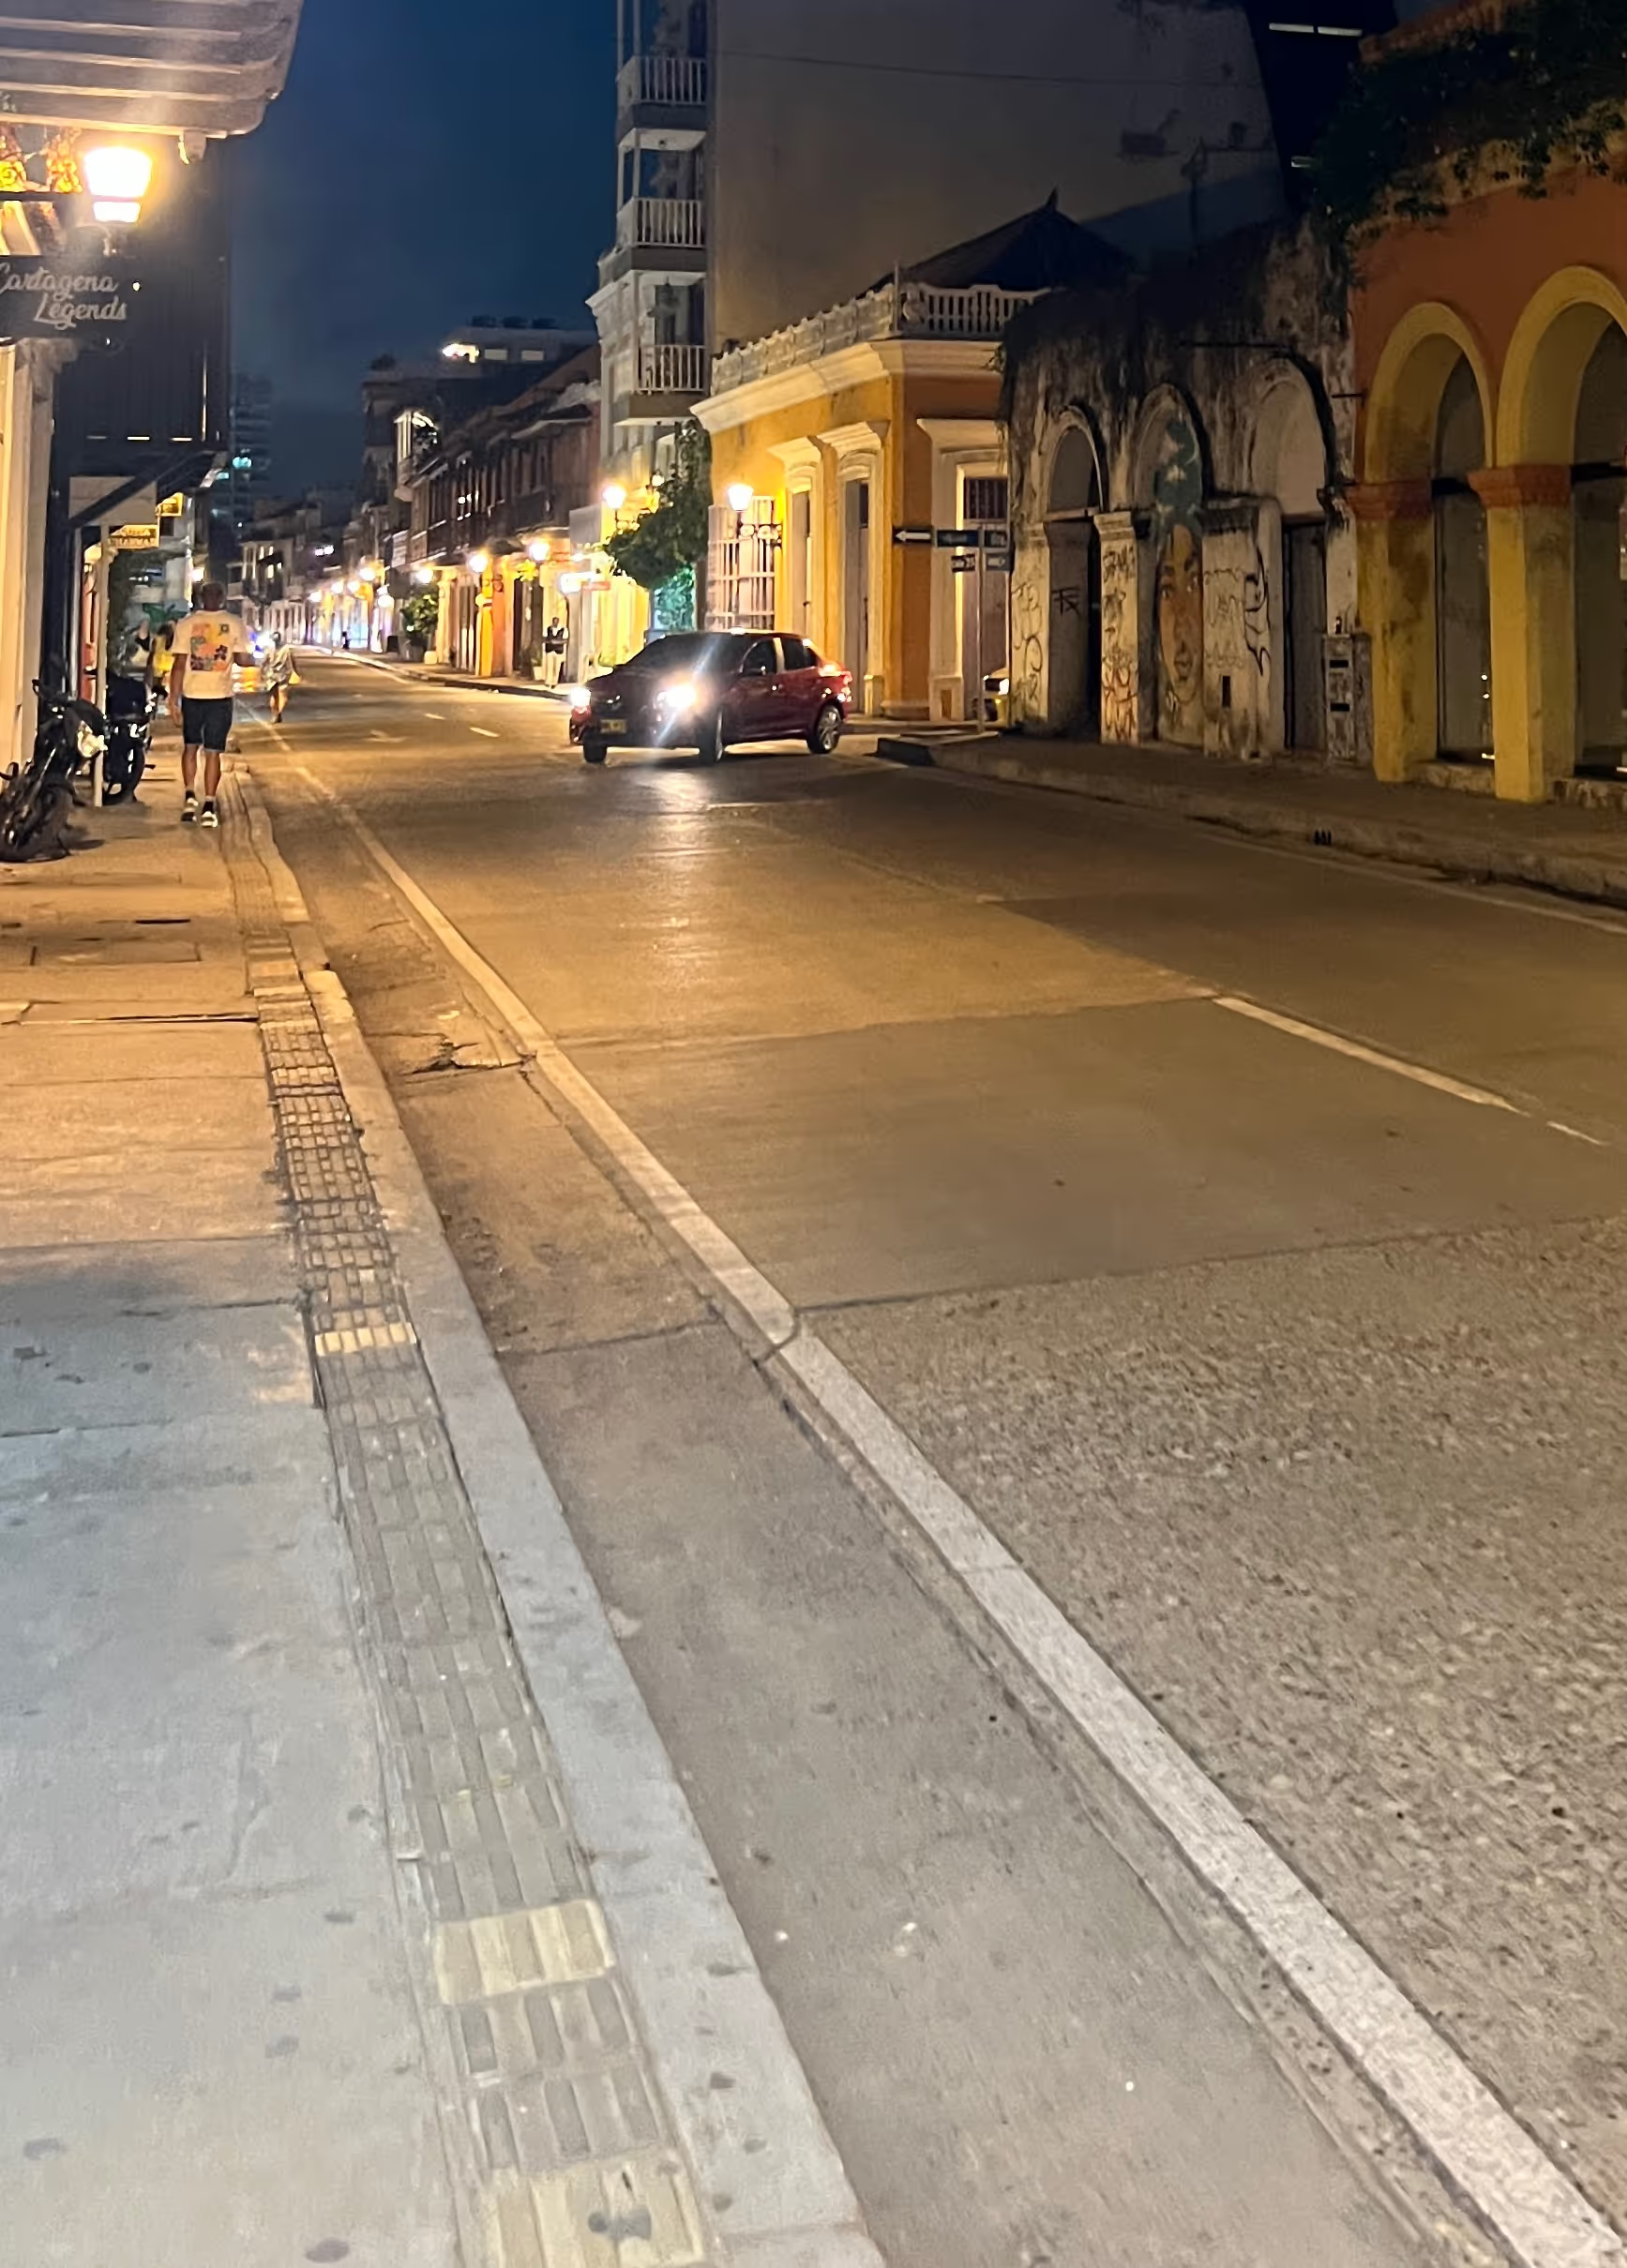
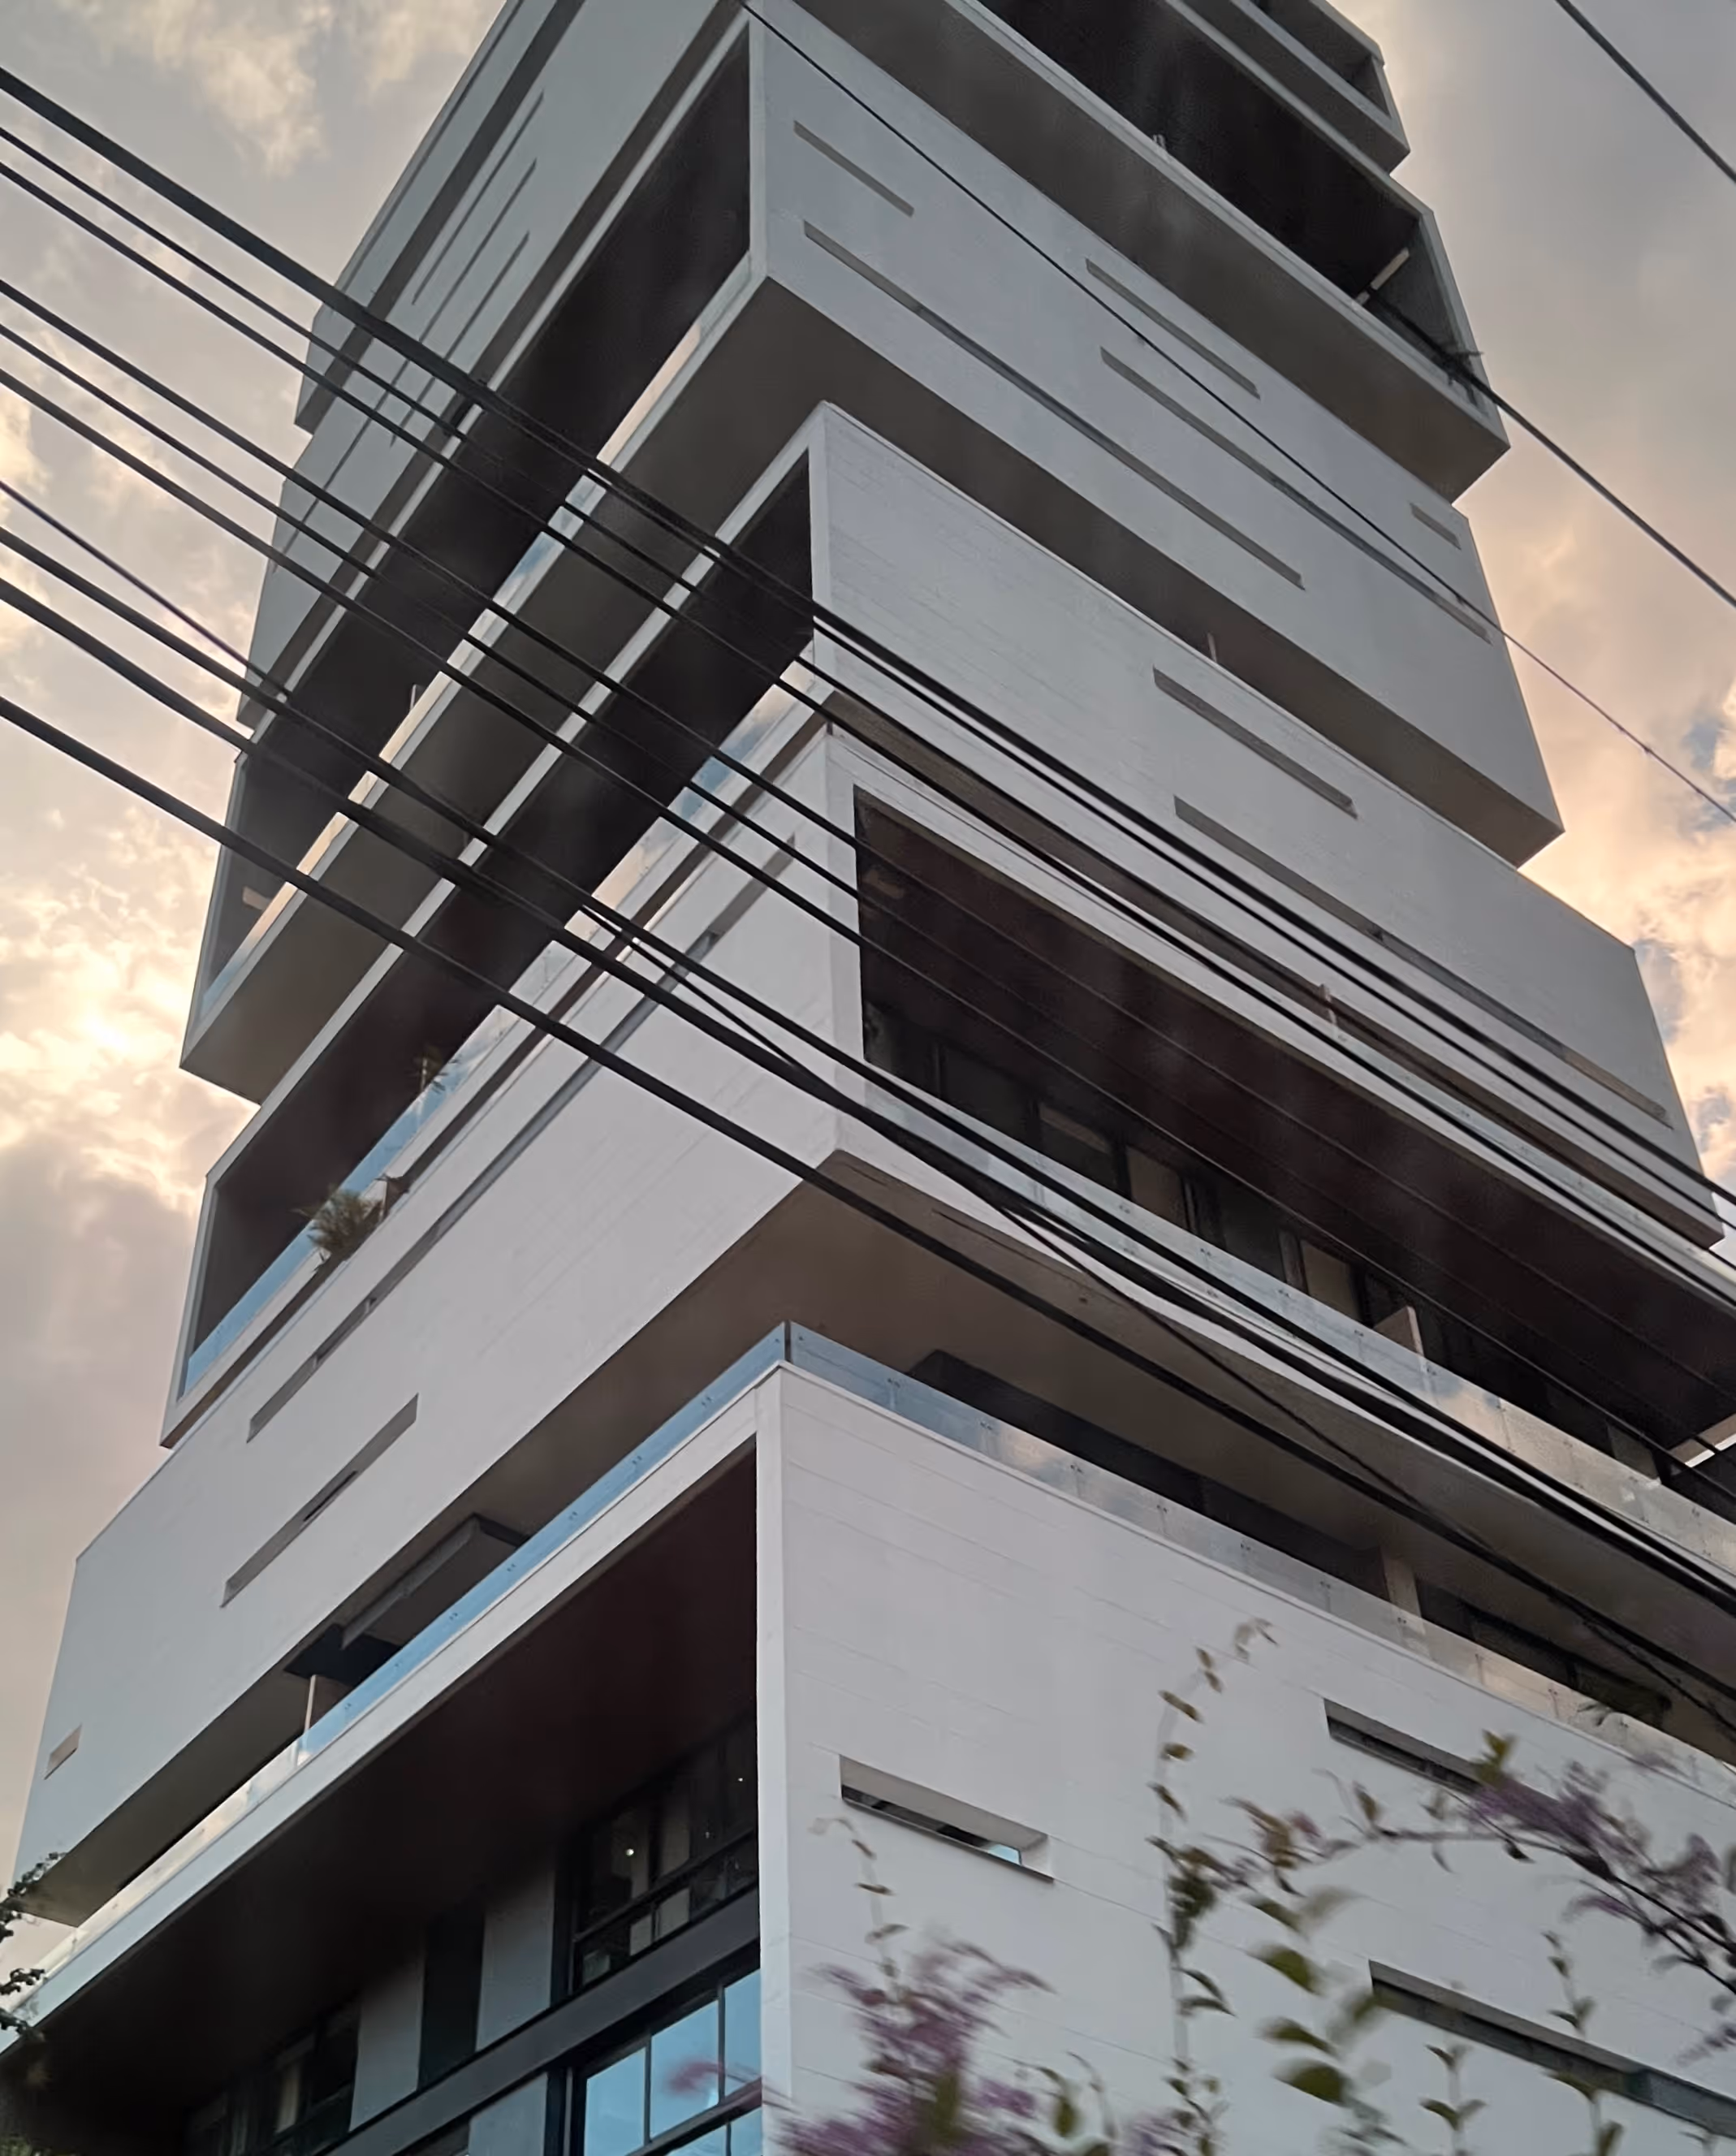
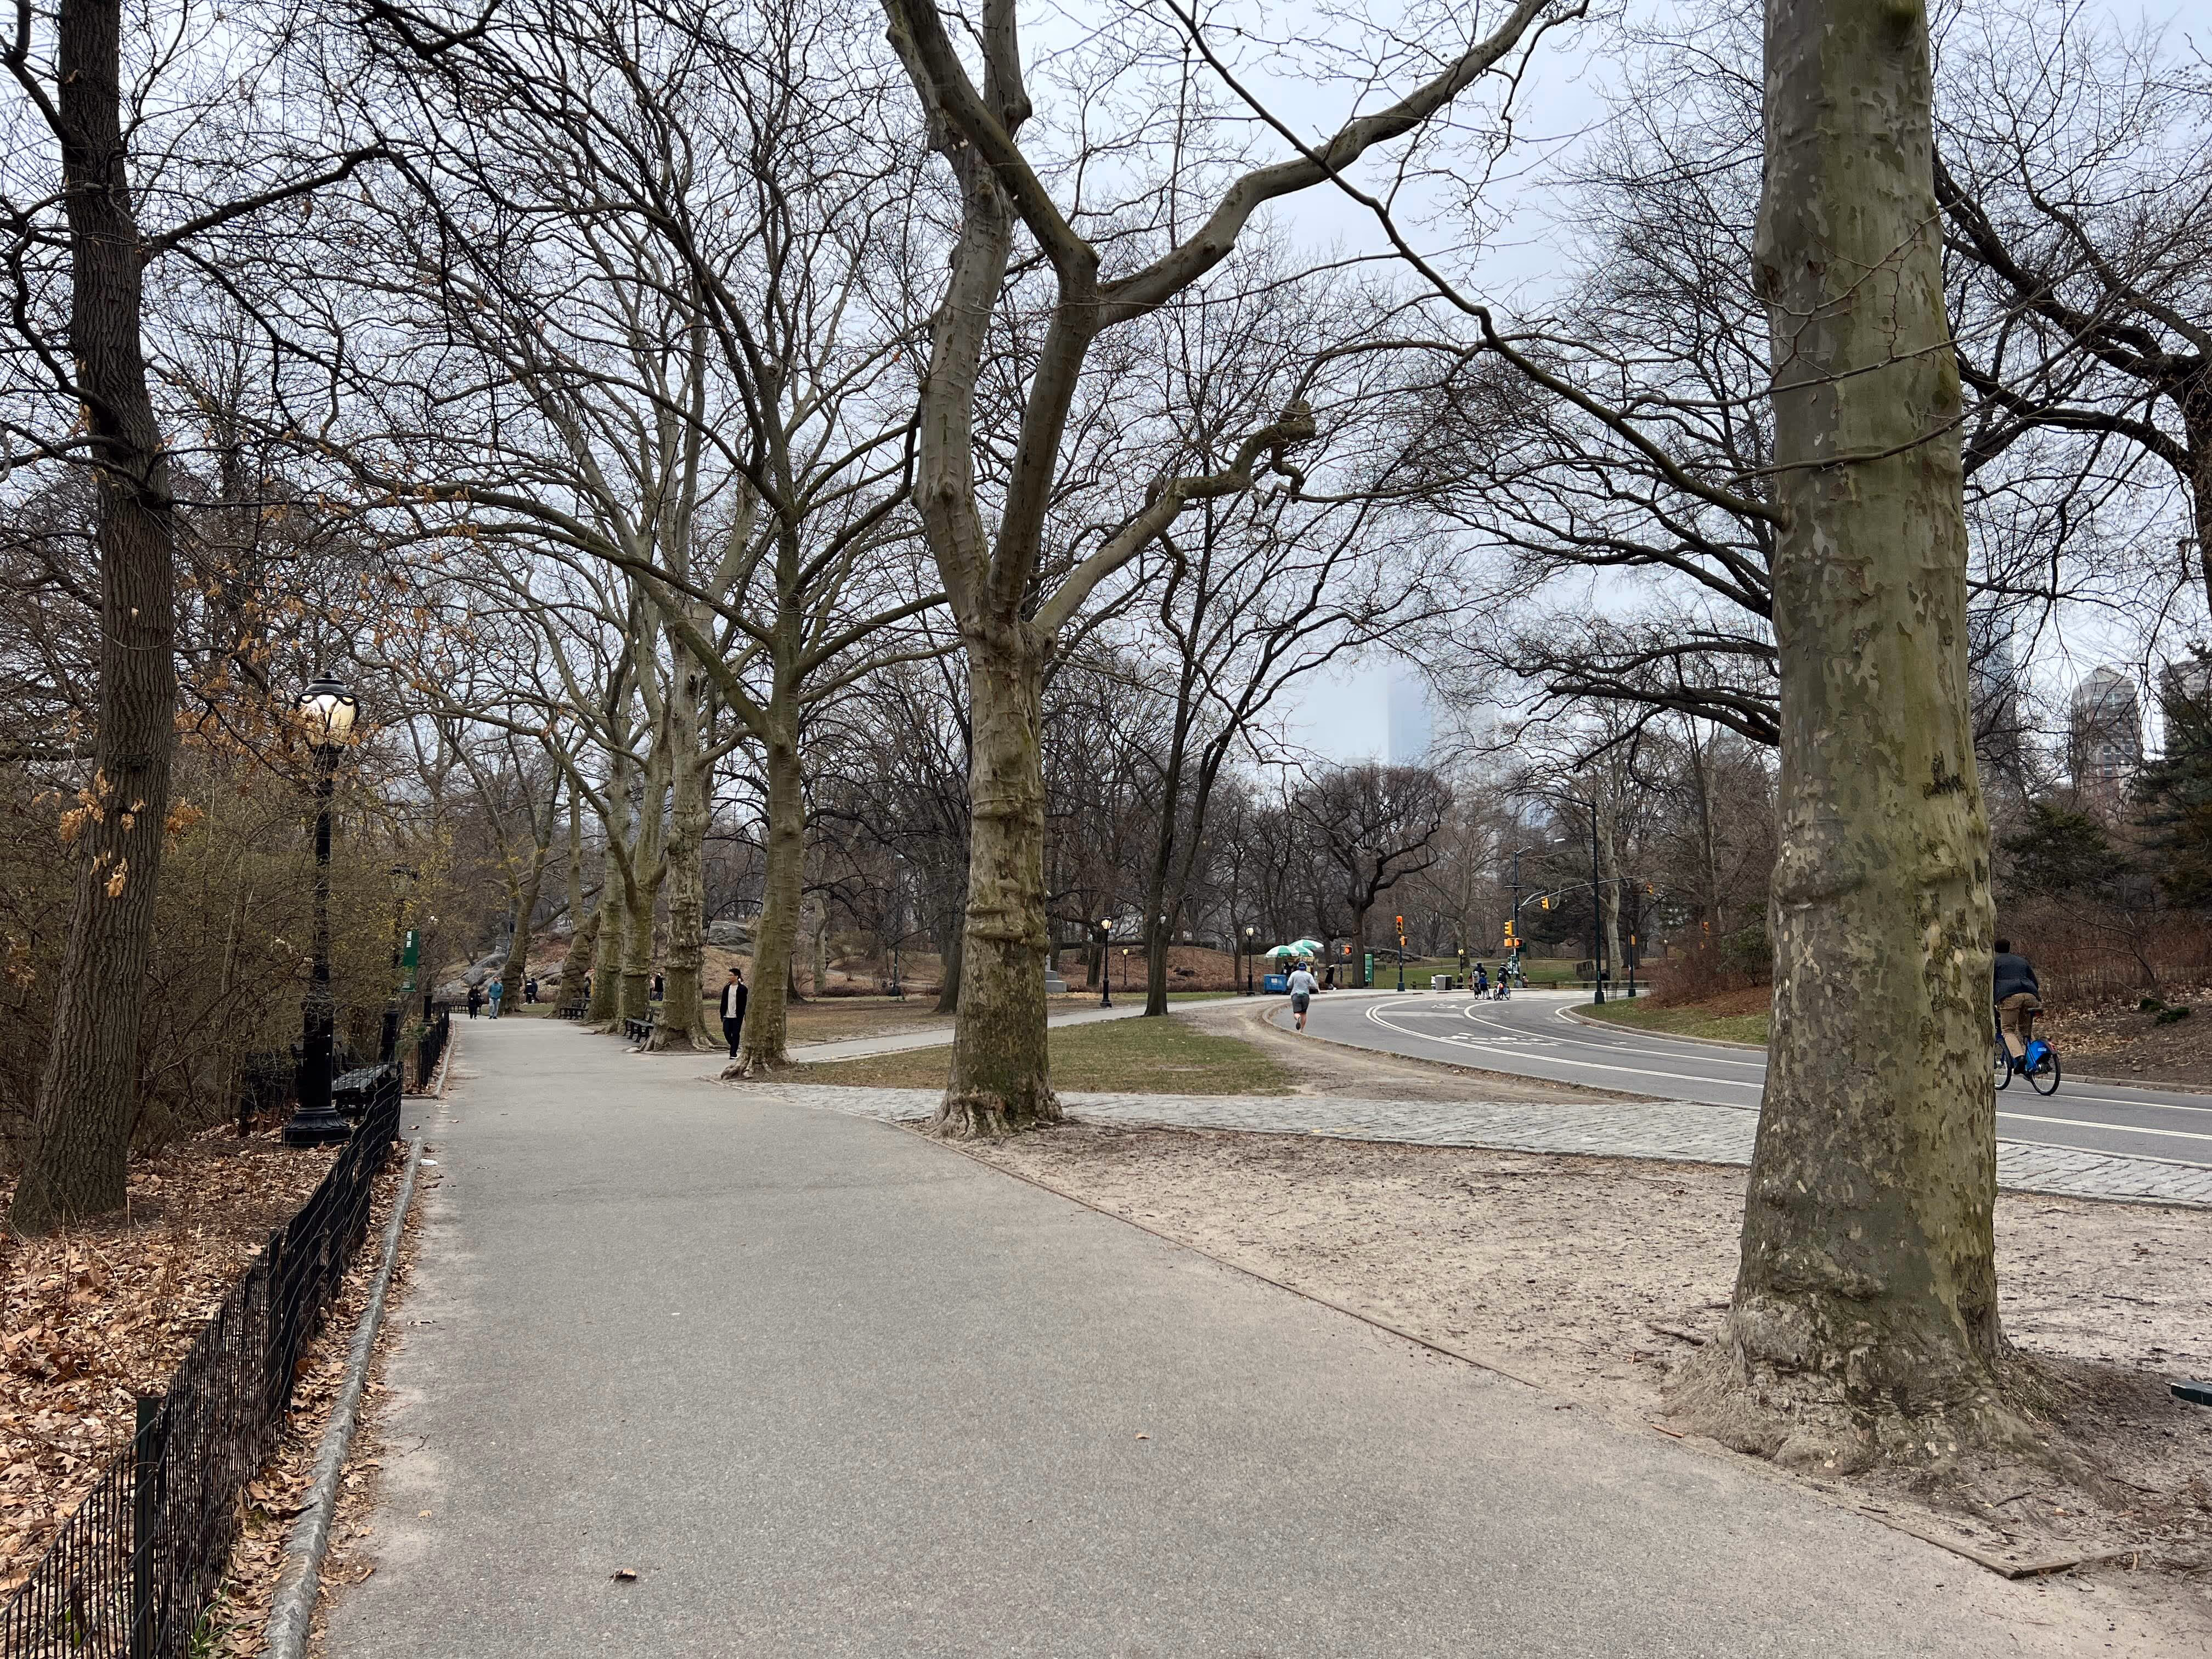
Home assignment: Start with a 10 minute timer and prepare for a 10 minute sketch - that's all you need. If you have extra time and can stay longer, great! But start with a do-able amount of time, and then extend. Your local cafe, your street, the view from your window - any of these can be beautiful, personal subject matter! Well, anything you draw will be personal. Just go do it!
The steps (mix up the "order of operations" to discover 6 different combinations!)
Start with watercolor and paint areas of local color
Add washes of black or blue to create areas of shadow
Draw details, define edges, add texture with black and white pen
The benefits of the process we practiced in class:
Allows you to combine watercolor and water-based pens without the pen bleeding
Made for those who struggle with color mixing
Practice using watercolor for what they’re made for (layering)
Let go of perfection, crisp lines, accurate shapes
Invite surprise, serendipity, and effortlessness into the process
Create the effect of aerial perspective by adding pen only in the foreground, and leaving only watercolor in the background.
Week 3:
To space objects evenly apart, follow the instructions below:
Watch this 30 second informational video
Week 2:
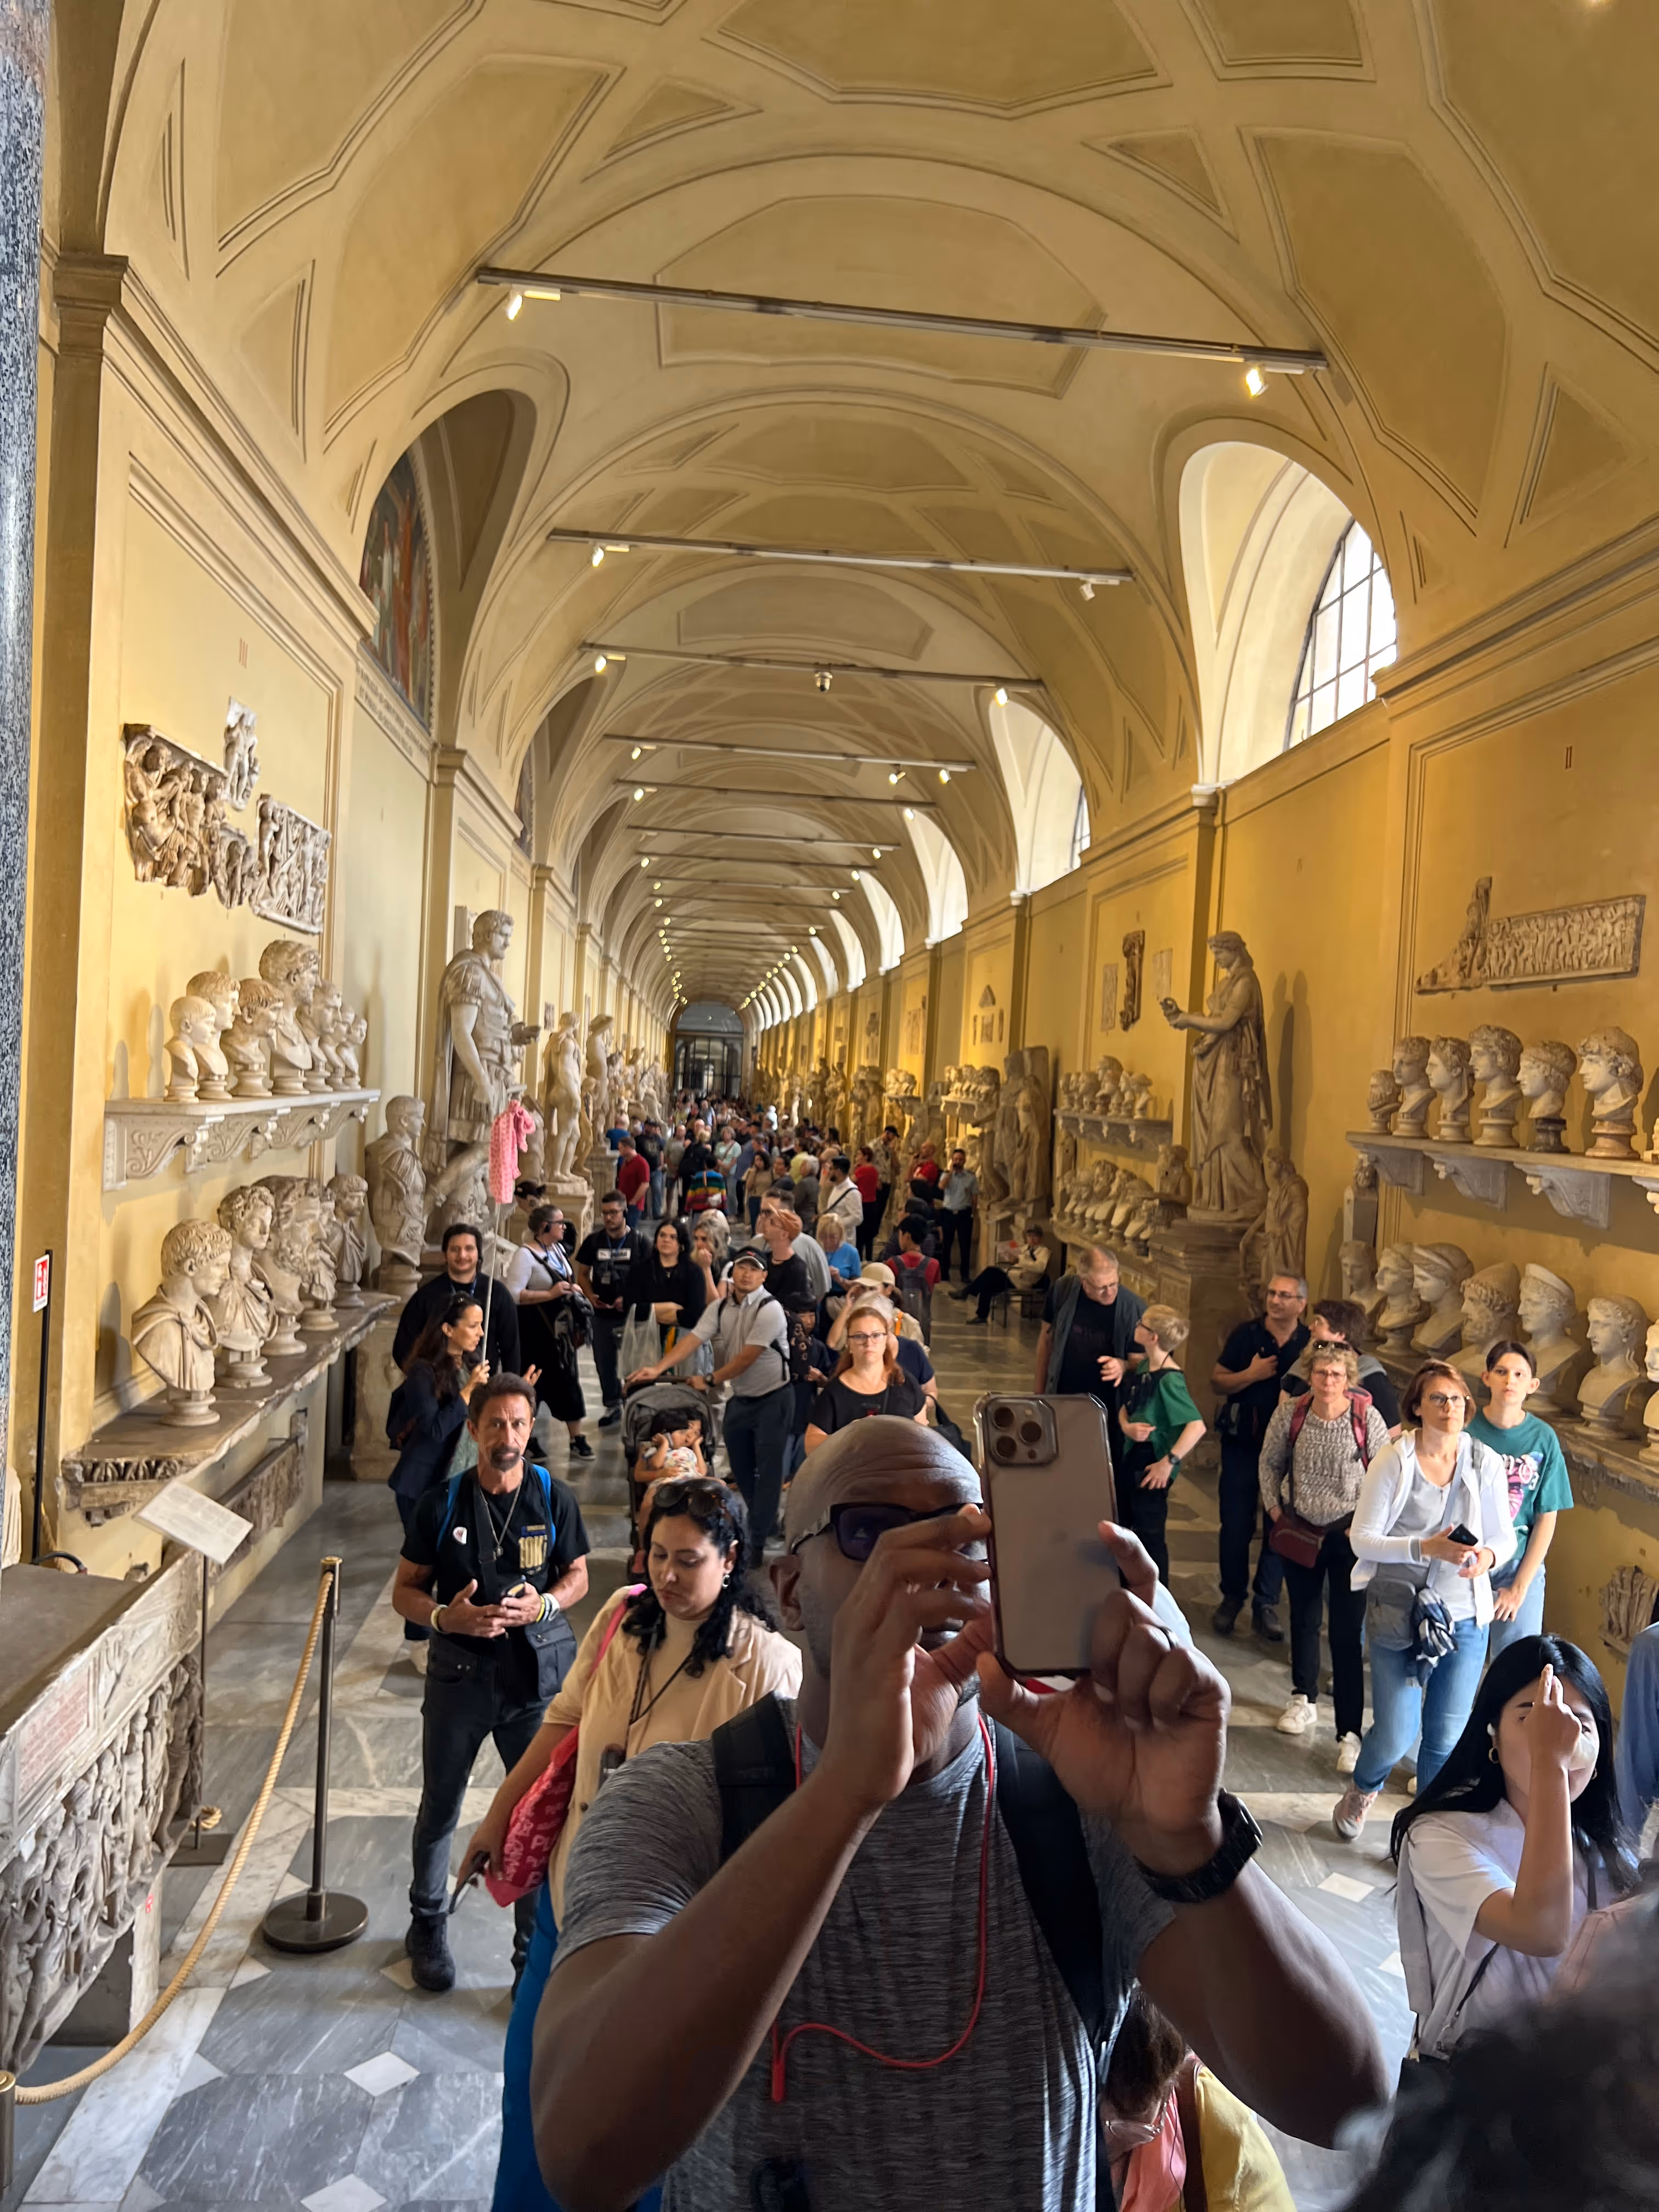
Want to quickly sketch figures? Use the "Carrot Method" - a suggestion of a person by creating a small circle for the head, a horizontal line for the shoulders, and scribbles for the height of the figure.
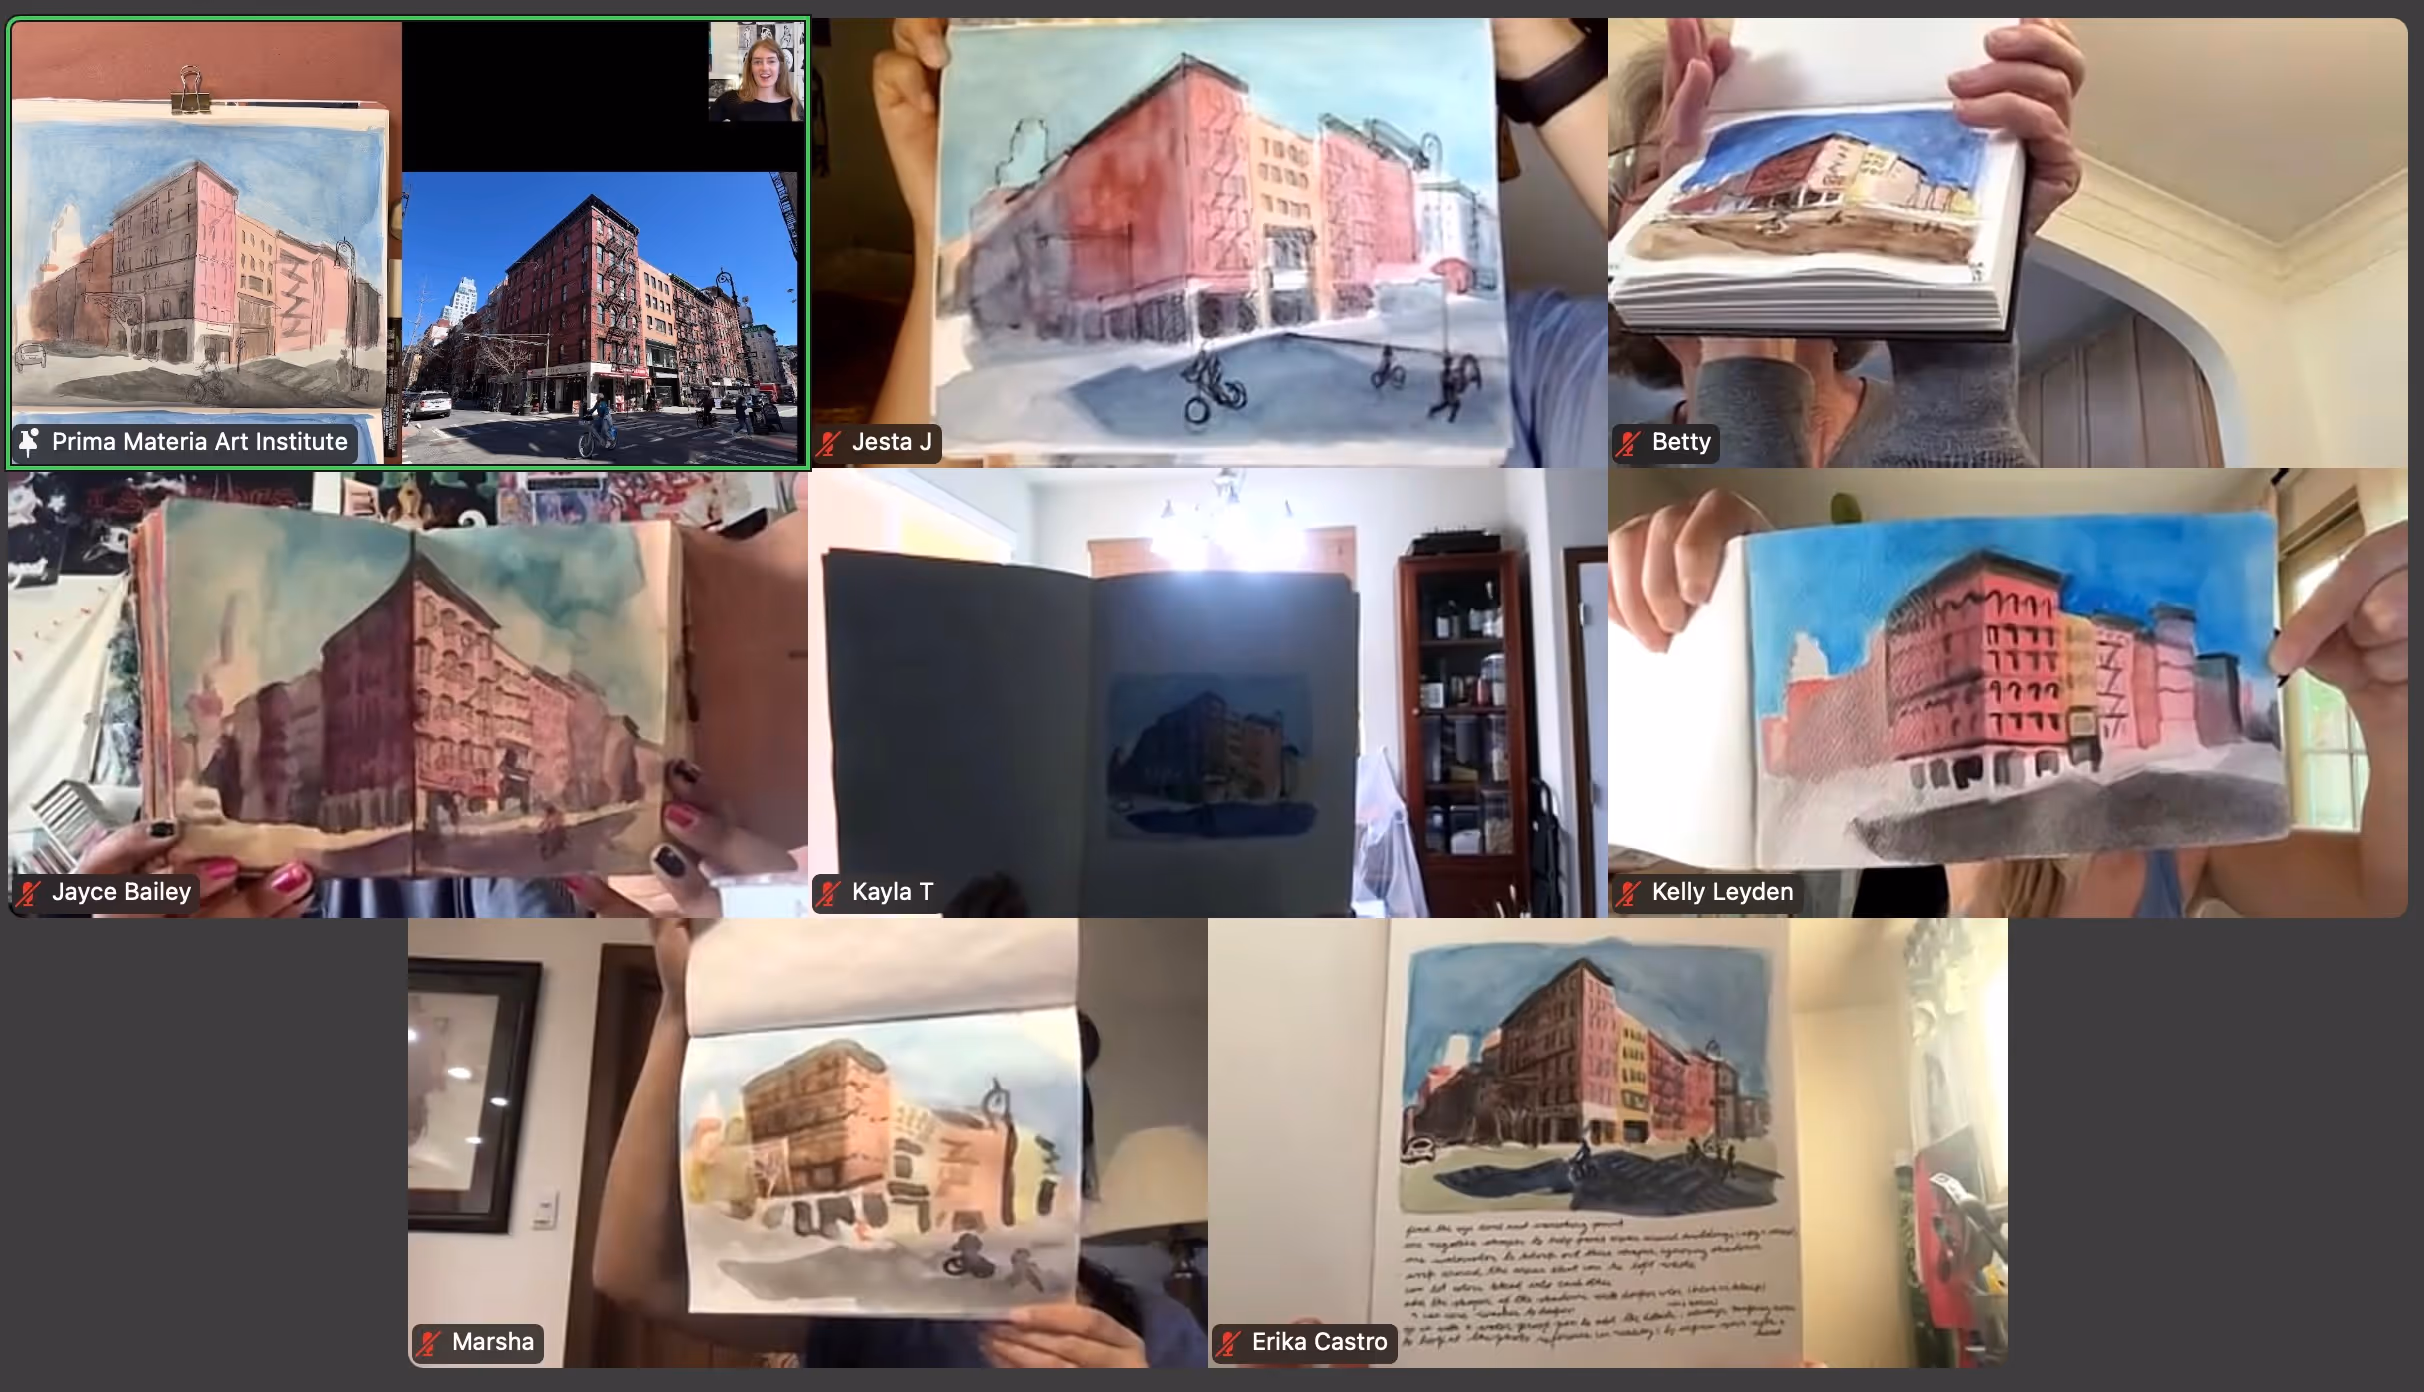
Want to add figures to a scene? You can base it on figures that already exist, or choose to make someone a different height. Add figures in perspective by connecting the top of the head and the bottom of the feet of a figure to the vanishing point(s) - any figure inside of the triangle will be the same height.
Week 1:
Terms:
PERSPECTIVE: Your point of view; optical distortion
PICTURE PLANE: the vertical two-dimensional imaginary surface that represents your potential drawing, painting, or photograph. Picture Plane is perpendicular to the Direction of Gaze.
DIRECTION OF GAZE(the Line of Sight, the Line of Vision): points directly to the Vanishing Point.
THE HORIZON: your eye level. In a photograph or drawing or painting, it is the camera’s or the artist’s eye level.
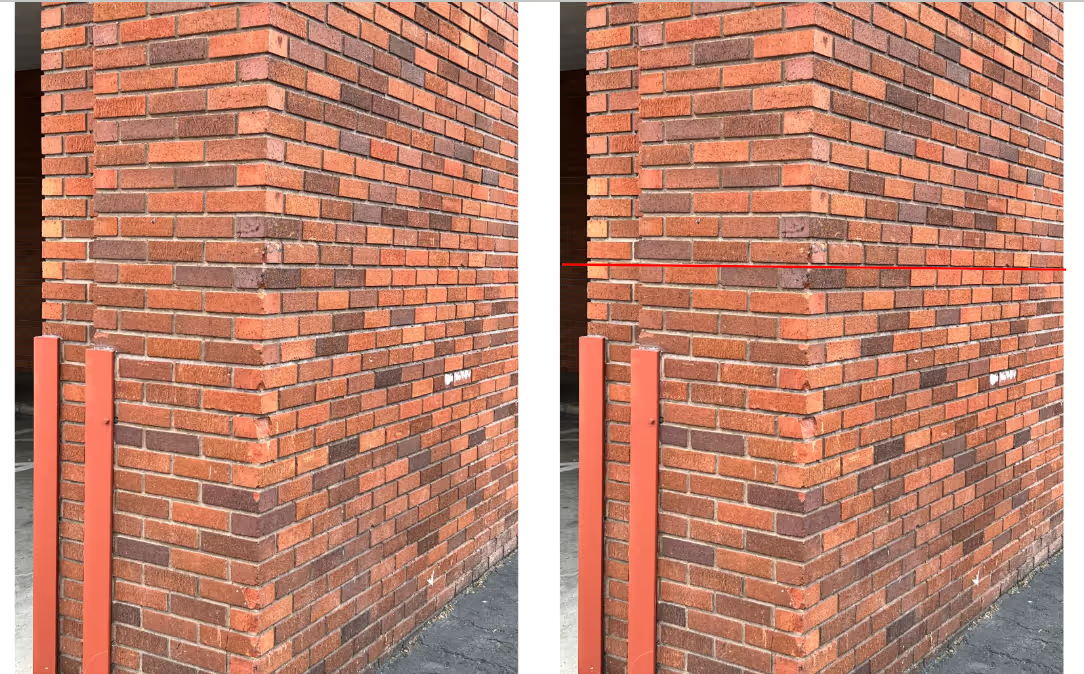
Ways to find your eye level in real life:
The level of the ocean
Using a clear glass with water in front of your eyes
Mark your eye level on a vertical surface
Ways to find the eye level in a photo reference (you could also use these methods in real life)
Use a horizontal ruler to find the horizontal line that goes through your entire picture
Extend the distorted surfaces of buildings with a straight line until those lines begin to intersect with one another
The most important perspective-related things to remember when Urban Sketching:
Above your eye level, distorted edges appear to be coming down (towards your eye level)
Below your eye level, distorted edges appear to be coming up (towards your eye level)
At your eye level, distorted edges appear to be a straight horizontal line.
The further the distorted edges of the buildings are from your eye level, the more distorted they appear. The closer to the eye level, the less distorted those edges appear.
Artist Examples
Want a closer look? Right-click and open in a new tab to view.
Links & Other Helpful Resources
Bricks reveal your eye level - 90 degrees becomes 180 degrees at your eye level!