🎉 BOGO Summer Sale: Buy Any Eligible Course, Choose Another FREE!
Your free course will be added to your account within 24 hours. Contact us after purchase to choose your complimentary course.
Member's schedule
Log In


Right-click and open in a new tab to enlarge and print.
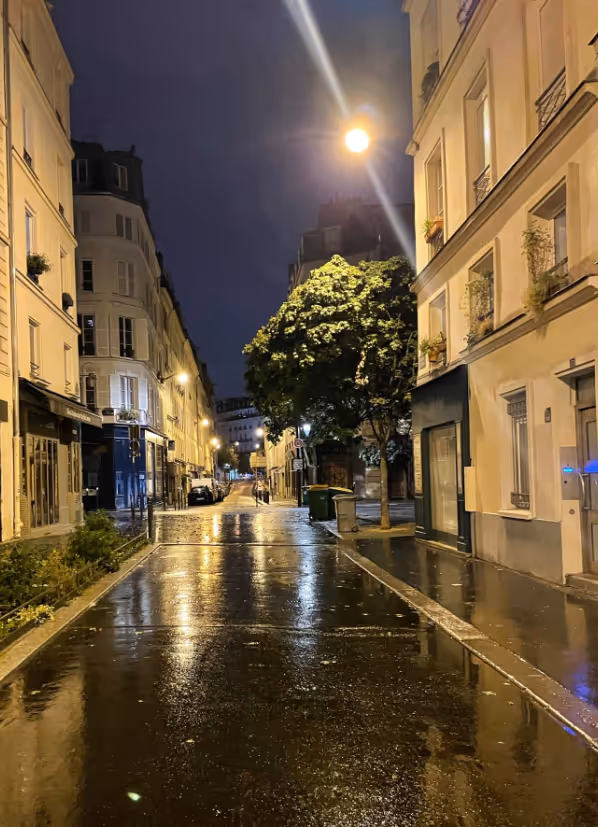
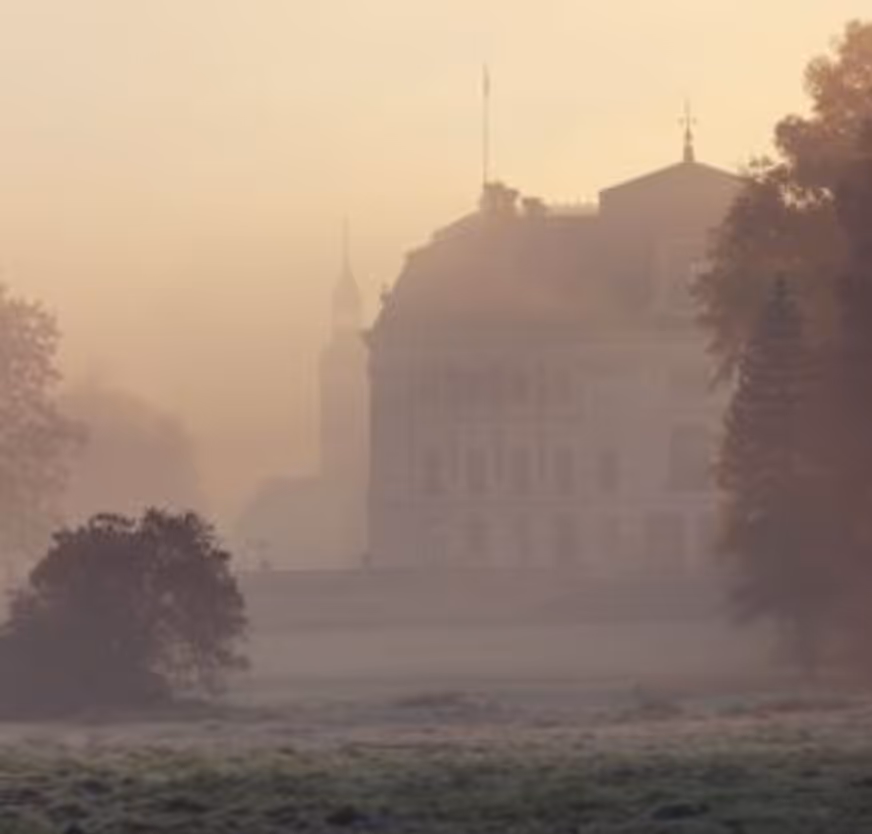
Practice painting an evening scene from observation. Keep in mind that the evening time changes the most in a short period. Be prepared to sketch very quickly!
The 4 techniques from class:
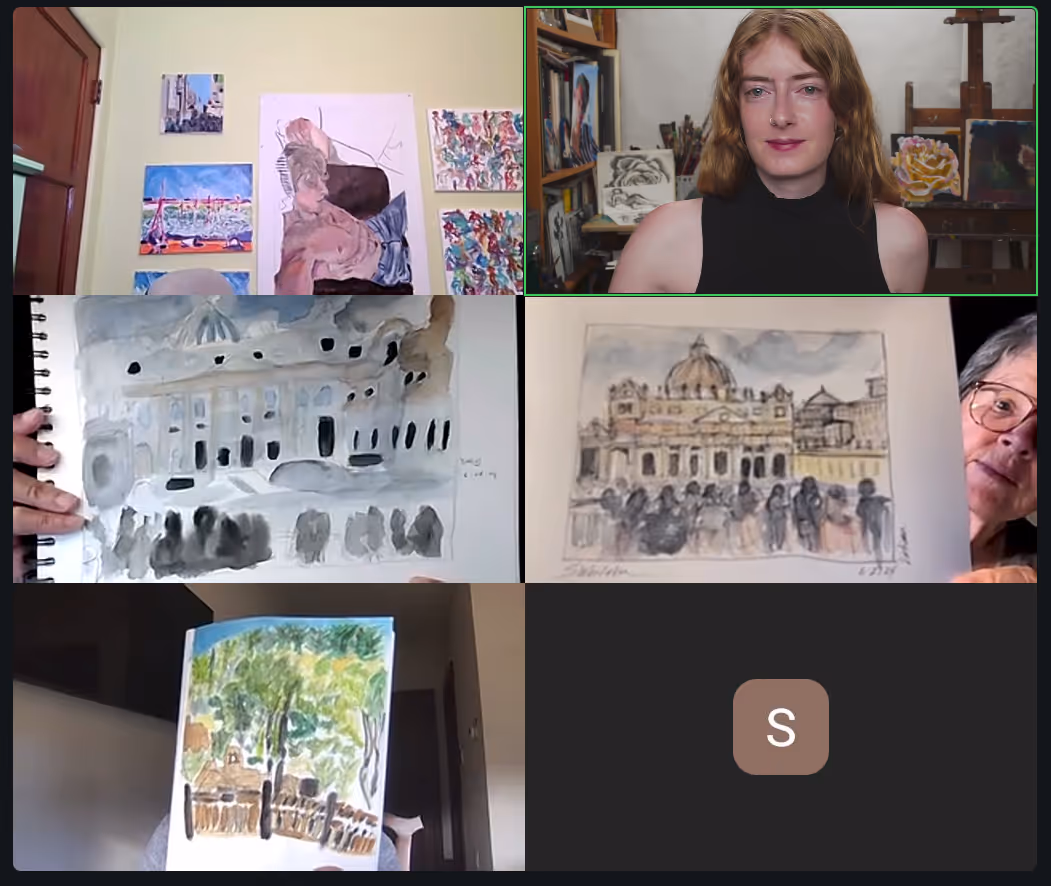
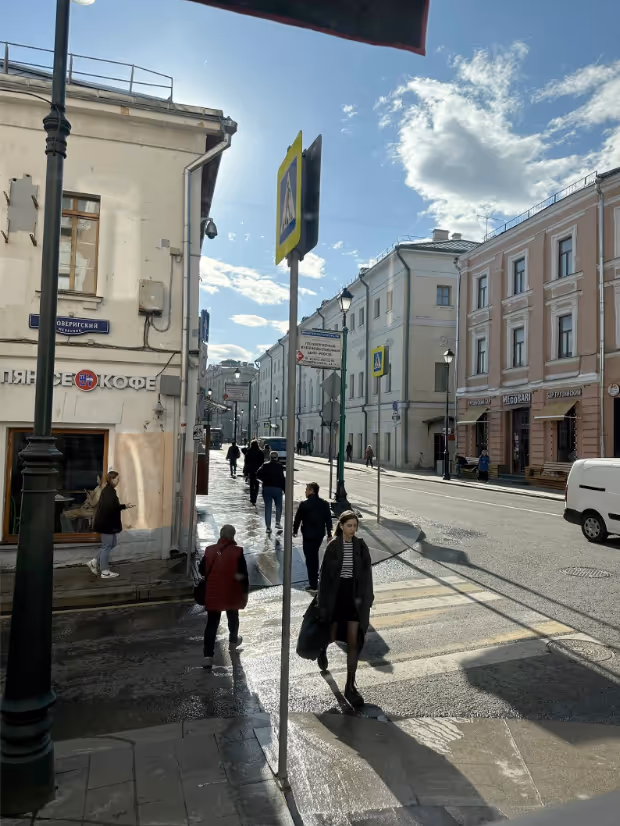
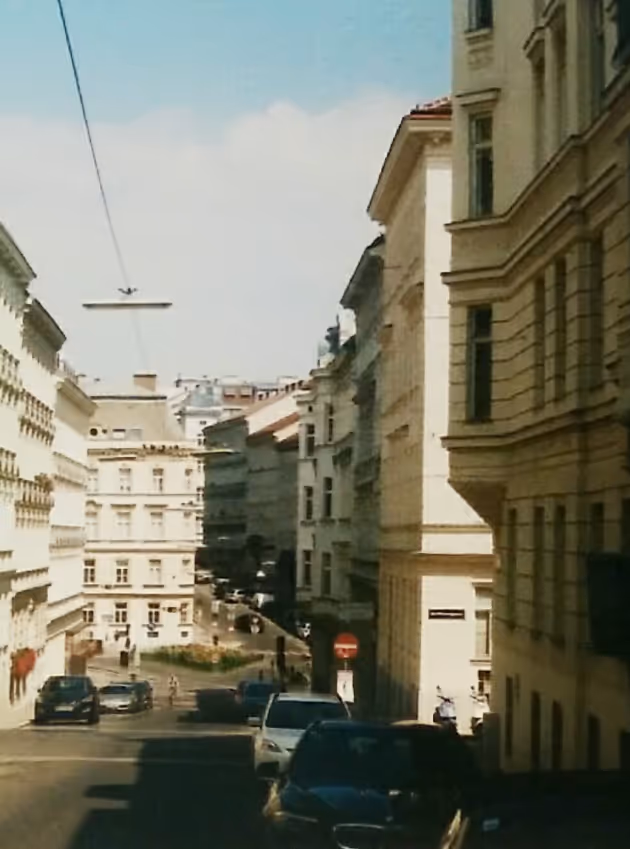
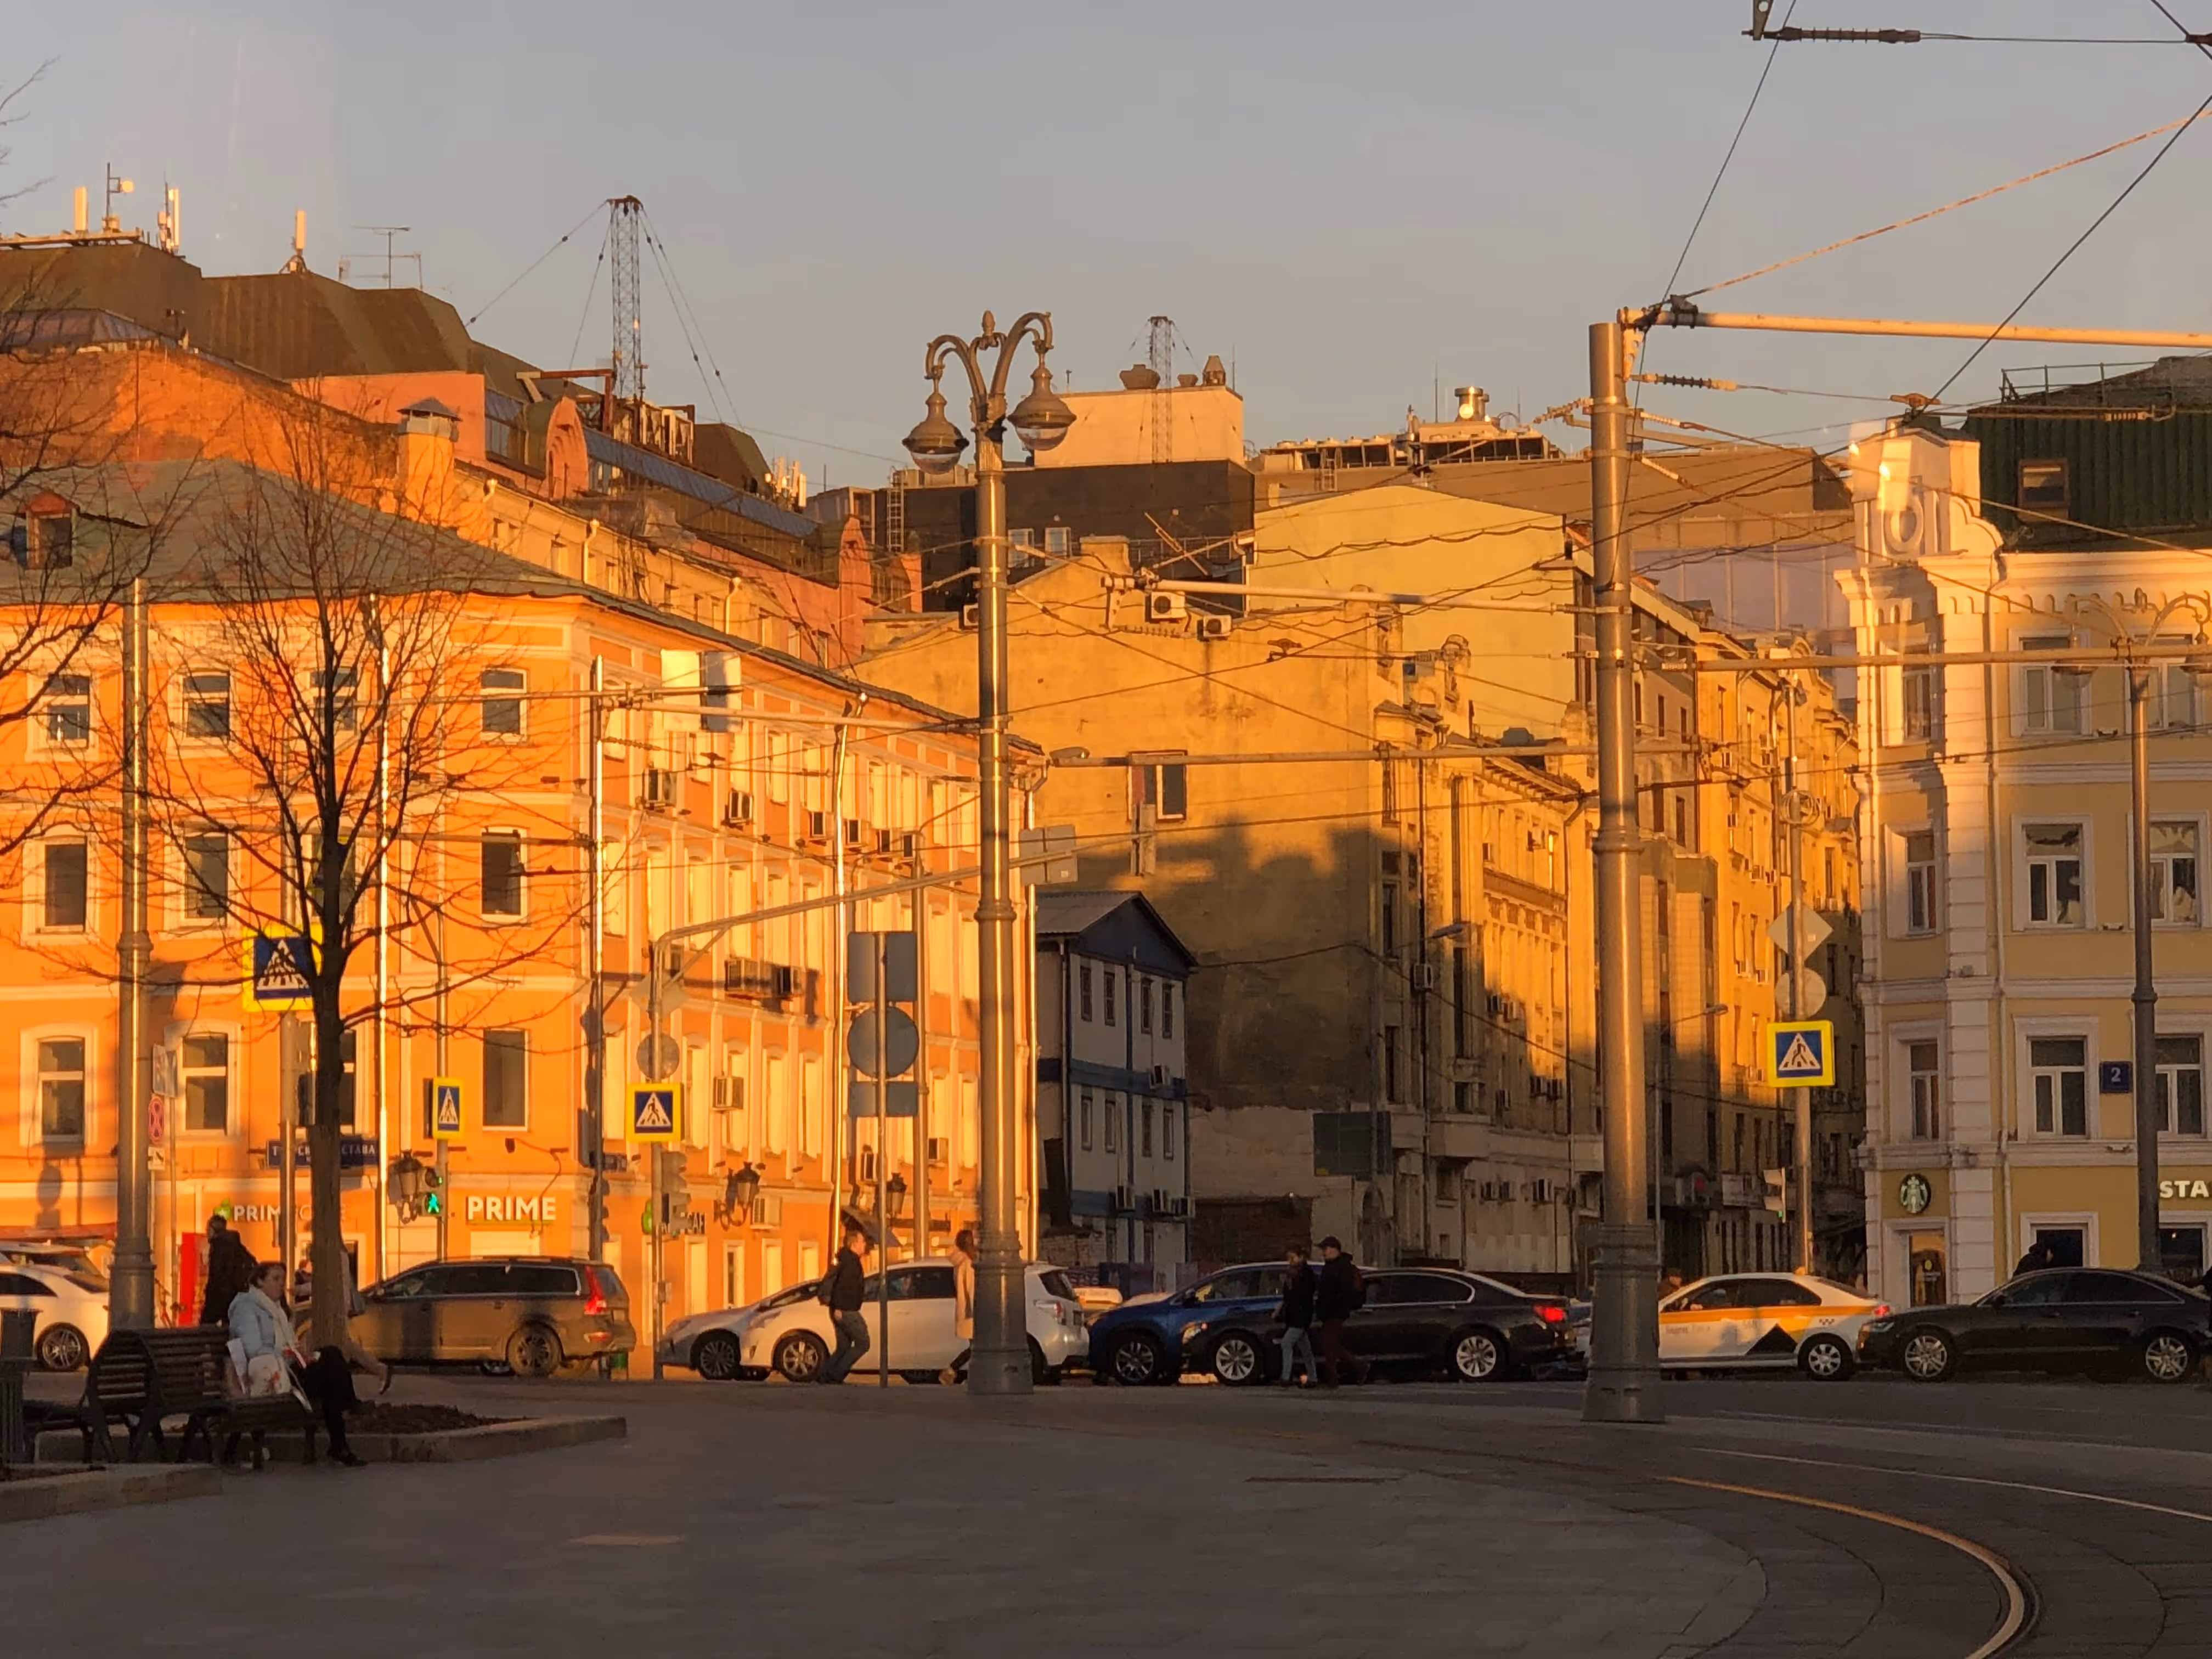
Sketch a daytime scene from observation. Midday is probably the most convenient time to urban sketch, when the city is wide awake and bustling.
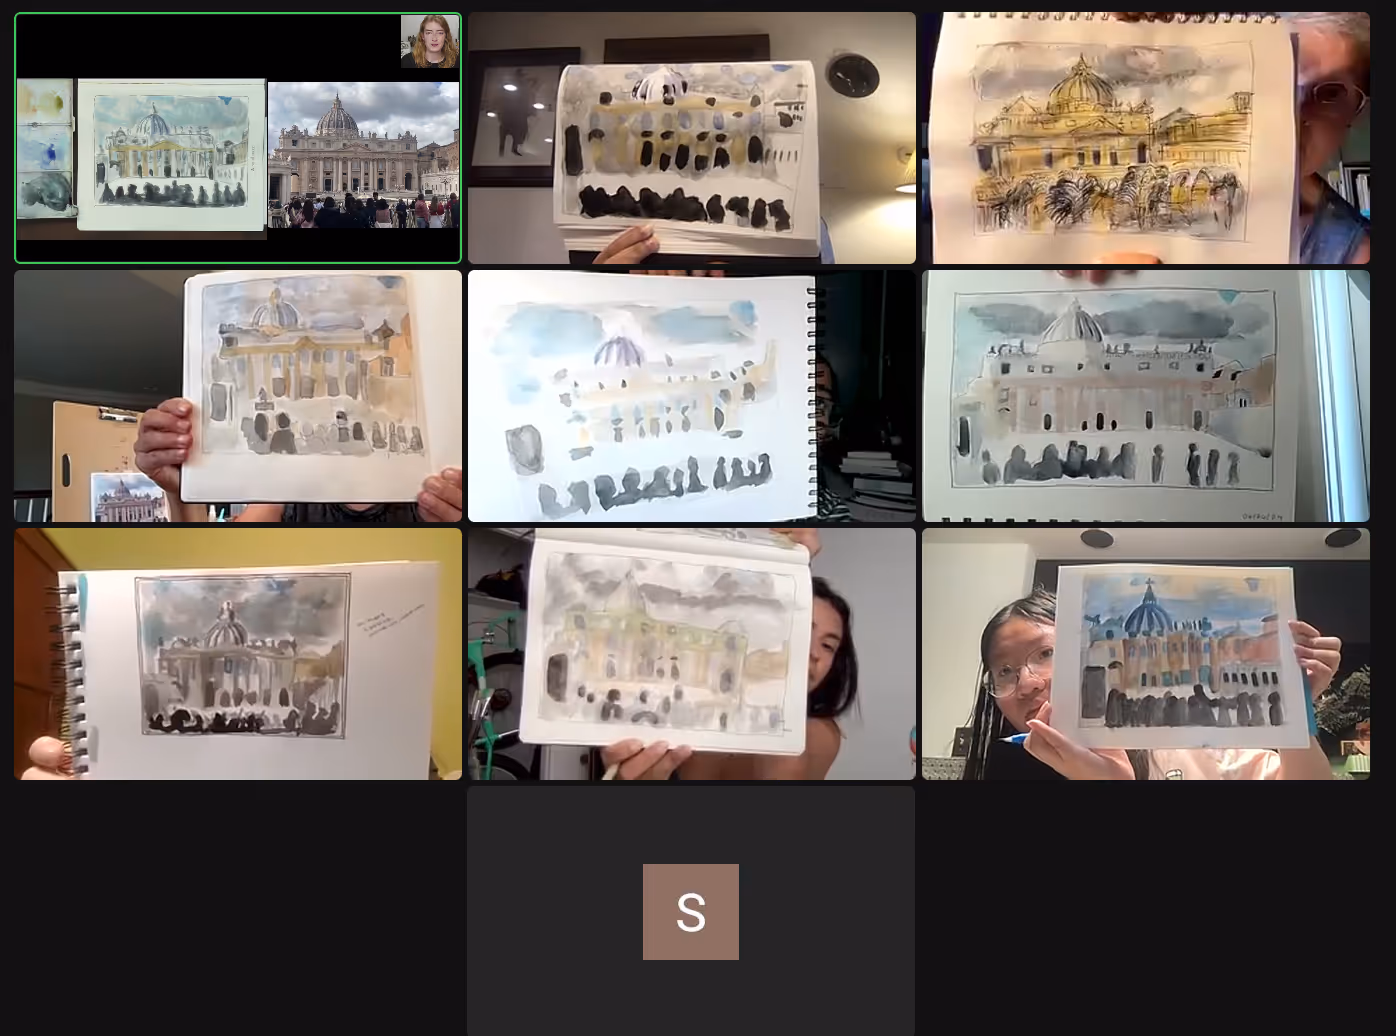
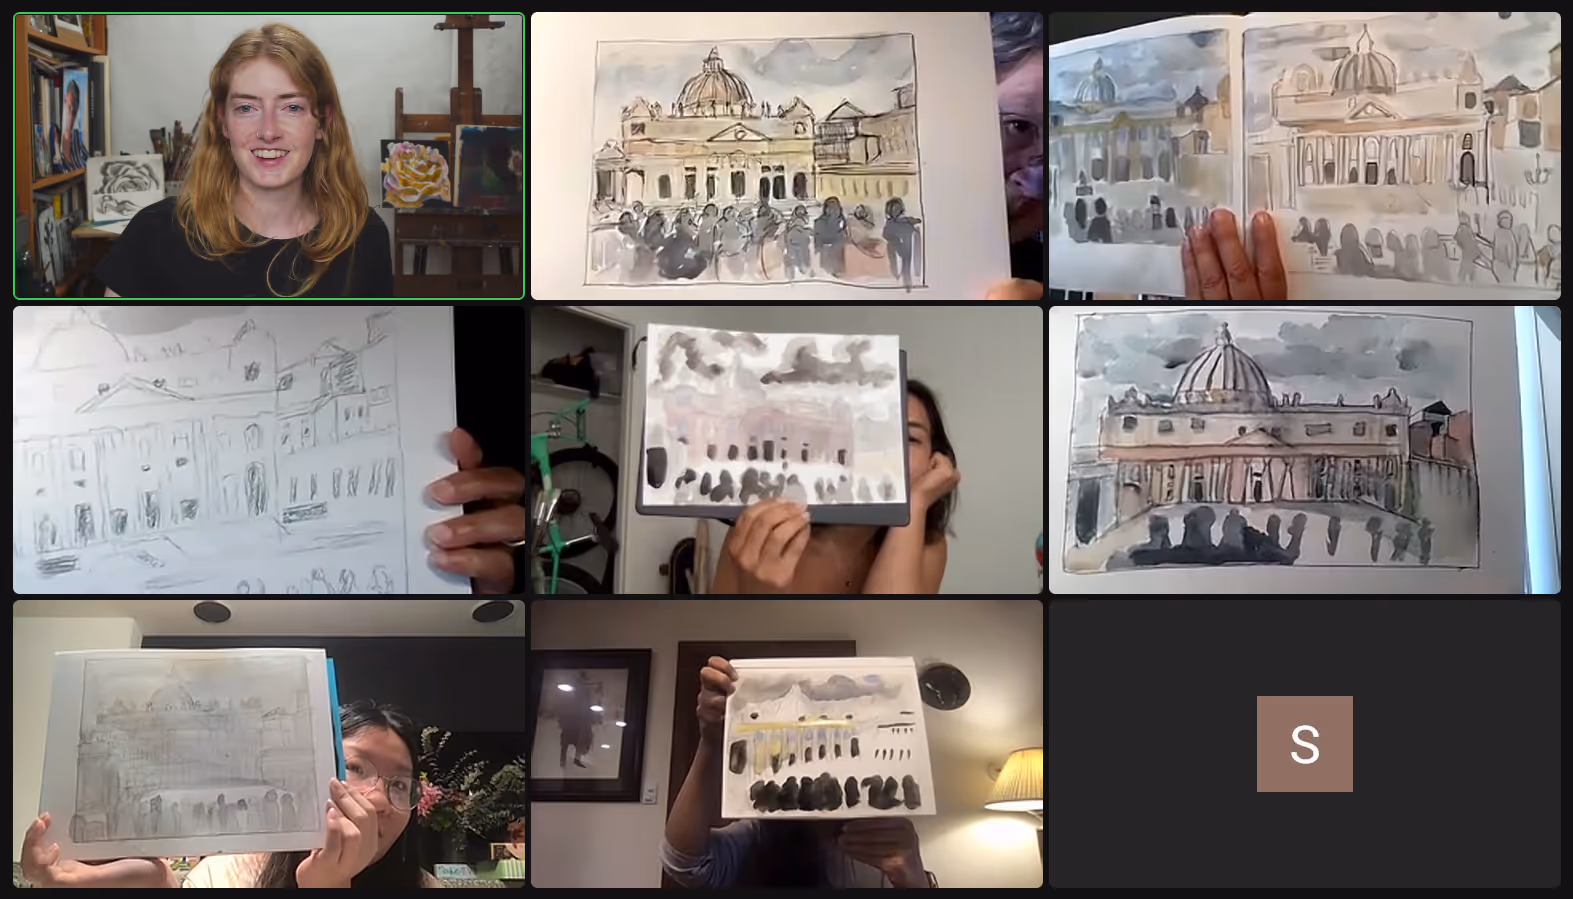
This would be anytime between around 10am - 4pm. This could change depending on where you are. As long as the sun is high in the sky, you'll see the intensity of the shadows. Remember that to express a midday scene, it's all about contrast! Use black pigment to its fullest potential. Squint often to see the difference between tones of illuminated areas and areas in the shadow.
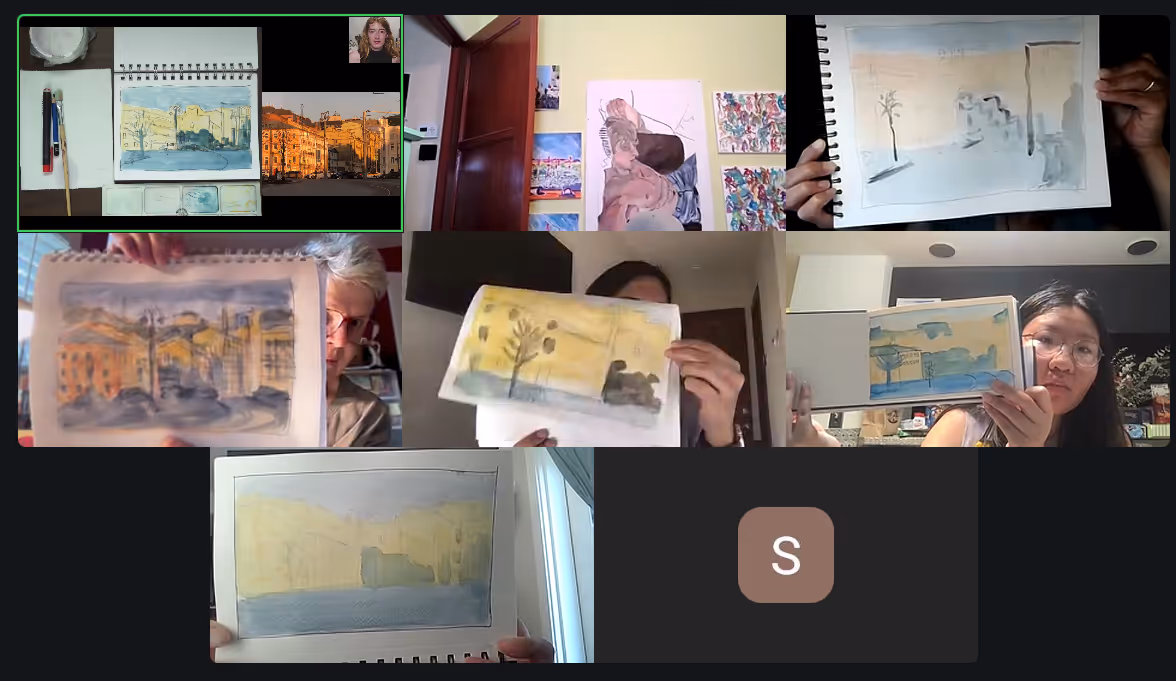
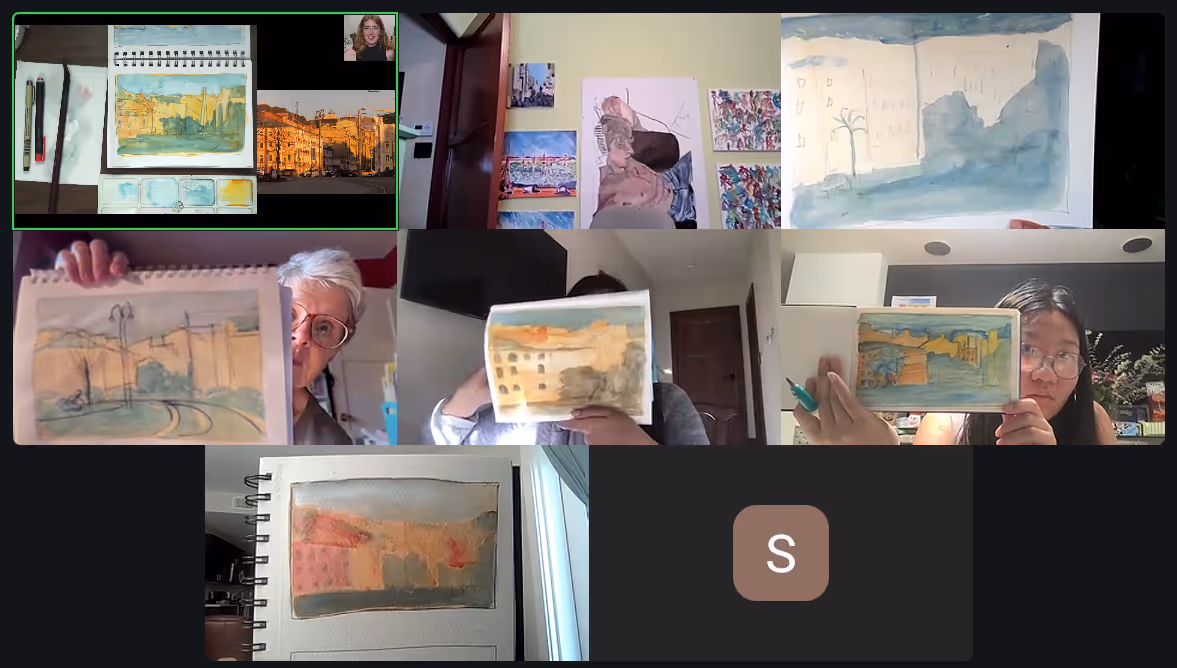
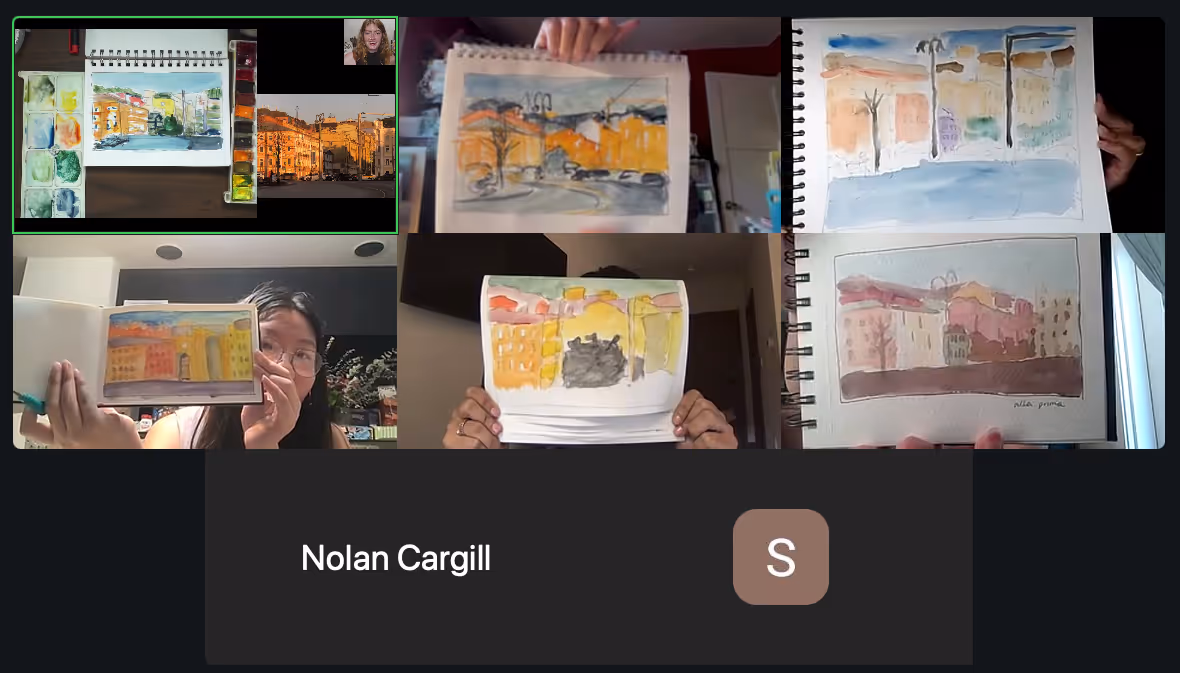
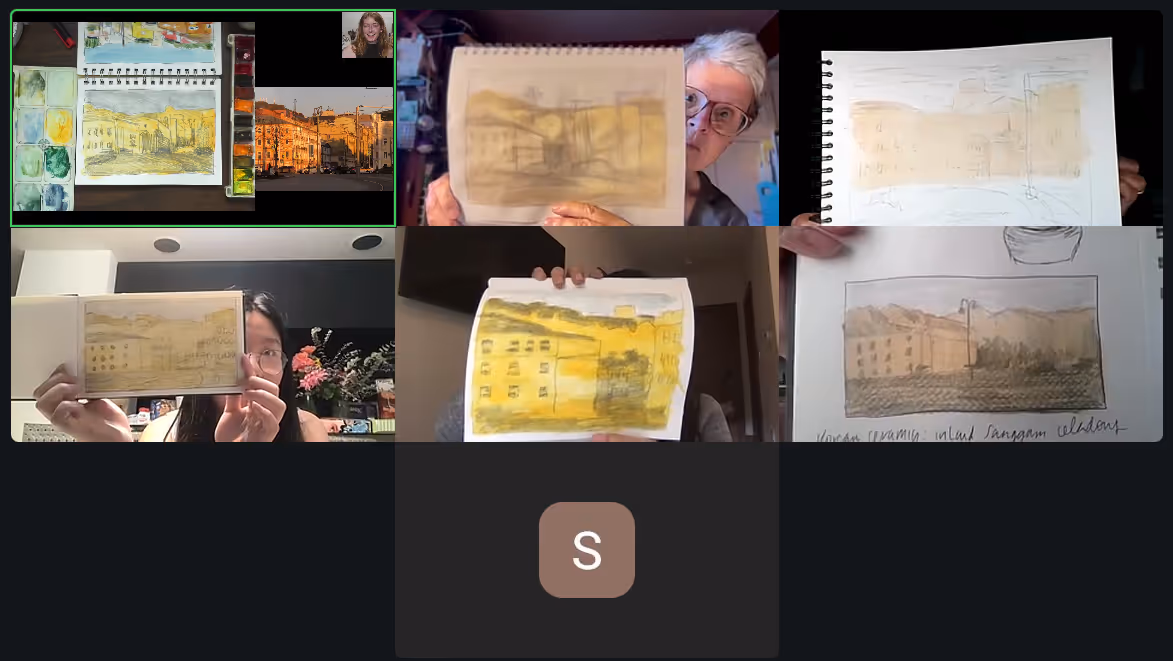
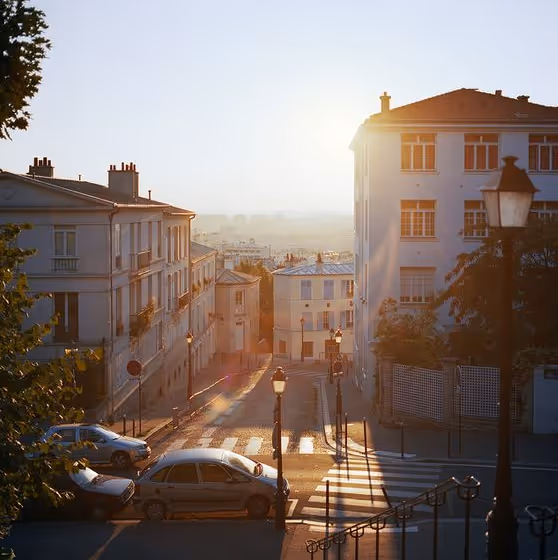
Sketch an early morning scene from observation.
The best time would be between 6am and 10am. Start with sketching with pencil the areas that don't move (the silhouettes of buildings, general shapes of plants, etc), then add the color and tone. The color and shadows will change over the course of your time drawing and painting. It may move subtly if you draw quickly, or dramatically if you draw slowly. If your light changes, you'll need to decide to either keep the shadows as you have them on your drawing (even if it doesn't coincide with what you see at that moment), or adjust your drawing to the new appearance of light and shadow.
Take the mentality of letting loose and being free that you developed in class, out into the real world, as you sketch from observation. Have fun!
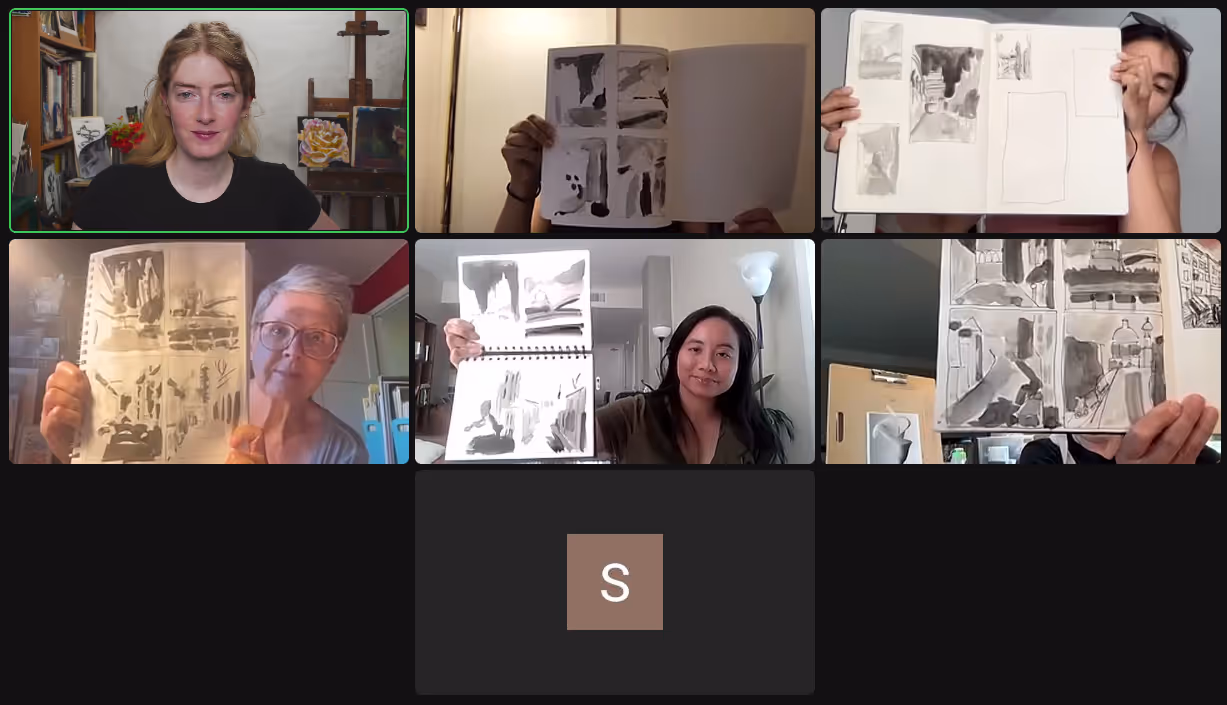
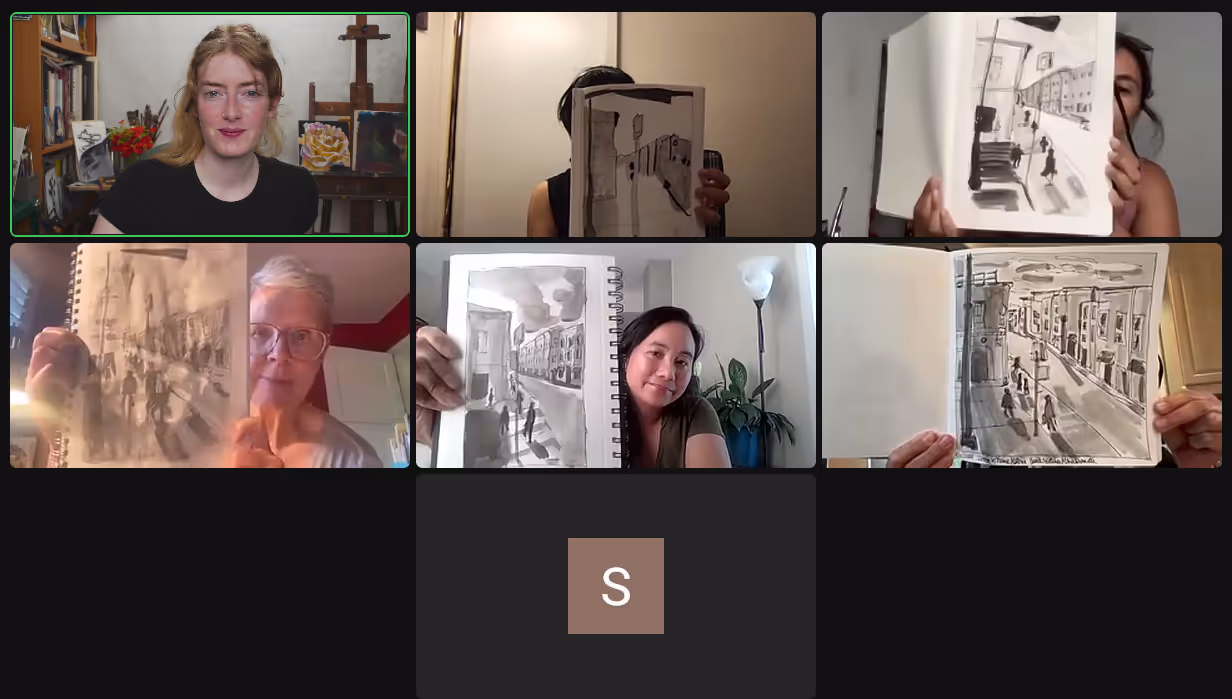
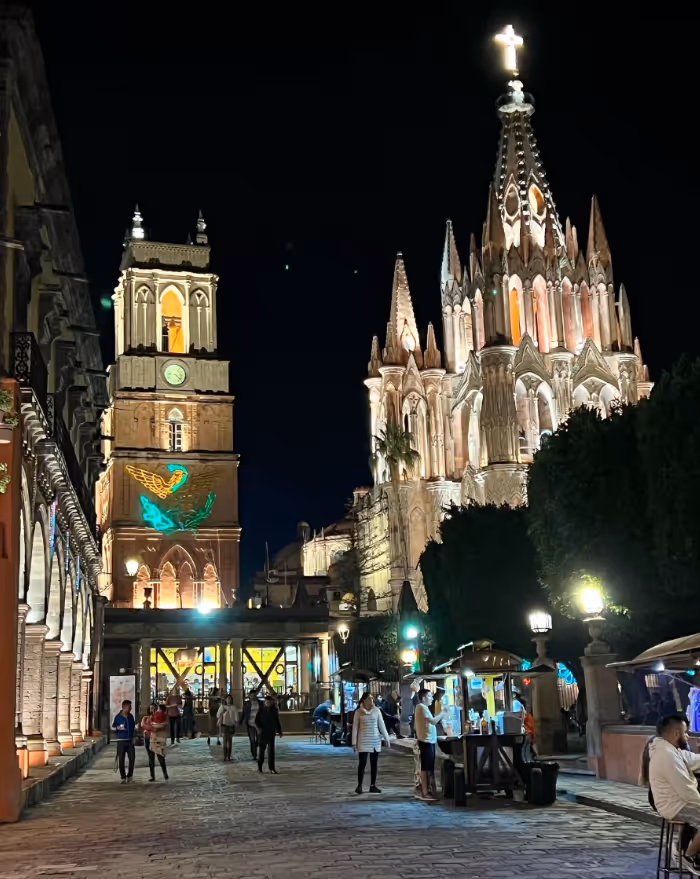
Sketch a scene from life with monochromatic washes and pen. Create 2 washes: grey and black. When applying your washes, leave as little white paper as possible. If white paper remains between your areas of washes, that's fine. But try to cover as much white as possible, leaving it only where it's the lightest (light sources, super illuminated areas, etc.)
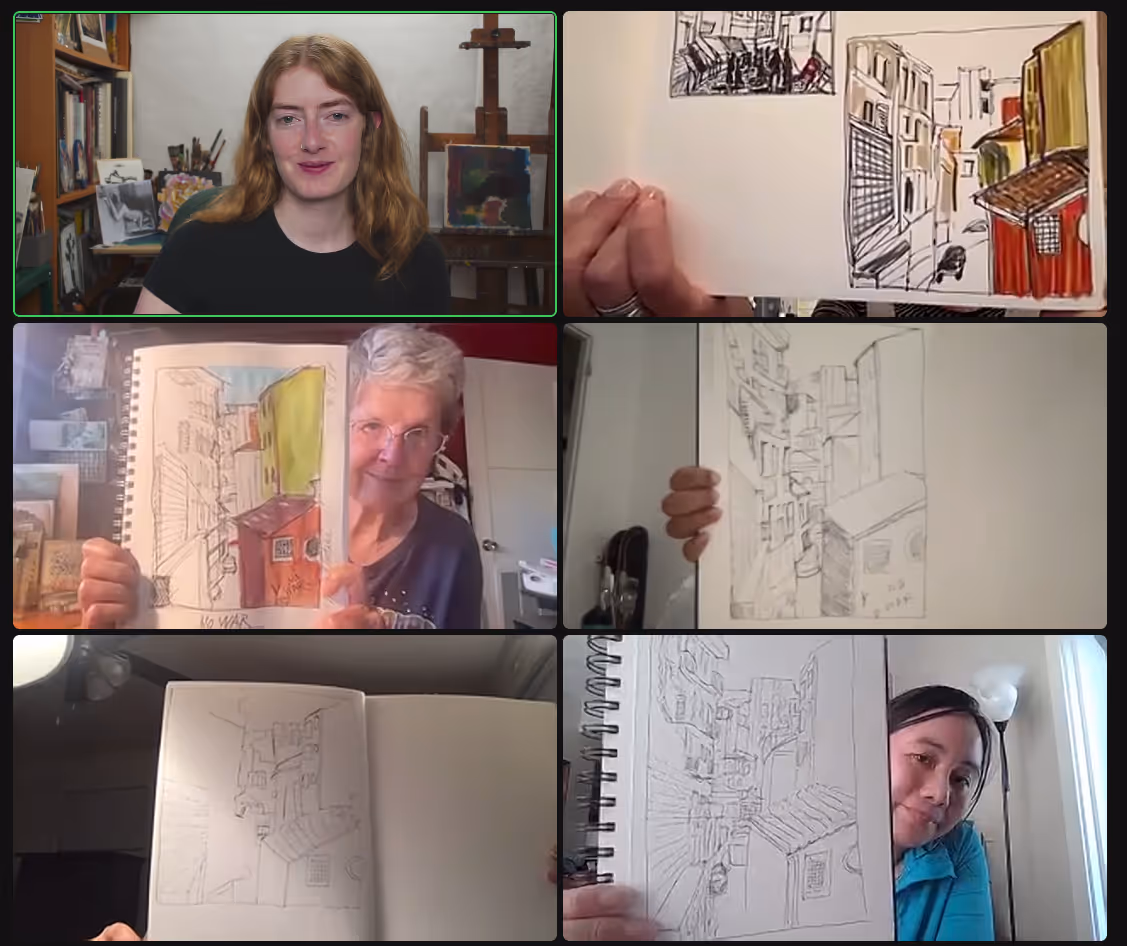
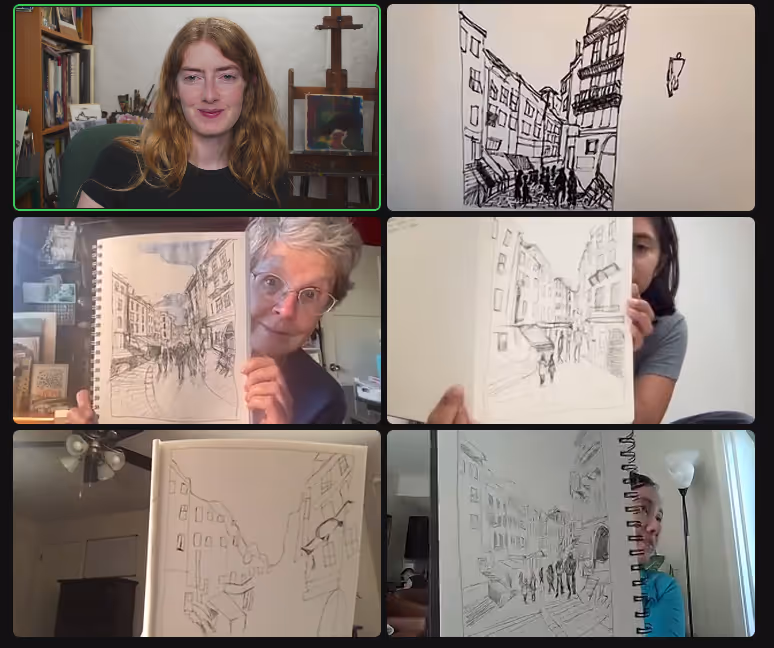
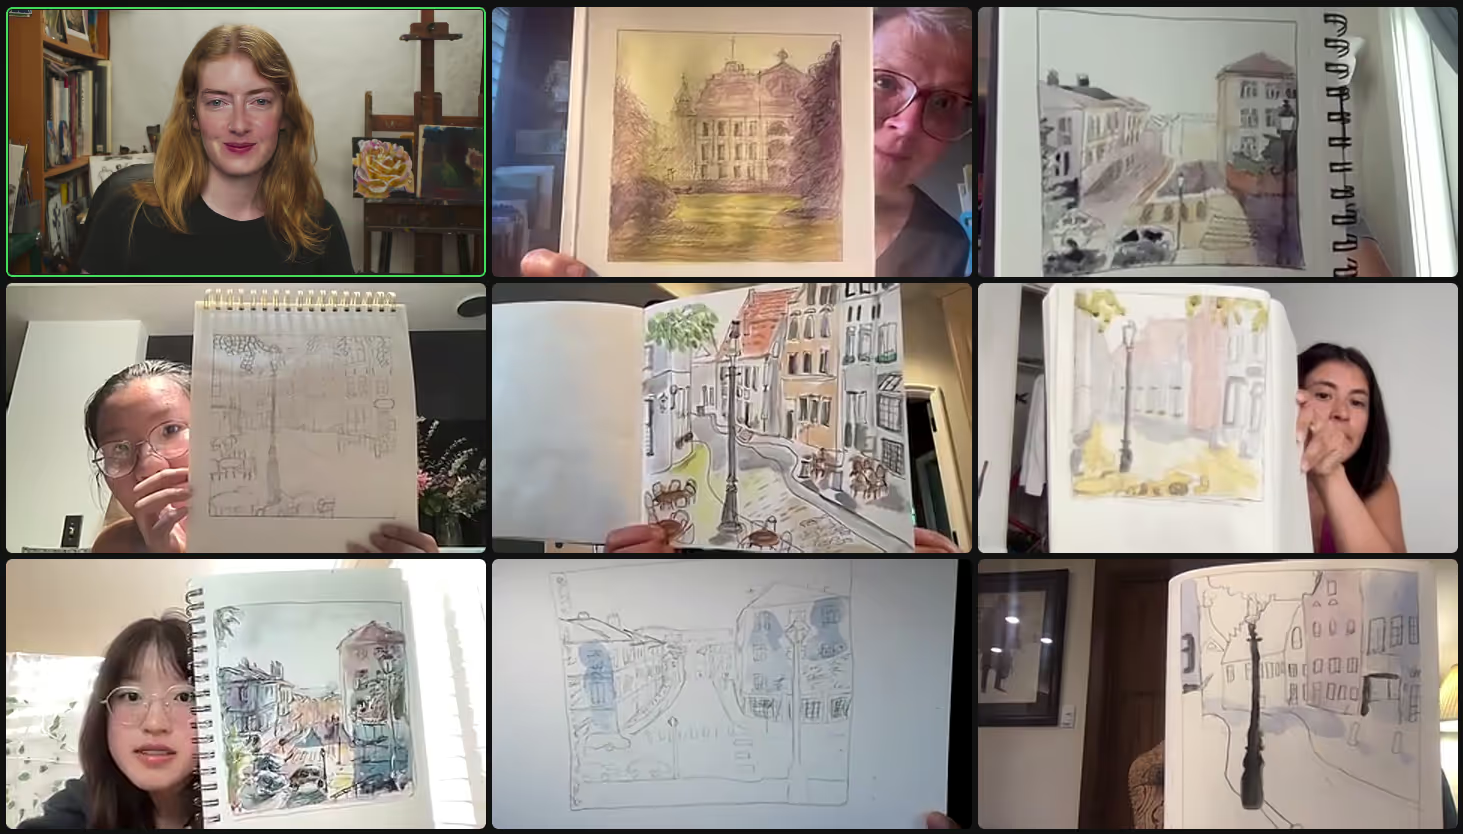
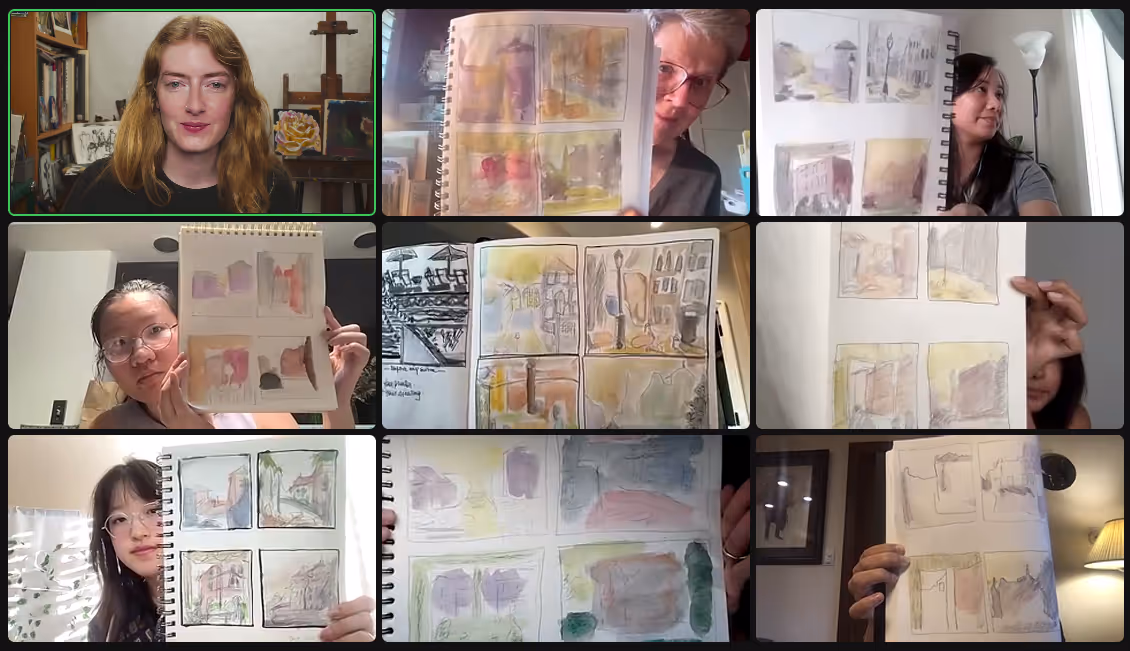
Practice finding your eye level in a scene with pen and ink. Follow the same steps we did in class. Find an inspiring area by your home, it could be the local coffee shop, a beautiful architectural facade, or the street view from your door step. Compose what you see in three ways. Having a viewfinder will make it easier to crop your view so you know what parts of the scene will make it into your sketch.
Tips:
Want a closer look? Right-click and open in a new tab to view.
Click here for the DIY viewfinder tutorial.