🎉 BOGO Summer Sale: Buy Any Eligible Course, Choose Another FREE!
Your free course will be added to your account within 24 hours. Contact us after purchase to choose your complimentary course.
Member's schedule
Log In

,
Painting beautiful scenery is like adding an extra window to your room with the view of your choosing. In this course, you will learn how to create a rich palette for landscape paintings, how to paint trees, meadows, clouds, grasses, creeks, natural paths, and mountain ranges with the convincing effect of depth, distance, and dimension. These techniques will prepare you for plein air painting.
The reason why it's important to learn these techniques in the studio before painting outdoors is because you don't want to be distracted by the ever-changing light of the sun, or by sights and sounds of your environment - learning the fundamentals in your studio allows you to stay focused on learning the techniques to be ready for plein air.
- color mixing, composition, tonal values, linear and aerial perspective, and harmony. In this course, you'll learn everything you need to know in order to feel confident when painting on location. This knowledge of the principles will provides you with more ease and control over the outcome.
In this course, you will learn how to:
This course will ground you in these specific skills and finetune your intuition, instead of relying on guesswork, hope, or chance. You will learn how to create a classic landscape from the very beginning through glazing, and then through direct painting. The first three weeks are dedicated to practice, the last three weeks are devoted to taking our time to a refined painting while using the techniques that you learned from the prior three weeks.
The Secrets to Creating a Classical Landscape will give you a solid foundation for your own painting of a landscape that you will be able to adjust to plein air, in-studio painting, or painting from photo references because you’ll have the understanding of what makes landscape painting effective.
Week 1: Get inspired by landscapes created by the plein air Masters. Begin with a color mixing exercise.
Week 2: Create several studies in monochrome in small format. Glaze the final color over them to complete each motif.
Week 3: Create an underpainting, working from a photo-reference. Complete the landscape study, wet-into-wet. Learn to apply linear and aerial perspective, tonal separation of planes, and finishing touches: texture and details.
Week 4: Start the main painting in a larger format, applying the previous lessons and the tips of the Masters.
Week 5: Develop the background, middle ground, and foreground.
Week 6: Add details, define texture, add highlights. Discussion of the finished works.
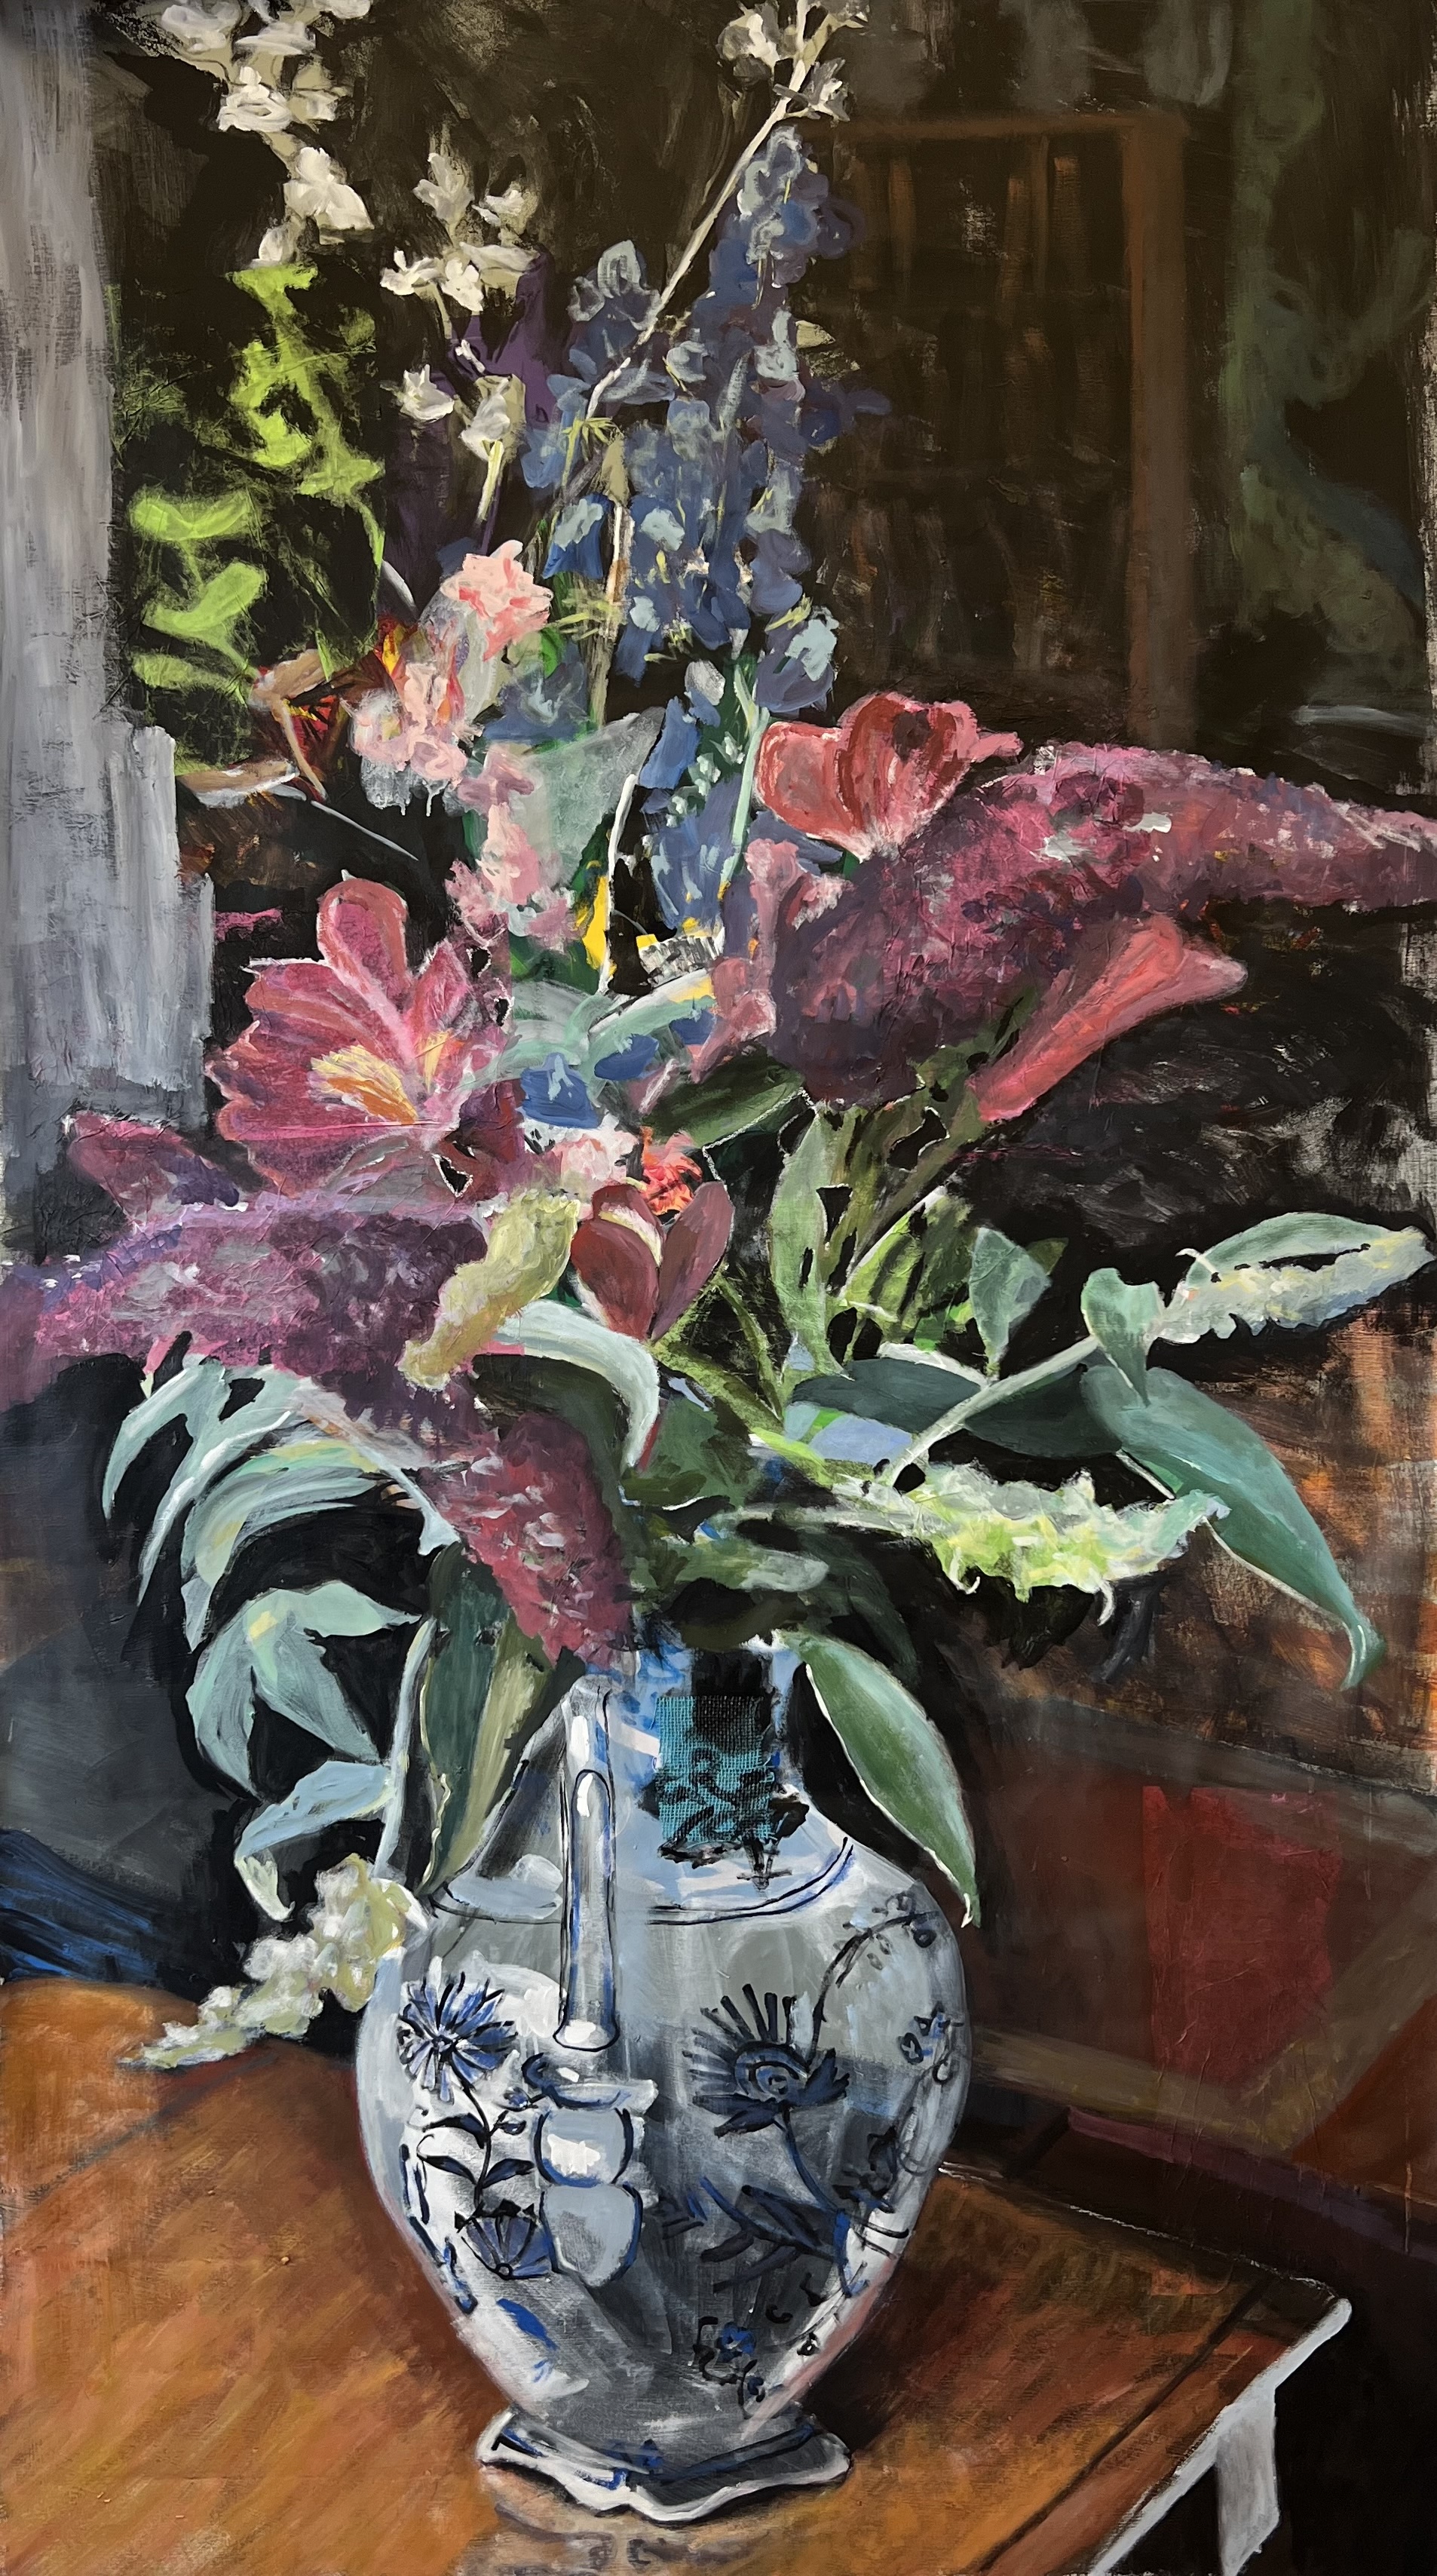
Get inspired! You'll do similar projects in class.
Frequently Asked Questions
upcoming live courses...